DIY Iron-On Zipper Pouches
Are you looking for Cricut crafts to make? Make these cute personalized zipper pouches with this tutorial. DIY Iron-On Zipper Pouches. I love making gifts and things with the Cricut. Do you?
Turn a plain zippered pouch or canvas pouch into something giftable and cute to use or for Cricut Crafts to sell.
DIY Iron-On Zipper Pouches
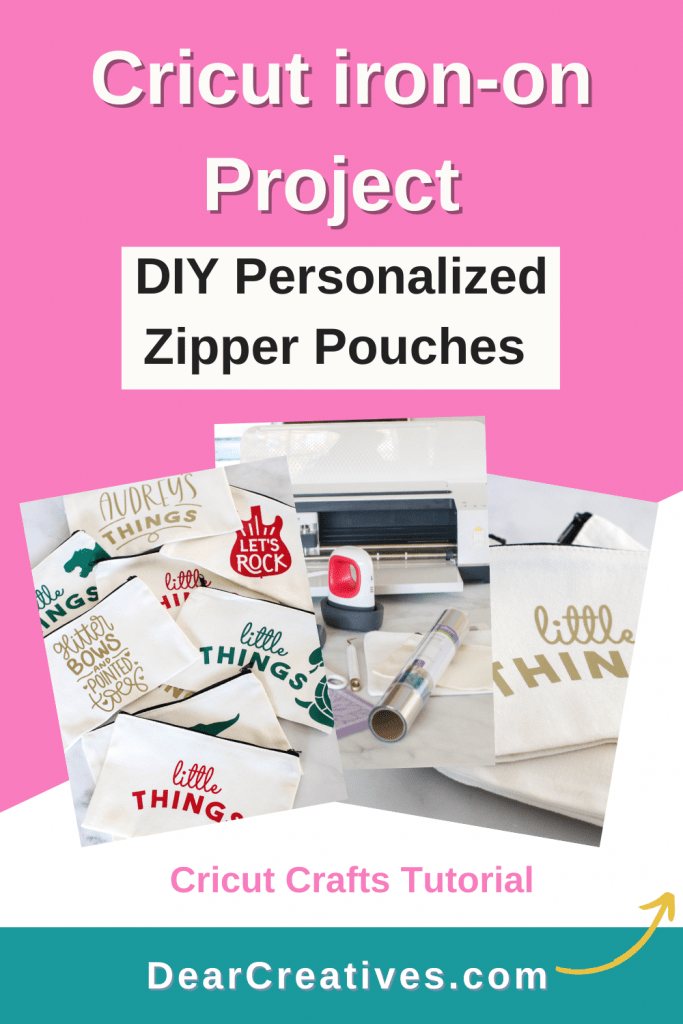
You can make pencil cases, make-up bags, canvas totes, and pouches for kids’ little things. Personalize the pouches for bridal showers take away gifts, baby shower take-away gifts, birthday gifts, holiday gifts such as Christmas, Valentine’s Day… Since the designs are easily customized this Cricut project can fit so many themes and occasions. See how easy it is to decorate the canvas pouches with iron-on.
Affiliate links may be included in the post. By clicking the links for qualifying purchases we earn a small commission. This is at no additional cost to you.
The steps are simple. You design or buy the SVG files, measure your pouch size, and create the design to fit (the size of the pouch). Mirror the image. Preview the design and if it looks correct begin the cutting process. See the steps below.
Project Notes
Design Space is free with sign-up. Additional files and fonts are available at a cost or membership. You can upload your own design files (or) upload purchased files.
Get the iron-on settings for the materials and tools you use here (Cricut Heat Guide).
Important! For iron-on materials MIRROR THE DESIGN. You will see the prompt, during the process of the cutting steps in the Design Space.
Make This Cricut Craft!
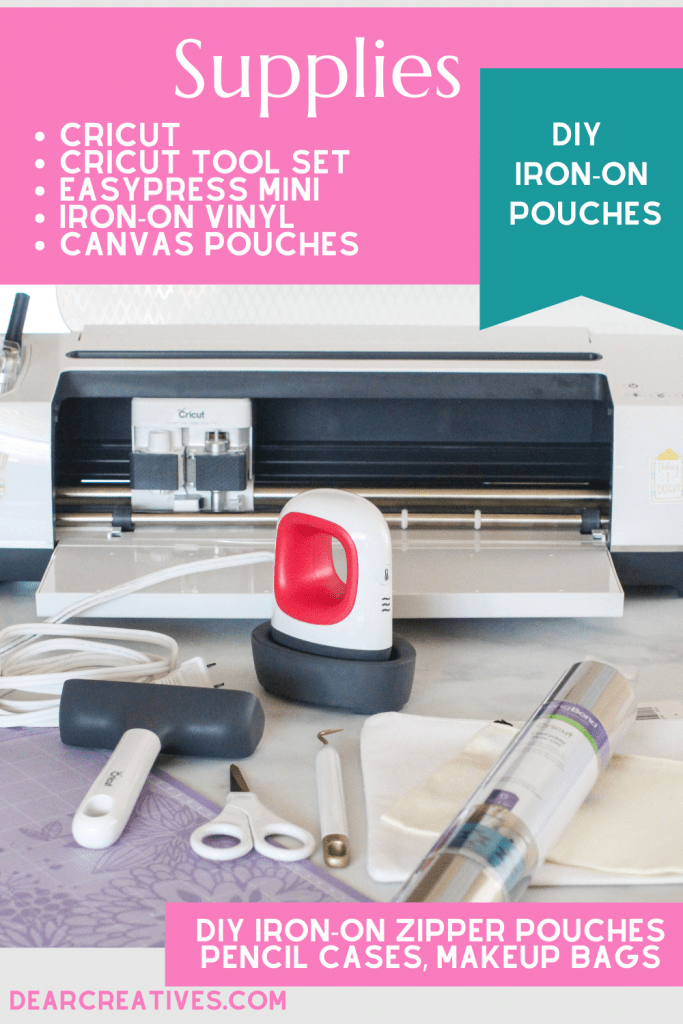
Supplies
- Use any of the Cricut Machines
If you need a Cricut machine shop the Cricut Sale here!
(Maker on sale) (Cricut Air Explore 2) (Cricut Joy ) - EasyPress (MINI) (or other sized EasyPress)
- Iron-on Vinyl
- Cricut Sale
- Zipper Pouches (10 pack) (Zipper Pouches 16 pack) – Blank DIY Craft Bag Canvas Pen Pencil Case- Canvas Makeup Bags Zipper Pouch. Or this 3 pack of Cosmetic Bags Blanks Cricut
- SVG files (Or find free design files, design your own or purchase SVG files in Design Space)
Shop this sale if you need supplies and tools.
Don’t worry if the sale has ended. Find the current sale of what you need, digital machines, essential tools, materials, or supplies Shop the Cricut Sale here.
How to Iron-on Vinyl Onto a Zipper Pouch/Canvas Zipper Bag
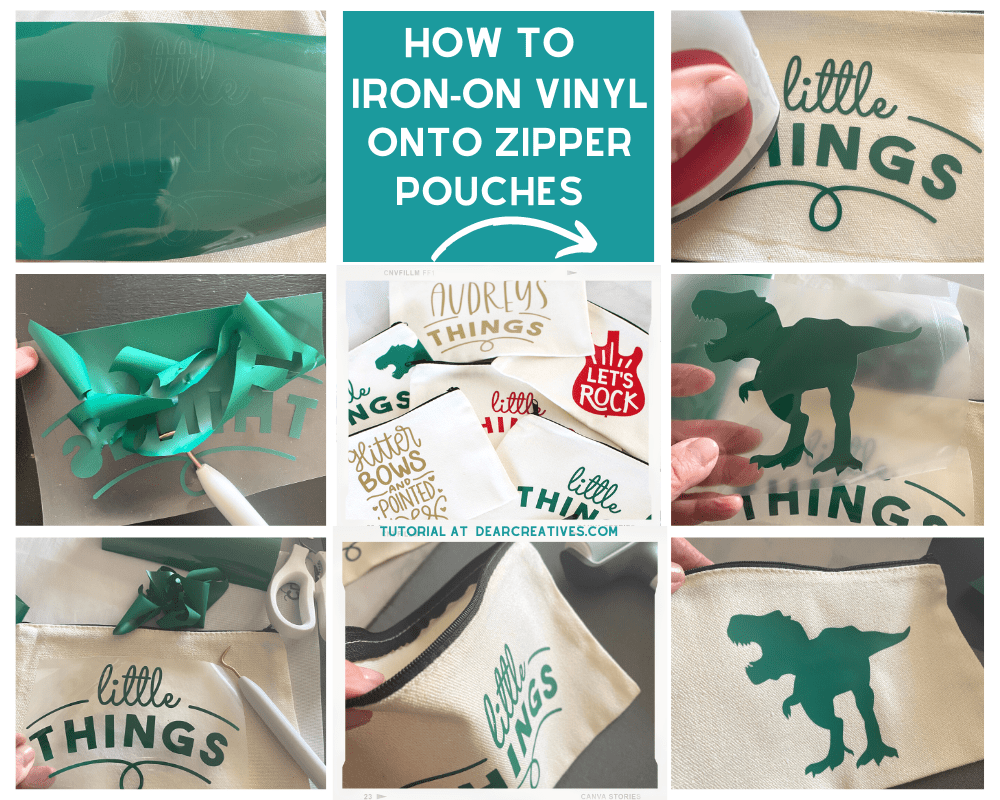
How to iron-on vinyl heat transfer vinyl onto canvas pouches
Instructions
- Design your layout in Design Space.
- Save the design (and name it).
- Go To Cut The Design (previewing it first) If everything looks good. Select the prompts (iron-on vinyl) (cut more or use default setting) (Mirror the design) and Cut it. If not, cancel and adjust the design plan.
- Be sure to mirror the design, and select and follow the prompts for cutting the Cricut Sale.
- Place the shiny side of the iron-on material face down onto the mat. Insert the mat. Let the Cricut cut the vinyl.
- Remove the mat from the Cricut when the cutting process is done. Click finish on the computer.
- Carefully, remove the design from the mat. Weed the design.
- Look up the material of the pouch, and the tool you are using to iron it on. Use those settings from the Cricut Heat Guide. Turn on the EasyPress.
- Preheat the pouch. Place the iron-on onto the pouch. Use parchment paper over the design (It helps iron-on not wrinkle but, is optional.) and follow the heat guide instructions. Do this on the front and from the inside of the bag.
Note: If you have designs on both sides of the canvas bag repeat the iron-on process for that side too! - Let the material cool slightly and remove the carrier sheet.
Note: Should the iron-on material come up a little? Repeat the process only where it is coming up and only for a short time. Ironing the HTV too long can make it wrinkle or melt.
Cricut Project Tips
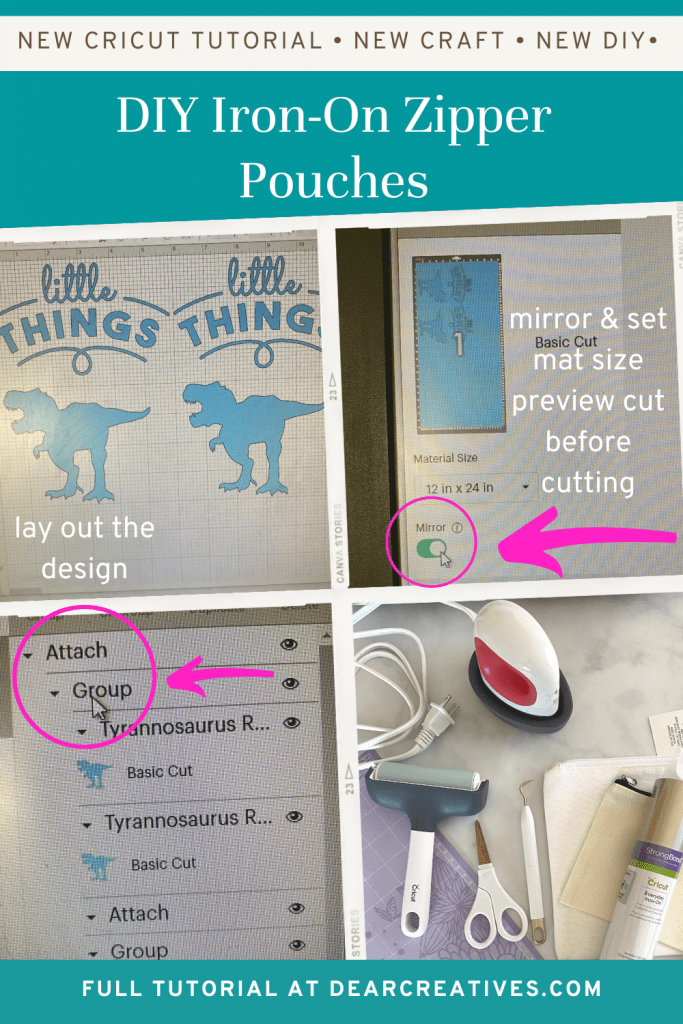
Project Tips and Notes
NOTES– What to do if you are cutting more than one design? Or two or more designs at one time on a mat? – Be sure to attach and group items. This helps the layout fit onto the mat as designed. What if the design doesn’t look right before cutting it? If for some reason it doesn’t look right when previewing the cut *PRIOR TO CUTTING. Go back and adjust the design before cutting. Preview it again, then cut the design.
- Design files you might like to use for Valentine’s Day Gnome Valentine’s Day Bundle (SVG Files)
- Check out these awesome $1 Design Files
- They even have freebies! Pop over to see the crafting designs.
Helpful Cricut video tutorials
- Cricut Official Video How-To Work With Iron-on. Perfect for beginners to learn from.
- For Designing in Design Space this helpful video. How-To Weld, Attach, and Group.
- Cricut video tutorial going over cutting, layout, and iron-on process.
- Cricut video tutorial going over layered design, cutting, and iron-on process.
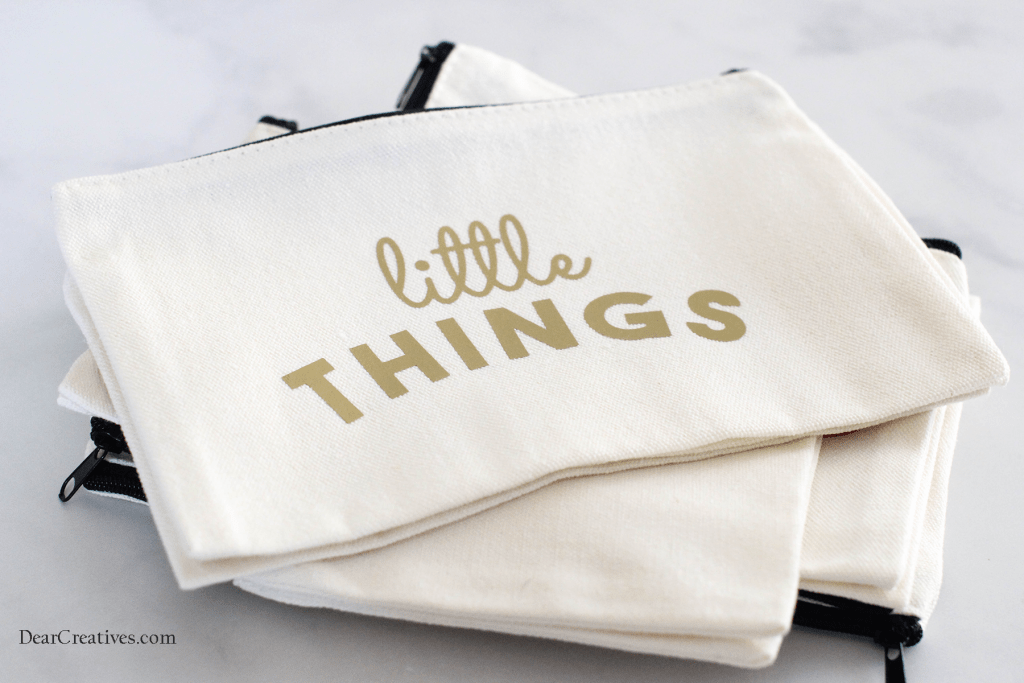
How To Customize A Make-Up Bag with Cricut?
You can use these same instructions (above) to customize a make-up bag. Find a cute saying to design. OR use your own design. Or grab Makeup Bag SVG design files. Then follow the instructions for the Cricut project.
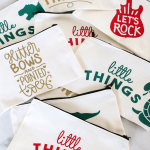
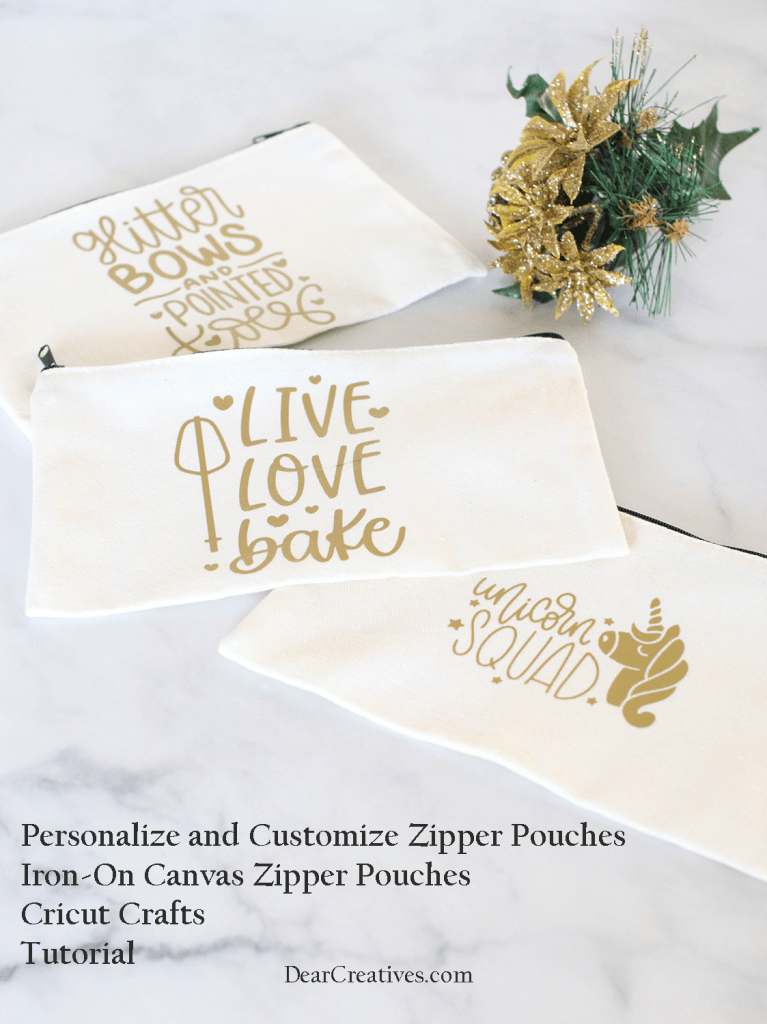
Tada! See all the different designs you can create to make DIY Iron-On Zipper Pouches
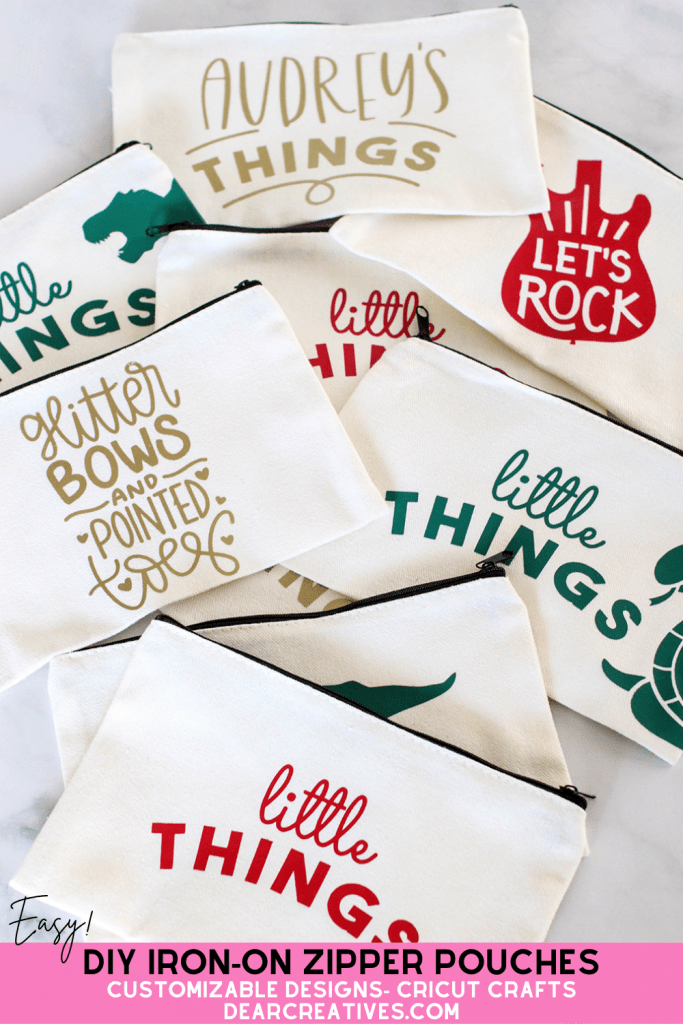
I hope you get to make this craft project! I think my grandkids will love these for keeping their little things or to use as pencil cases, and hair accessories bags… Be sure to tag me on social media @DearCreatives on Twitter and Instagram with your finished iron-on pouches. Happy Crafting!
What can you make with the Cricut?
This craft project can be a beginner Cricut craft project. After you have your machine set up and basic knowledge of your Cricut machine you can dive right into making things with the Cricut. Below are even more projects you can make with the Cricut.
-
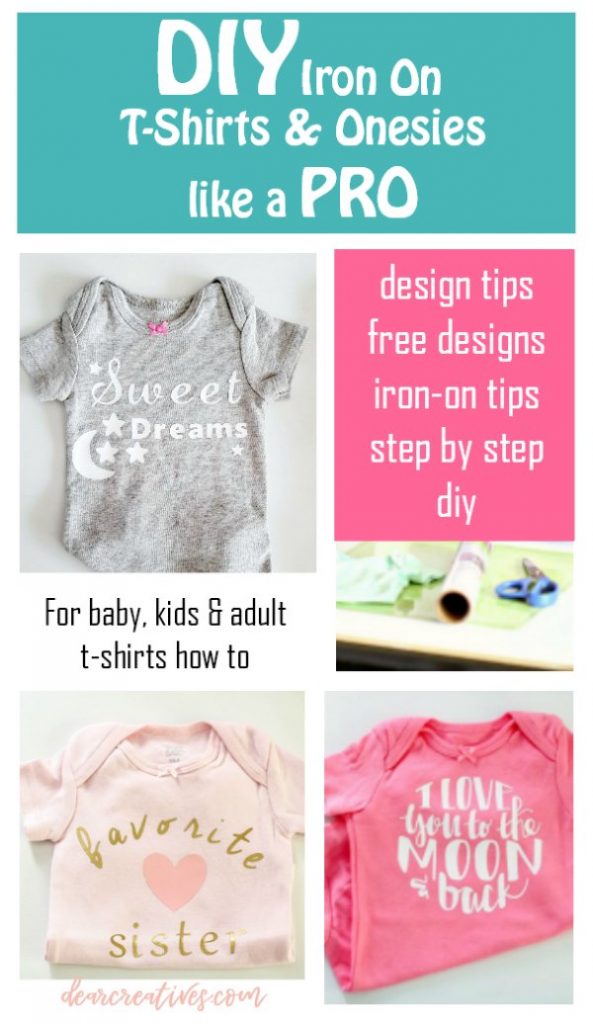
DIY Iron-On Tee Shirts and Onesies -
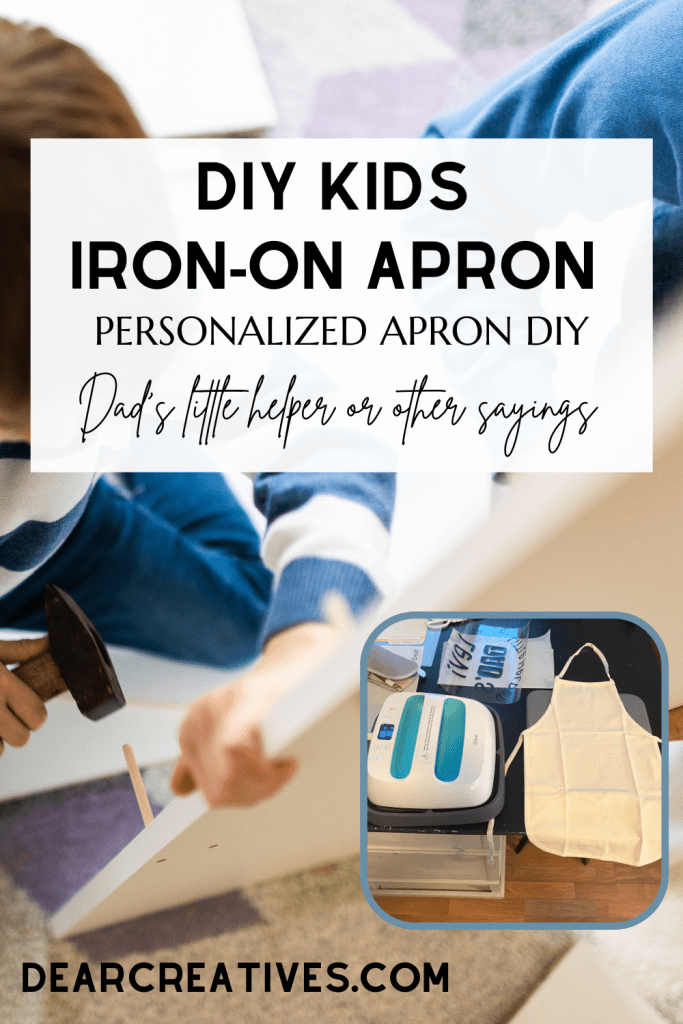
DIY Iron-On Aprons -
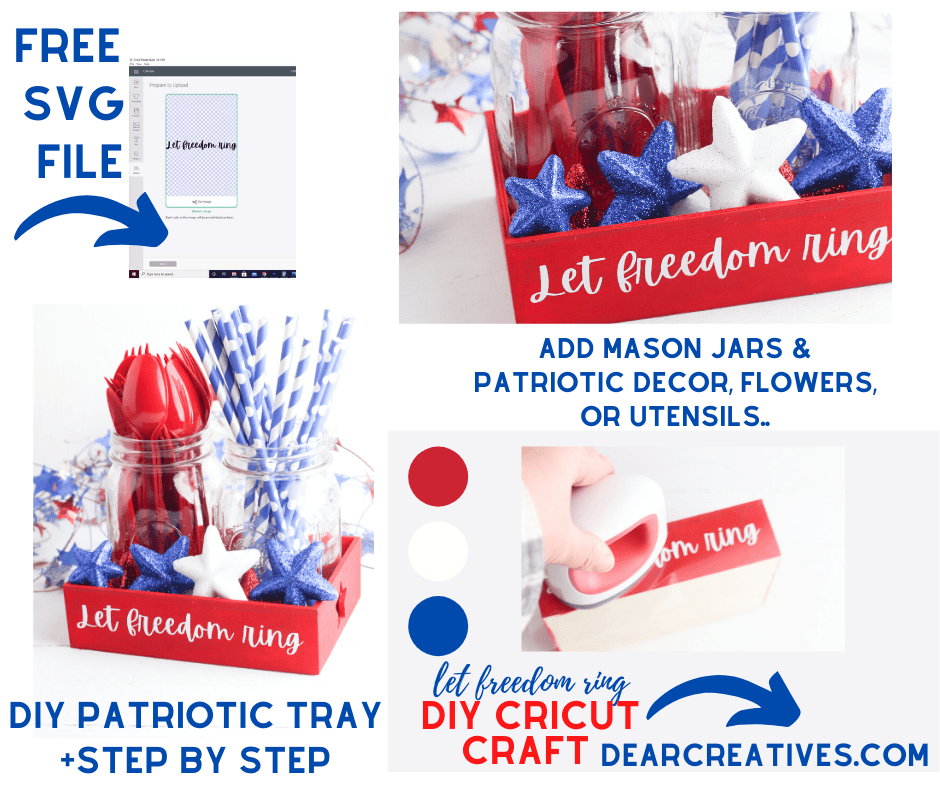
DIY Patriotic Tray
Cricut Crafts To Make
- Iron-On Tee Shirts and Onesies Like A Pro
- Patriotic Tray DIY +Free SVGFiles
- How To Print and Cut Stickers With The Cricut
- Cricut Christmas Ornament Craft
- Christmas Craft Ideas
- Craft Ideas
- DIY Aprons With Cricut and Personalize Aprons
- Are you organizing your home? Try this Cricut Craft and make DIY Pantry Labels
- How To Make Vinyl Bottle Labels (For spray bottles or other glass or plastic bottles)
- Free Projects In Design Space
- How To Make A Bunny Banner With A Cricut
- Fall Pumpkin Banner
- Burlap Utensil Holders and Name Tags DIY With Cricut + SVG FILE
- New here? Be sure to Subscribe.
- Pin it for Later
- Follow us on Pinterest
- Shop our favorites on Amazon
