Vanity to Coffee Cart – Furniture Makeover (Chalky Finish)
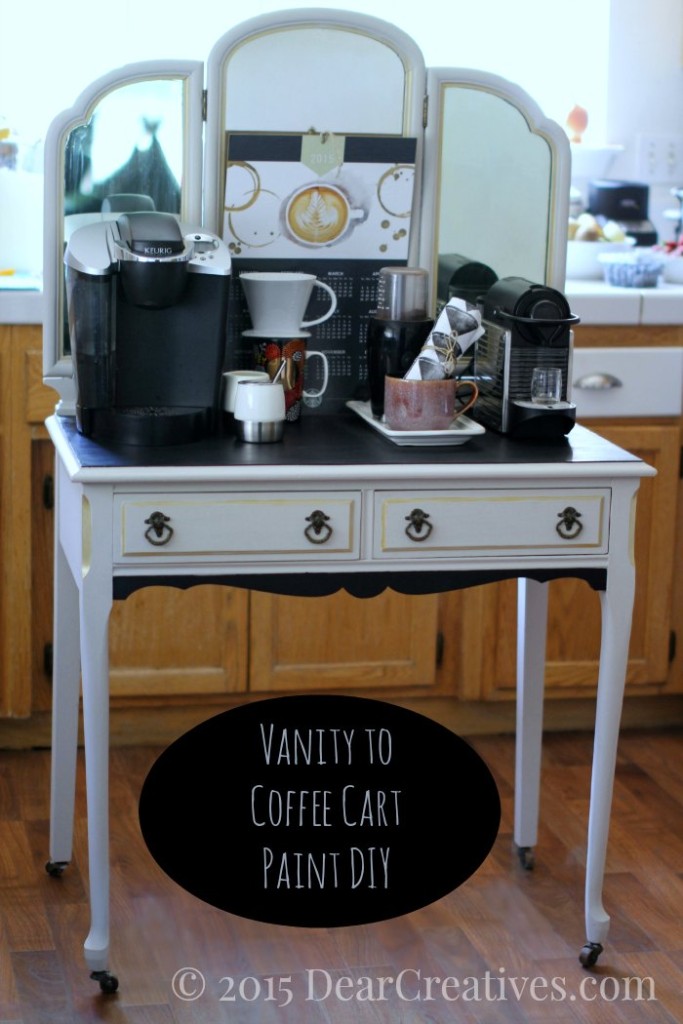
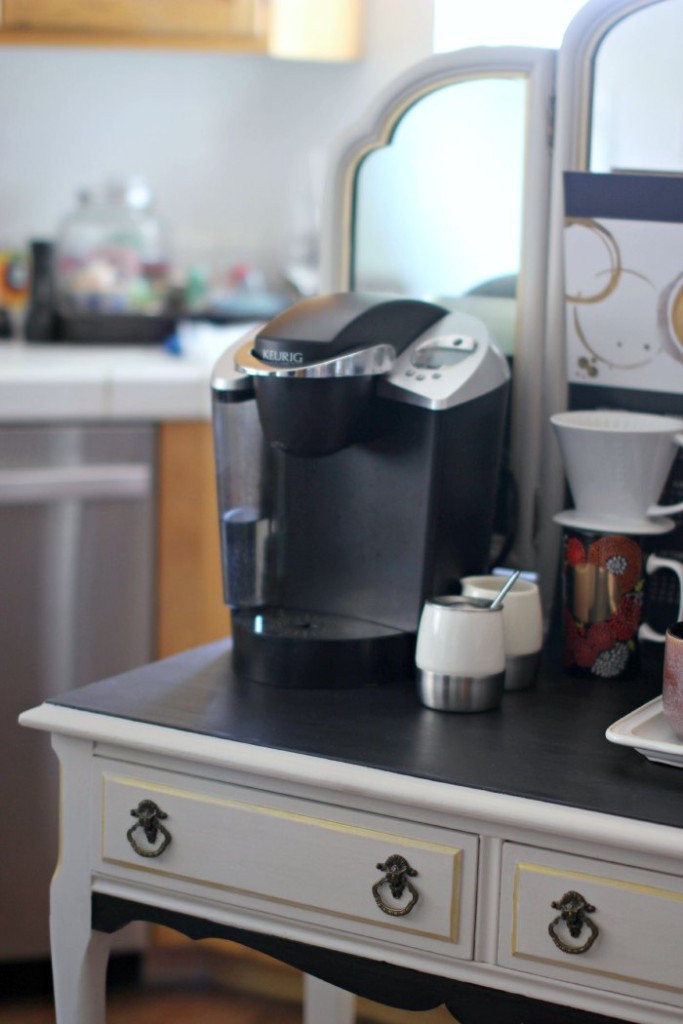
How To Convert A Vanity To A Coffee Cart – (Furniture Makeover) – Today I’m sharing another upcycled furniture piece for our kitchen under my belt. I finished a furniture makeover adding to my home decor ideas, and DIY projects.
Update: We have been on the long journey of remodeling our kitchen. We have yet to finish our kitchen cabinets, replace the range hood (done), replace a new countertop (waiting), and paint the kitchen (done). Replaced the flooring, fixed cabinet drawers, and installed a few new appliances.
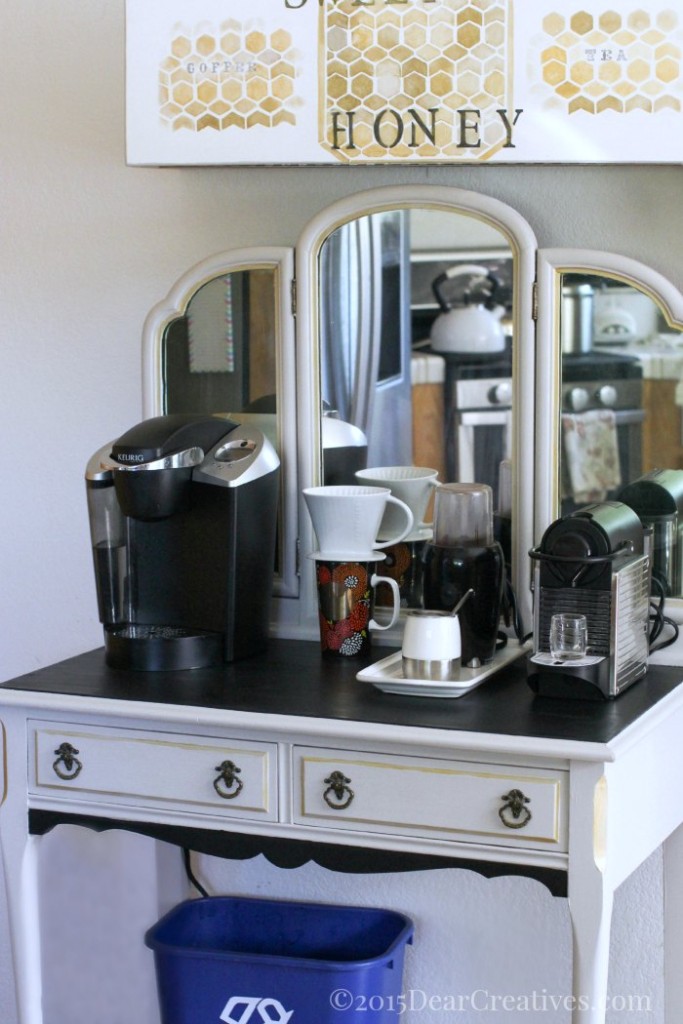
I had this old vanity I used for my sewing machine but, since I have a lack of countertop space in the kitchen I decided to fix and paint it. Then convert it a vanity into a coffee cart to put our coffee makers, grinder…onto.
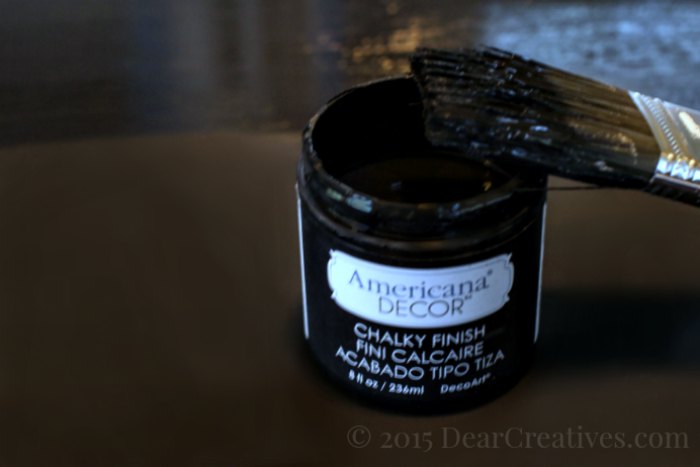
The paint I picked is a matching Chalky Finish Paints of Primitive, Carbon, and Metallic Gold for accents. But, you can use whatever paint colors you like when making over yours.
Furniture Makeover
Vanity to Coffee Cart DIY
Have you ever thought of using vintage furniture for other purposes? I had always wanted a coffee cart but, didn’t want to purchase one. I had this wood, vintage makeup vanity that didn’t have the bench. It was the perfect piece of furniture to make into a coffee cart. I was always swooning over coffee station ideas, but I finally did it!
If you don’t have time to do a project or have a vanity see this post Coffee Bar Ideas For Small Spaces.
What We Fixed First before painting the project
- The first thing we had to do was fix the layer of wood that was peeling up.
- We worked in wood glue
and held it with a vice until it was completely dry.
- Next, we sanded
any nicks and rough patches, and then removed the wood dust.
- With chalk paint
, you don’t have to sand many pieces. What’s not to love about skipping that step?
- See the steps and images below.
DIY Home Decor Ideas
Upcycled Furniture
When I started I had a vague idea of what direction I was going but, there was this hot debate in the house. To paint the mirrors or not. I truly wanted to but, our house is rather dark and Mr. thought it’d be nice to keep the mirrors to reflect light during the time of day after the sun passes.
The more I thought about it I decided not to paint them. Who knows down the road I may. I thought it would be fun to write the coffee of the week and inspirational sayings, on the mirror. What do you think you would have done? Painted mirrors or no paint?
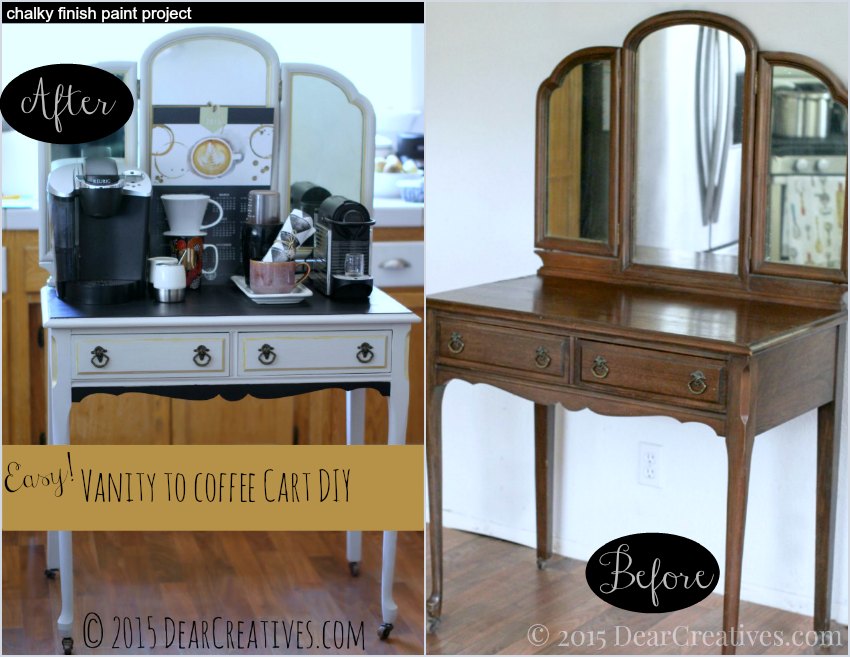
Antique Vanity Before and After
click image to enlarge
How to repair wood furniture
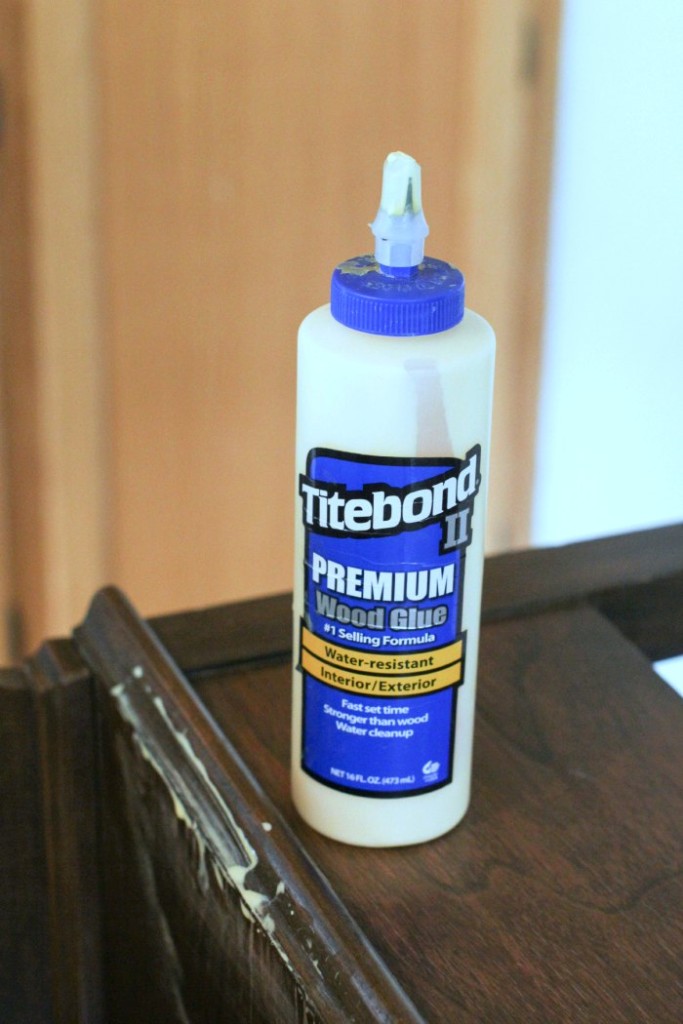
The wood was cracked at the top skin. That needed fixing. We used Titebond wood glue (it’s our favorite wood glue) with a fast set time that makes it easy. We used our fingers to push it under into the cracked area and then wiped the excess off and clamped it down with a vice until dry.
Vanity to Coffee Cart DIY
How To Paint An Antique Vanity
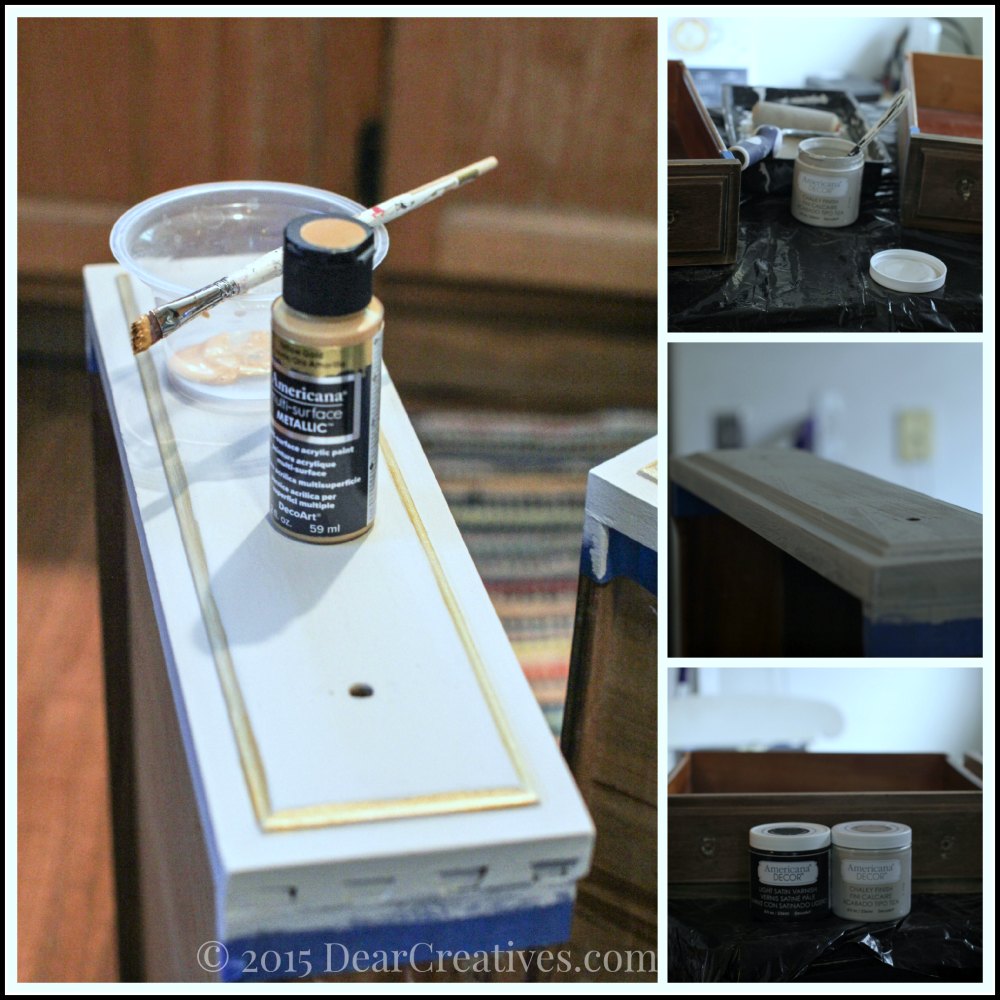
The Painting Steps
- Next, I unscrewed the metal drawer pulls.
- Then after protecting my painting area, I taped off the drawer area that I didn’t want paint.
- I gave it a thin coat of Primitive Chalky Finish Paint with an edge roller and then worked on the next drawer.
I have a fan in my kitchen and it was pretty warm before I knew it I was able to give it a second coat. I taped off the mirror while they dried then gave the drawers an accent of Americana Yellow Gold Metallic Paint. It’s a multi-surface metallic. In two light coats.
Painting Tip: Use an angled brush to create straight lines. Hold it like you would a pencil but, use your pinky finger to keep your hand steady and lightly drag the brush along. I used a dry brush technique. Only keep the paint on one side of the brush and then reload as needed.
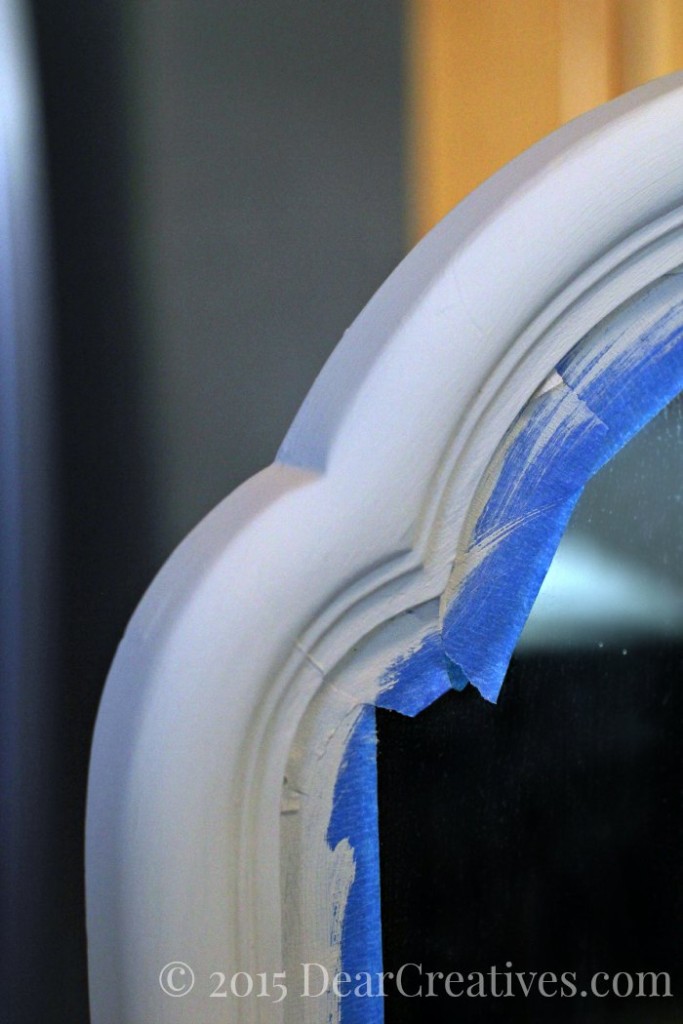
To get the mirror covered use painters tape and as it, curves use smaller pieces to fit in as closely as possible.
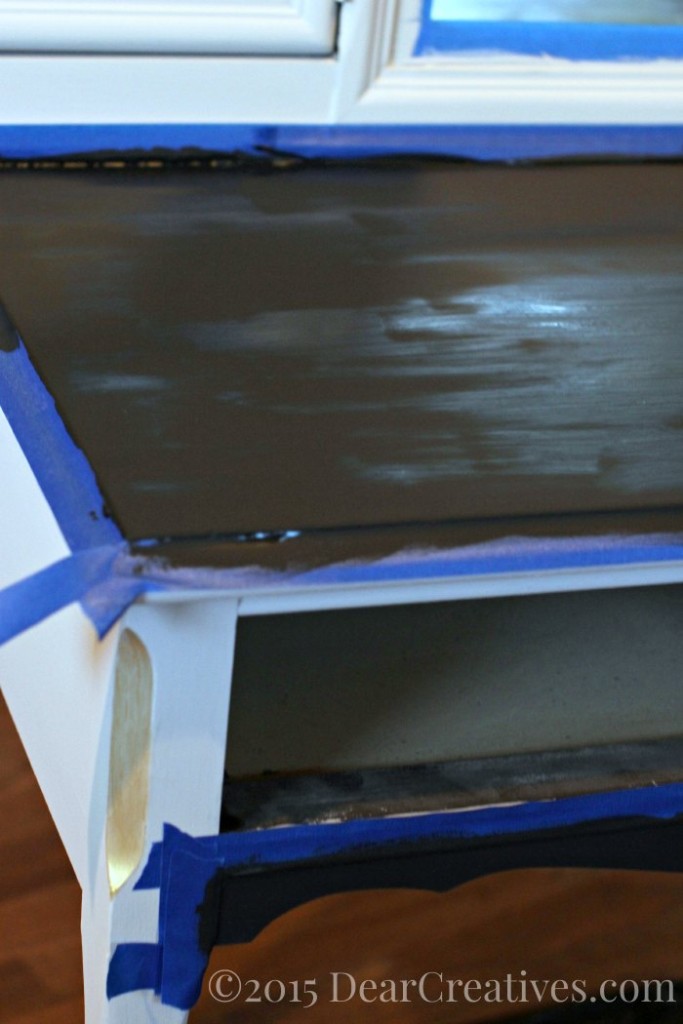
It was starting to get dark but, I wanted to show you how it’s taped off for painting. I let the #chalkyfinish #decoartprojects dry all the way before removing the painter’s tape!
Tip: Pre-plan your color scheme before starting. We knew I wanted the top dark since we would be making coffee and potentially having the occasional spill. I picked the color Carbon Chalky Finish Paint. I knew I wanted to make gold accents to match the cabinet that will be right above it that we made and stenciled.
- If you are new you can see the coffee/tea cabinet here.
Before you know it the beauty of the design just pops with the paint color transformation. Tip: When detailing have Qtips ready and one that is wet for quick wipe fixes.
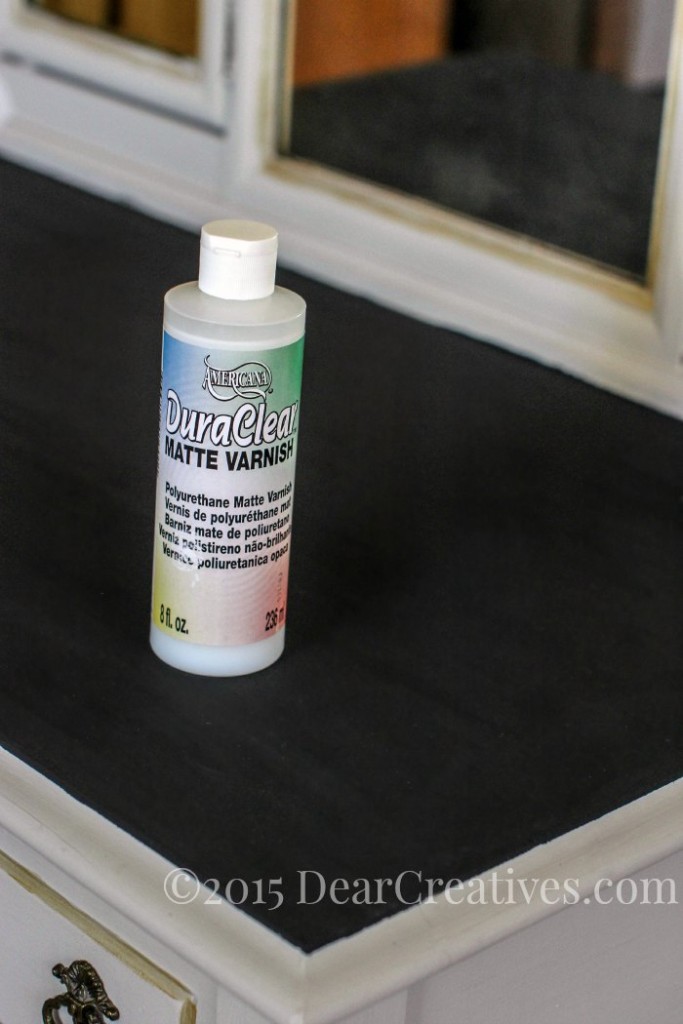
Lastly, I decided on a matte varnish. (above image before varnish) I used DuraClear by Americana. It is easy to clean up with soap and water. Use by applying thin layers and let layers dry in between coats!
- It dries with a light sheen. I love it!
Mr. has been too busy but, we probably are going to drill a small hole for the cords to go into the drawers and through the back of the cabinet to the outlet.
- If you need to attach wheels to your vanity you can check out our dresser to kitchen island conversion.
- I have since transformed my kitchen into a shared office space. See the additions and makeover home office makeover here.
- Currently, I have moved my coffee station back to my counter (I am using the pour-over
method to make coffee which takes up less space, I still use and love my Nespresso
) and have decorated my vanity, using it in my entryway. You can see how I decorated the vanity now, plus I share tips for how to make your chalkboard signs.
I do set this vintage vanity back into a coffee cart during the holidays and use it in my dining/living room. It’s been so versatile. If there is one thing I’d do differently (as mentioned above and still haven’t done) and still may do is drill holes in the top and through the back of the drawers for the cords to go through. I hope this inspires you to upcycle a piece of furniture!
- Today’s project was a collaboration with @decoart
- The project, images, tutorial, and 100% honest opinions are my own. I hope this inspires you to start your project, pick up a paintbrush, and get painting!
- Visit the DecoArt Chalky Finish website for more chalk paint ideas and inspiration
Do you like upcycling furniture? Or do-it-yourself furniture makeovers?
- New here? Don’t forget to Subscribe
- Pin it for Later
- Follow us on Pinterest
Looking for more painting with chalk paint ideas?
- Chalk Paint Projects Round-up
- Dresser to Kitchen Island DIY
- Coffee and Tea Storage Cabinet DIY (which can be used for other storage btw)



I love how this turned out! So cute… you did a really great job and I love how you made it white!
Hi Lauren, It’s really an off white it’s called Primitive. I love it too. Thanks for the compliments!! & for your visit.
Love this project!
Hi Julie, Thanks for taking the time to visit and I’m glad you like the project.
Wow, that is a really cute way to repurpose a vanity! Something like this would be so cute in my kitchen if it were bigger.
Hi Stacie, Thank you! Oh, yes I know what you mean. My kitchen before this one was super tiny!! This one is good sized but, lacks lots of counter space.
Beautiful! I love how it came out!
Hi Lauren, Thanks for dropping by and the lovely comment. Glad you liked it.
I have been looking for a coffee table idea that I can build, but I have never thought about using a vanity. It is really cute!
Hi Crystal, Thanks for your visit nice to meet you! Oh, when you do it be sure to linkup at the party to show us! Thanks for the compliment.
Love it! I think it looks great with the unpainted mirrors. The paint colors are really stylish too.
Hi Kristen, Thanks. I am happy it turned out. Envisioning the outcome doesn’t always work but, this one was much easier to do than I thought it would be.Thanks for your visit and taking the time to comment.
This looks fantastic! I really like the idea of writing the coffee on the mirrors. I have something I have been wanting to paint for awhile, I can’t wait to use the chalkyfinish paint I won from your giveaway! 😉
I can’t wait to see what you make with the paint you won!!
I would LOVE to have a coffee bar! What a cute idea turning a vanity into one!
Hi Jamie, You should make one & it would probably go great in your home too!