This post contains links to affiliate websites, such as Amazon, and other affiliates. We receive an affiliate commission for any qualifying purchases made by you using these links. This is at no additional cost to you. We appreciate your support!
Dresser toKitchen Island Conversion — We are in the process of remodeling our kitchen. I have wanted an island or workspace since we have limited counter space, and I love to craft, cook, and bake. I decided, with the help of the Mr., to create a mobile kitchen island from a dresser. Have you ever wanted to upcycle furniture? With his help, this was an easy DIY improvement project for me.
I planned the fixer-upper project, and we talked about how to tackle making the dresser mobile. I worked on the idea and made the plans. Then, with his woodworking skills, we upcycled the dresser. When the dresser was completed, I finished it with my painting skills. I think we make a good team.
We pulled a vintage dresser from the garage and decided to give it new life. First, by upcycling and re-purposing it, and then making it pretty by using chalk paint. This was my first time tackling a project like this and using Americana Chalky Finish Paints.
We love sharing the projects that make home life better—and easier. If you're tackling big DIY work like this, you need a great meal that requires zero effort! After a long day of work, we rely on our cozy, famous Easy Lasagna with Meat Saucerecipe to feed the team. We had quite a few vintage pieces picked up from yard sales and various flea markets. Then we moved into town, where this dresser sat for 12 years in the garage. Things I loved about this dresser are how big the drawers were, and I knew someday I'd find the time to bring it back to use again.
We talked about how we'd tackle the DIY conversion project
Adding a new top with a fold-down for space-saving
Finally, painting with Americana Chalky Finish Paints
Here is how I re-purposed my dresser into a mobile kitchen island
Upcycled Dresser
Kitchen Island DIY
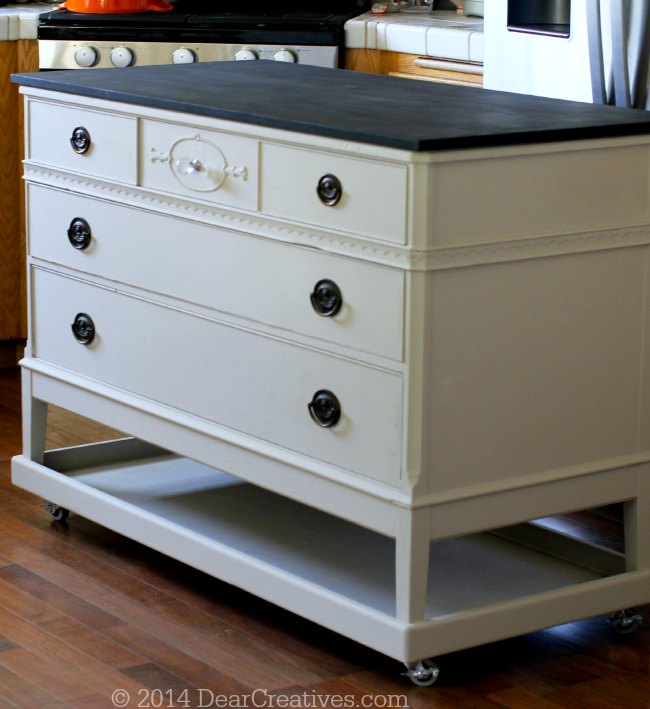
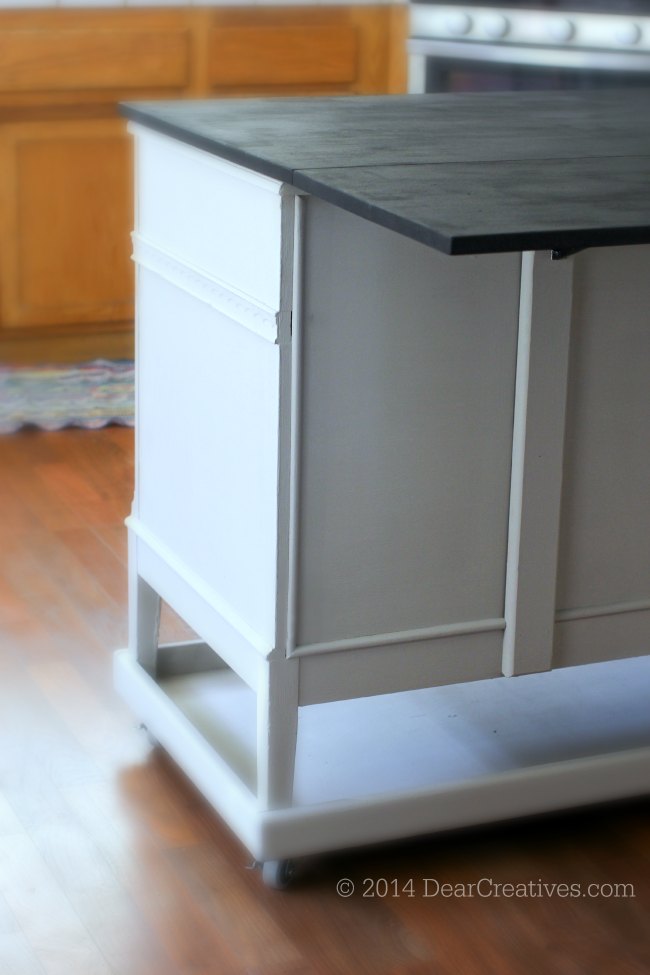
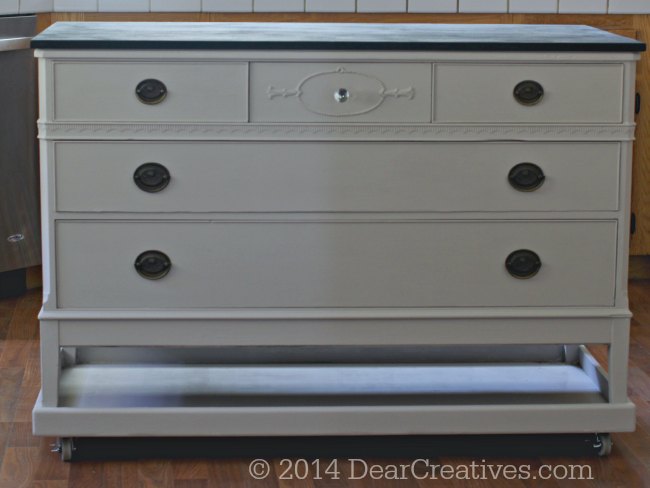
After the work was done, let's work backward, starting with the finished kitchen island conversion.
How To Upcycle A Dresser Into A Kitchen Island
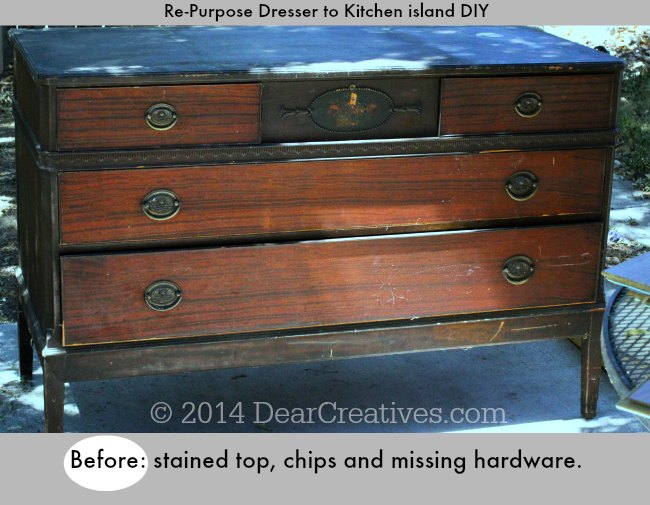
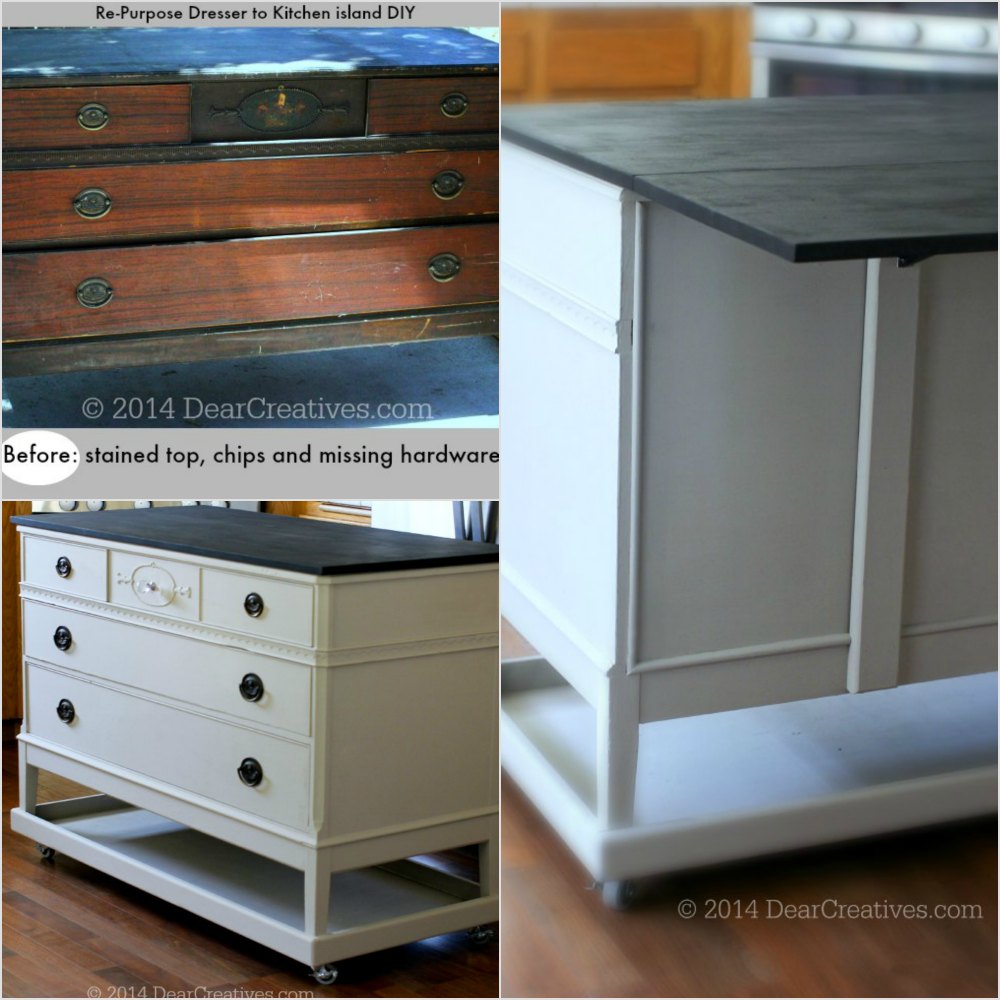
Before the work was done. Next, this is what the dresser originally looked like.
Upcycled Furniture DIY
The Problems That Needed Repairs
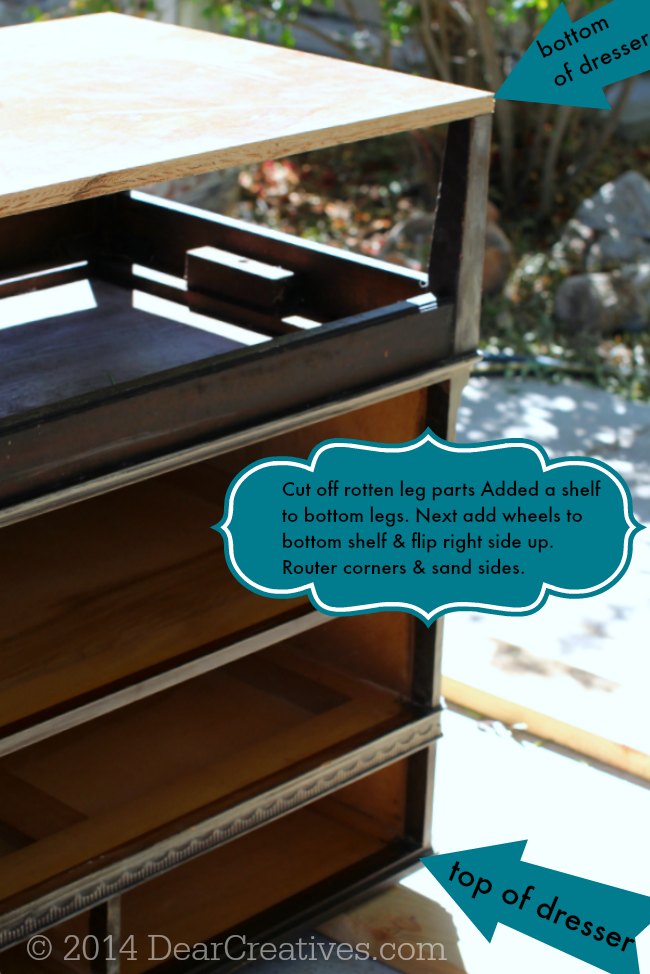
Its top was damaged with ring stains, and it had chips and scraps over the surface layers. There were a few bits of trim missing. It sat so long that the legs started to rot.
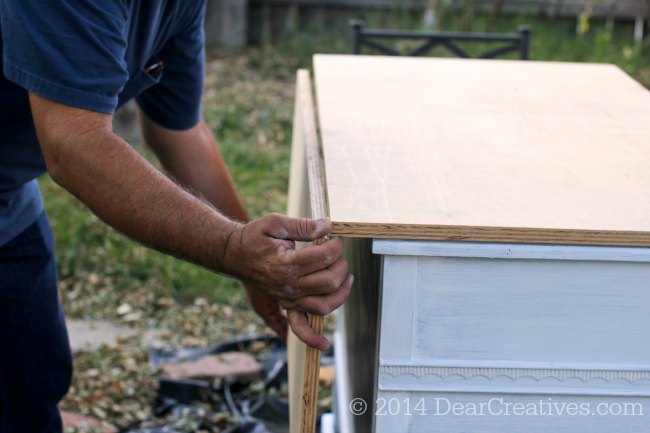
Measure and cut the wood to fit the top of the dresser, and cut the wood shelf (fold-down shelf).
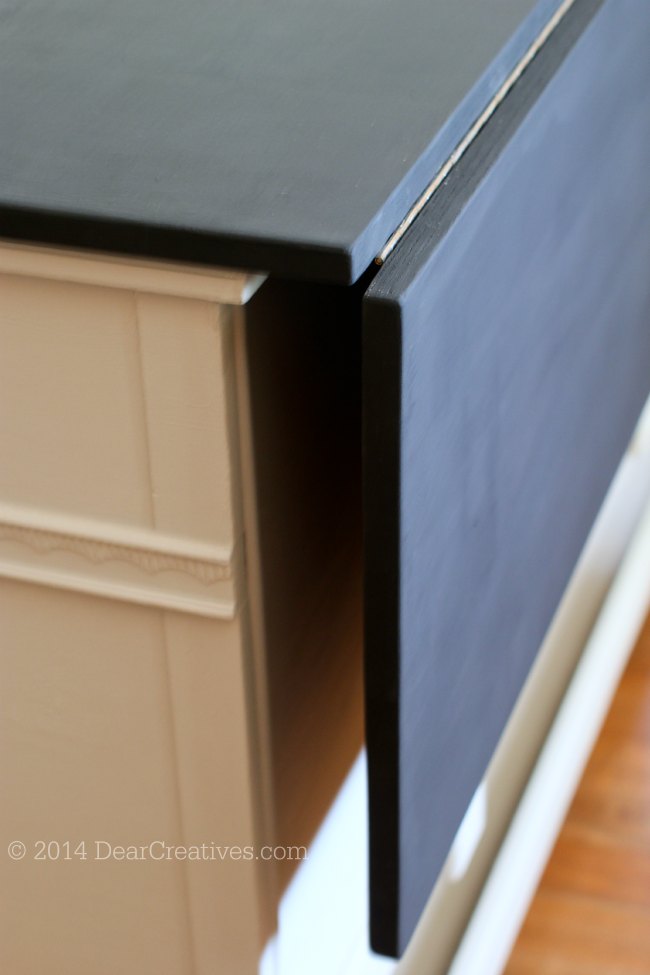
We decided to create a top with a fold-down for space-saving and to have extra space when working, where we could add stools for sitting. We used a nickel hingeand drop leaf supports. This connects the top with the fold-down shelf.
Here is the drop-leaf after attaching and painting
Adding the drop-leaf hinges is easy. Mark where the placement is for each side of the wood. Then screw the hardware into place.
Do you have a dresser to convert or paint? I highly recommend trying these paints.
Below you can see the shelf extension open. This is perfect for having more space to work on baking or craft projects…
The storage space underneath is perfect for storing my flat photo prop-surfaces. Or for sheet pans or other baking supplies. I try to keep it neat, though.
The Finished Drop-Leaf Extension
Shown Raised Up, you can see how it will add more space for projects, cooking, or baking.
The kitchen island was converted from a dresser.
Do you have furniture lying around that you want to make use of? I had stored it in the garage, and it was time to give this dresser new life. And make it useful again!
Meet the final hero of this project!
Disclosure: I was supplied with the #chalkyfinish paints to complete my #decoartproject and compensated by Deco Art. These are 100% my own images, text, and experience with using the products to finish my project.
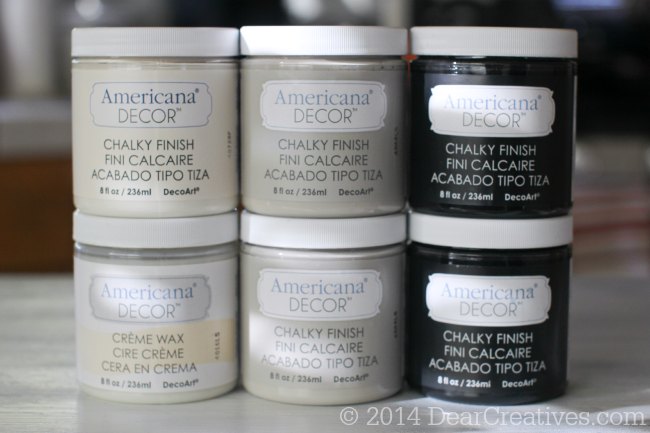
Products Used for this DIY project
We used Americana Decor #ChalkyFinish paints. And their line of finishing products to complete this #Decoartproject
For the top, we will be adding Americana Decor Soft-Touch Varnish(we had to order this online; it wasn't in our local store, we live in a rural area)
Americana Decor Chalky Finish Paint is available in Home Depot, Hobby Lobby, Michaels, A.C. Moore, Amazon, and other stores
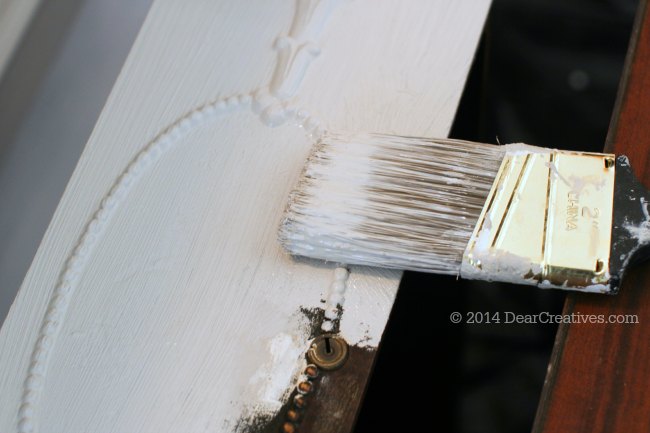
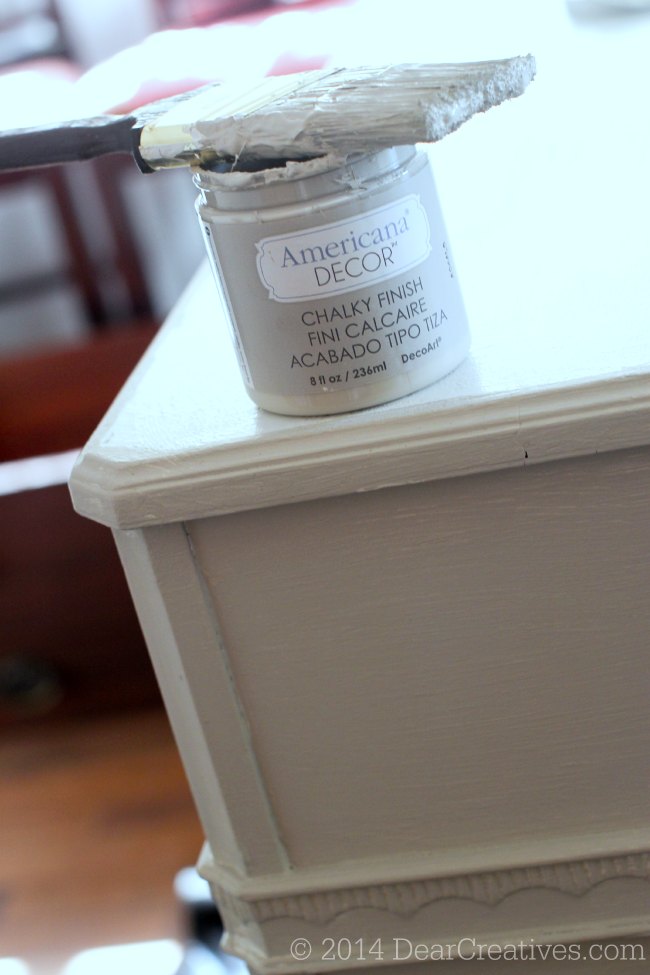
You can paintover dry-patched wood putty areas. You don't need to pre-prep the wood surface, that is, unless you have severe repairs.
The paint is thick, goes on smoothly, and covers great. See the after, it's amazing how good the coverage is with just two coats.
This is after the first coat of Chalk Paint. Clean-up is a breeze, too!
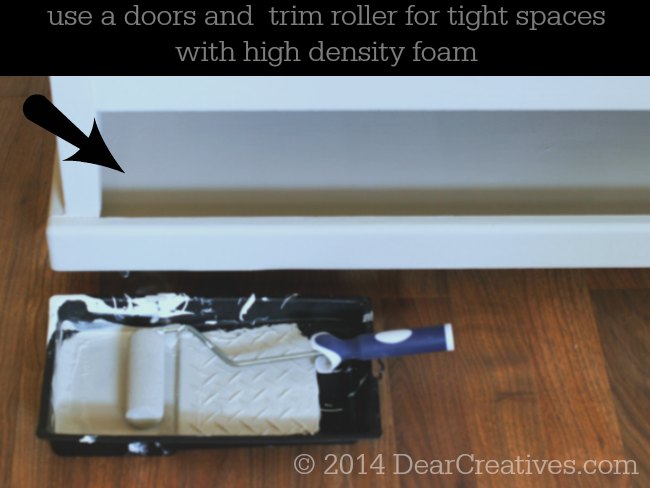
For the tops, we painted them with the Carbon Paint Color, which is a really pretty black (pop over for all the other color options to search Deco Art or Americana chalky finish paints). It took a few coats as we were using re-purposed wood. For the shelf under the dresser, we used a trim roller brush to spread the chalk paint.
Now I'm stocking the kitchen island with baking, cooking, and crafting supplies! The drawers suit their purpose for storing supplies, which are perfect for when I am working in the kitchen.
To-Do List
Now to replace the sink and counters. Paint the kitchen cabinets or replace them. Add a new coat of paint on the walls!
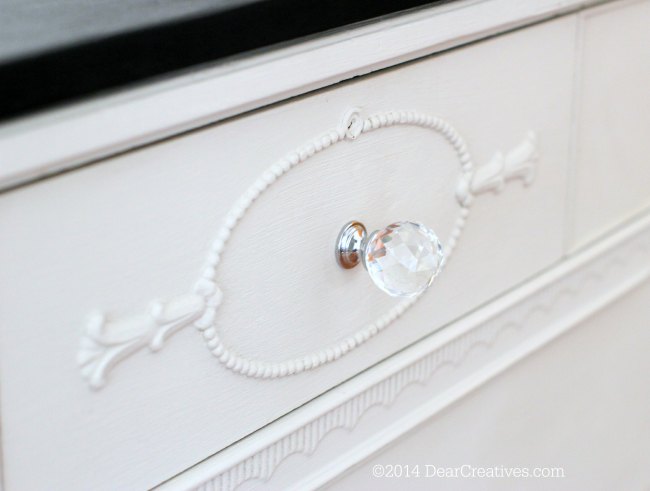
Want a closer look? Click the next photo to see it larger.
Again, Americana Decor Chalky Finish paint is available in Home Depot, Hobby Lobby, Michaels, A.C. Moore, and other stores. Visit the DecoArt Chalky Finish website for more chalk paint ideas and inspiration.
Have you ever used Americana Chalky Finish Paints? What DIY projects are on your list to do?
Wow, Theresa! Your island project is fantastic – and SO creative! You’re step-by-step photos are simply perfect, too! I think when I do my kitchen island how-to post I’ll include a link to your post!
Thanks Cynthia. I can’t wait to see yours! I know I love the remodel images I saw so far that you had. Thanks for stopping by!
I am in love with this upcycling project. You make it look so easy! When I have a kitchen big enough, I will totally be using this tutorial!
Thanks Susie, I hope you do get to make it someday. You could totally incorporate a smaller dresser but, I hear you. I used to live in a cottage – house with a micro kitchen. Lucky a table fit in it.
I’m obsessed with furniture makeovers! This is a beautiful way to repurpose something old and make it new again AND functional! Followed you over from Learn to Blog and definitely pinning this!
~Meaghan
Hi Meaghan, Thanks so much for the compliments, pinning and the follow. I’ll drop by to meet you. Great to know how you found me.
This is amazingly creative and must provide great extra counter and storage space! What I like best (and has the wheels turning in my head) is that this project could work with kitchens/dressers of many styles (country,contemporary, etc.). Even if I can’t do this myself, now I have photos to show someone that can! Thanks!
Hi Wendy, Yes! This dresser has deep drawers and I’m filling it with my most used baking & craft items. I’m going to add an even more detailed construction photos post of how we did it soon and will be linking it onto this post. Thanks for stopping by!
Wow, that looks really fantastic! I would have never thought to have created such a usable and beautiful working space from the old brown worn out furniture. Well done!
Thanks Krissy!
Such a creative repurpose of a piece of furniture. I love how it turned out – so pretty with the paint color and so functional! Stopping by from SITS Fall Craft Linkup
Theresa,
I love that you saved a classic piece of furniture and gave it a wonderful purpose. Great Job!
I stopped by from Sits Link.
Happy Creating,
Karen Marie
Dragonfly & Lily Pads.
Hi Karen, Thanks for stopping by and taking the time to comment. I was super happy to give new life to my dresser I still love. Thanks for the lovely comment!
OMG I cannot tell you how much I love this idea. Now I am super sad I gave my aunts back the dressers I had from my great grandparents, because this idea is so awesome!
Thanks for stopping by Andi. I hope you share the project with them and they can re-purpose one of them.