Crayola MeltDown Art Kit T-Shirt DIY + How to Use MeltDown Art Kits
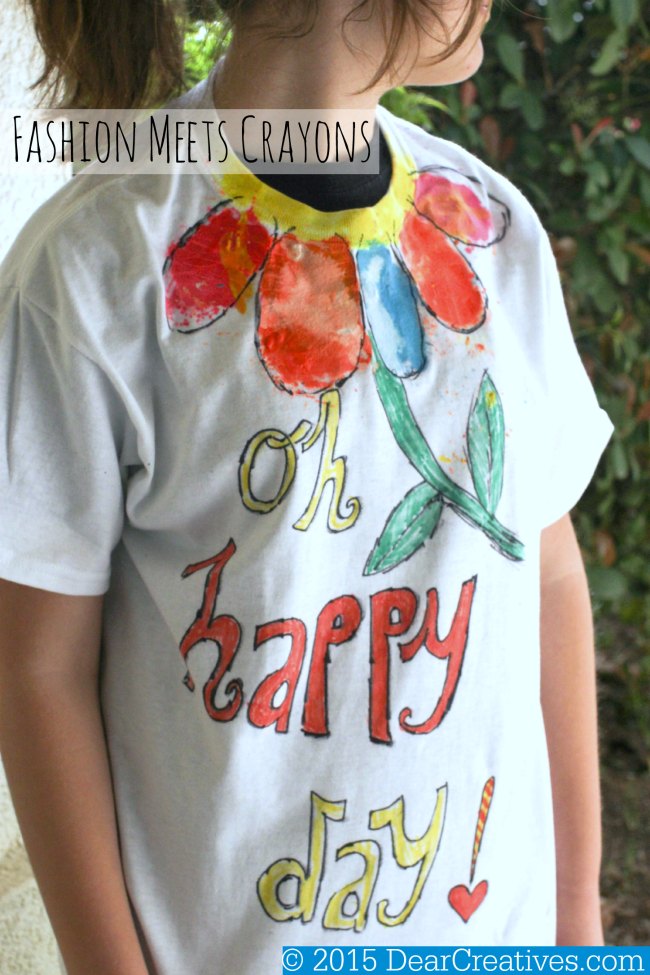
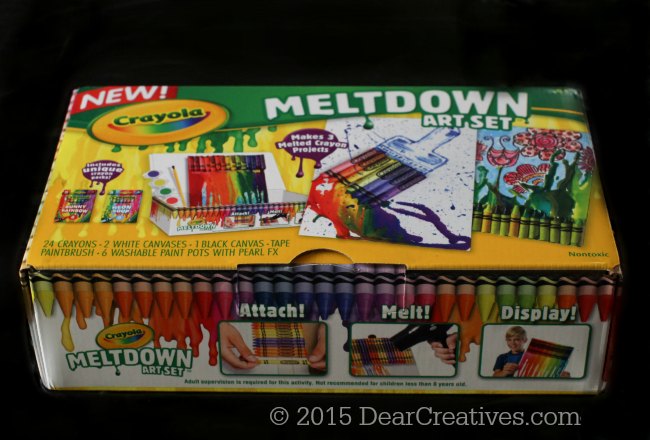
Inspired by the designers creations from Bloomingdale’s Spring Looks Designers and 100% Bloomingdale’s Spring 2015 post we decided to give the Crayola Meltdown Art Set crafts for kids a try. We created two craft projects from the craft kits. One is sharing how we used the kit for designing our own tee shirts.
Crayon MeltDown Art Kits DIYs
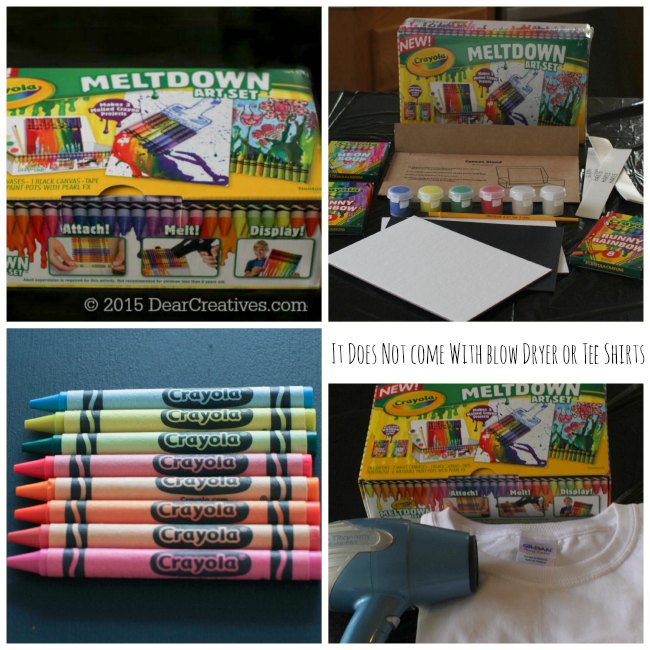
First off, everything you need comes in the kit. If you try the crayon kit you’ll just need a blow dryer. If you make a crayon t-shirt you will need something to protect your work surface area, your t-shirt and an blow dryer, and possibly an (older) iron. Inspired by the fashion design meets crayon projects here’s what we made.
How to make designs on T-Shirts with Crayons
We used heavy duty plastic garbage bags to cover our work space. I highly recommend doing this and even cutting a cardboard box to have three sides to protect your area. Sammie put the blow dryer on high and went to town. As the crayons melt the wax can really travel on /off the canvas that is provided.
- NOTE: We also placed the cut out cardboard inside in between the tee shirt front, and back to keep the melted wax from melting through the t-shirt. All the steps are shown below in a easy to follow format, with images.
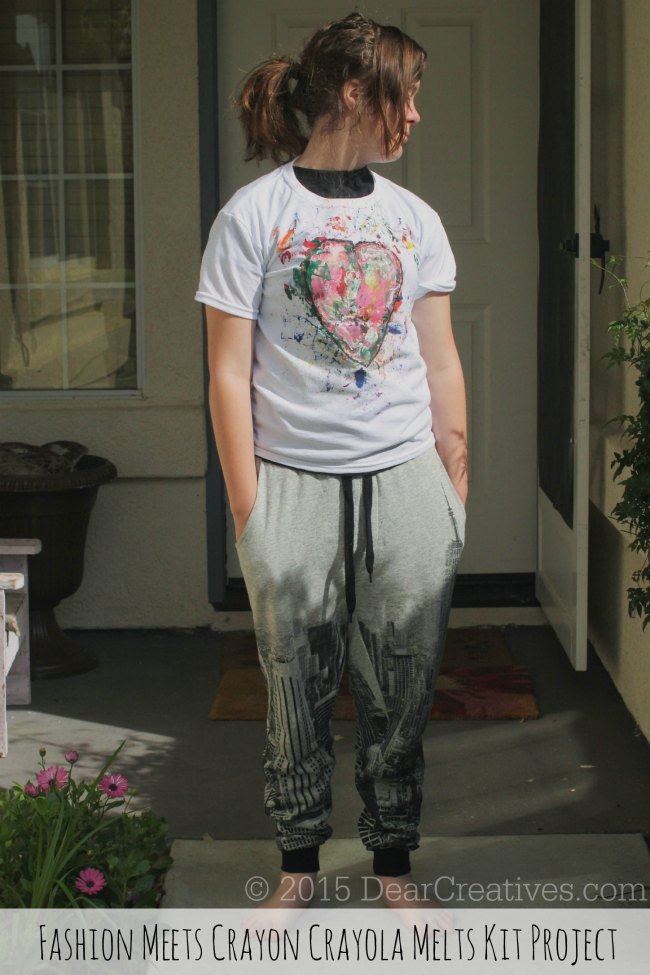
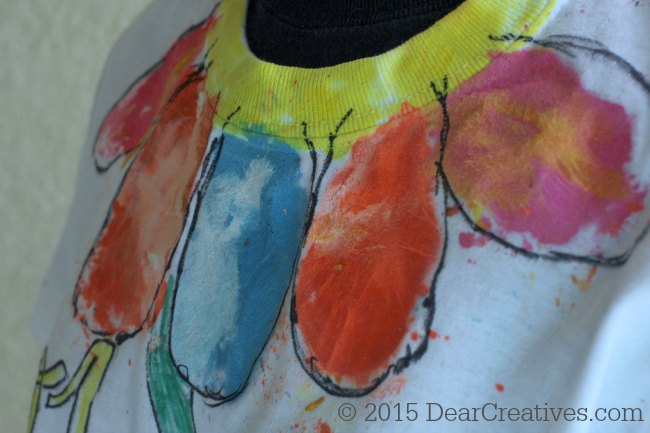
Sammie made her tee shirt with the crayon melts kit creating a heart. She paired it with her favorite New York sweat pants
. Perfect for casual weekends and teen fashions.
How to Use Crayon MeltDown Art Sets
As mentioned yesterday: You don’t have to be a fashion designer or a craft expert to use these Crayola Meltdown Art Set kits they are meant for kids. You just have to follow the directions and make sure your work space is properly, and completely covered with plastic or other protective materials to keep the melted wax from getting onto your table surface. This is a project perfect for kids ages 8 and up with supervision. The kits come with everything you need. Supply list at end of post. If it’s spring or summer you could do this project on the patio if you have an outlet.
Crayola Crayon Meltdown Art Set Steps
Step One
- Prepare your surface to be protected and have adult supervision for this project.
Step Two
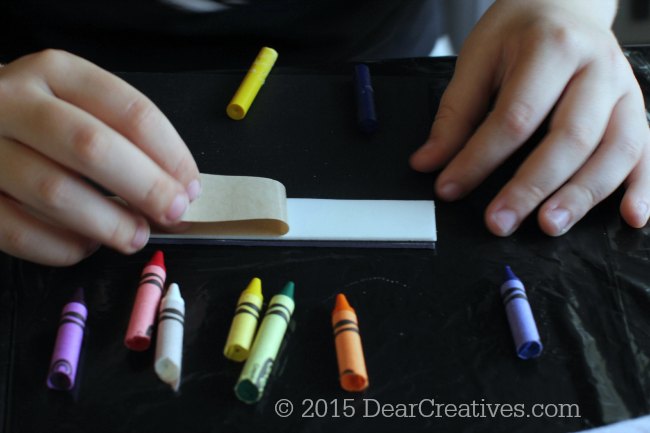
Your ready to begin open your kit and grab the double sided tape. Peel it back and then place it on the canvas of your choice. It comes with two white and one black canvas.
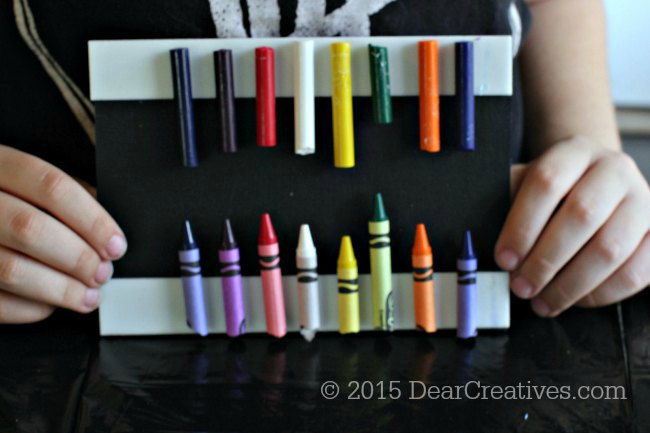
Sammie decided to break her crayons, and place them as shown. She also unwrapped half of them.
Step Three
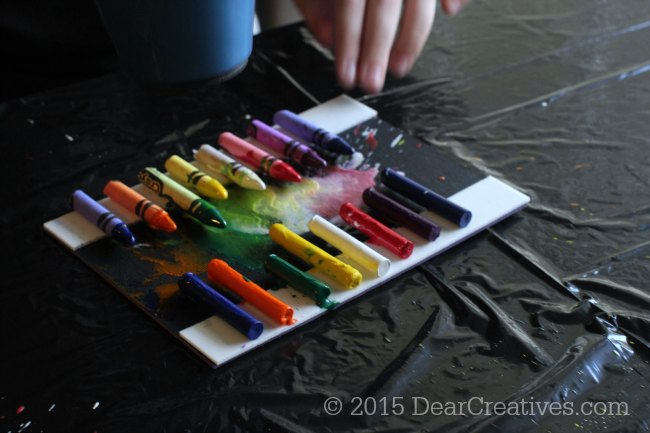
Next she plugged in the hair dryer (while supervised) and laid her canvas down and began to heat up her crayons by blow drying them.
Step Four;
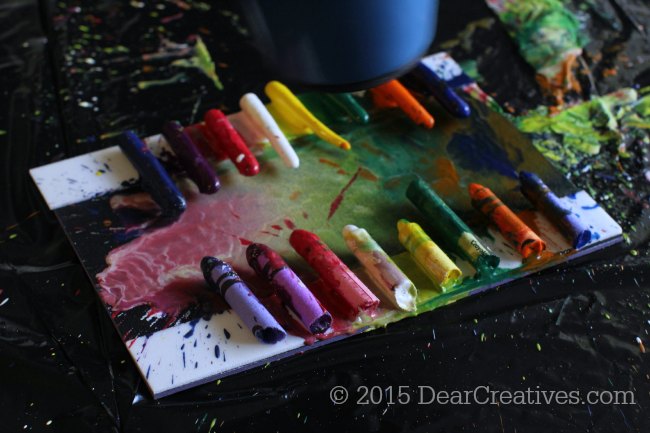
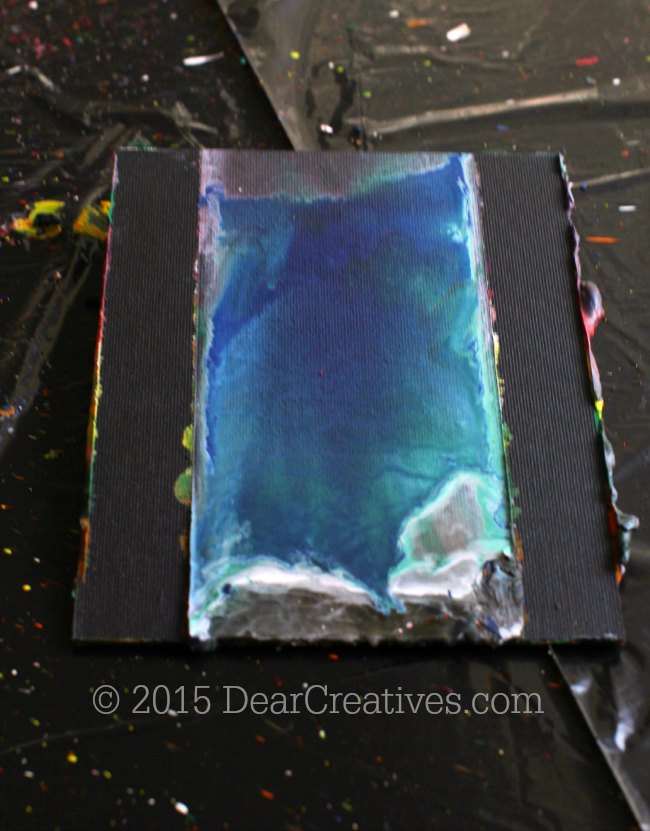
Finished Crayola Meltdown Craft Project
You can see that she took off the double sided tape and that is where the canvas will show un colored. Each canvas comes out different by doing something different.
Additional Steps for Creating the Tee Shirts With the Crayon Meltdown Art Set
Then we decided to do it on the tee shirts. Be sure to follow the same steps as above but, then be sure to put a piece of cardboard inside of your shirt so the crayons don’t melt all the way through.
We found the crayons did slide when melted across the fabric. But, for more control on our tee shirt designs we placed the crayons where we wanted to melt them using the blow dryer melted them. Watch out if you don’t tape them down they will fly off project.
Sammie went crazy on her t-shirt using tons of colors, almost to the point of muting the colors. I used mine sparingly. We also used a tool to melt the wax crayons with more control to finish our design. (But, this step was optional! Sorry no pics)We did this part in an area where we have a ceiling fan for ventilation.
- How ever you decide to use the crayon kits
they come with everything you need and are recommended for ages 8 and up. There is also expansion pack
.
We had fun doing this project. Sammie really enjoyed the freedom and experimentation. Clean up was easy since we covered our entire area with plastic and swept up crayon wrappers Sammie accidently had blown on the floor.
Supplies needed for one or both projects
- Crayola Meltdown Art Set
- Tee Shirts
- Fabric Markers
- Clover Needle Craft Mini Iron (*optional) (used for controlled melting of the wax)
- Recycled Cardboard
or a cardboard for tee shirt project
- Heavy Duty Garbage Bags
Purchase only the Crayola Meltdown Art Set if you don’t want to create a tee shirt. We had a blast! Hope this helps you have some fun with the kids this spring, or summer. Or anytime!!
Happy crafting!
What is a spring craft that you have done with or without your kids lately?
The shirts came out great! It looks like a fun project.
Hi Lauren, Thanks for stopping by. It was a fun project. Sammie had a blast.
The first time I tried this, it was a total disaster! I love that they came out with a kit now for people like me:)
Hi Joanna, I like the kit for the exact reason it came with everything you needed. I didn’t even use all my crayons. There is plenty to do more than 3 mini canvas projects.
I had no idea such a thing existed! Thanks for linking up with us on the A Little Bit of Everything Link Up party!
Hi Aimee, Thanks for stopping by! & for hosting.
Never would have thought to use crayons to decorate a shirt! Love!
Hi Crystal, Thanks for stopping by & the compliment. We were inspired by the Bloomingdale’s Collaboration post. I’ve done a few melted crayon projects before with the older kids but, this time Sammie was old enough to do her own.
Hi Crystal, Thanks for stopping by and the compliment.