Modern Rustic Burlap Table Cloth #Diy Part 1 Plus 4 Other Burlap Diys!
Not to long ago I received a roll a burlap to create some diy projects with. I have a square dining table. I love it but, it is getting older and is a softer wood so it scratches easily. I always use a table cloth. I haven’t come across my size in square very often and was needing to update my table cloth. I decided to create a two part diy. First how to sew the top of the burlap table cloth and part two will be the lined side. I’ll also share a resource for your burlap supplies later in the post. Perfect for diy, sewing, wedding or events.
I keep trying to get a good shot of the finished table cloth but, my dining room is in the darkest part of our home. Every time I think of it the sun has gone down or the table has a project. But, I did grab some great step by step shots and one finished shot with the room not all cleaned up.
The supplies needed for the burlap diy sewing project:
- sewing machine
- burlap or other fabric
- quilting batting poly fiber fill
- muslin
- scissors
- thread
- measuring tape or ruler
- heat and bond ultra hold
- iron
The steps are pretty easy for making a table cloth. The biggest thing is deciding if you want to make it all one piece and finding a piece of fabric burlap large enough. I might have been able to do that if I had known I would try to do a table cloth with it. The burlap supplier carries many widths. The fabric was almost the right size but, not quite enough.
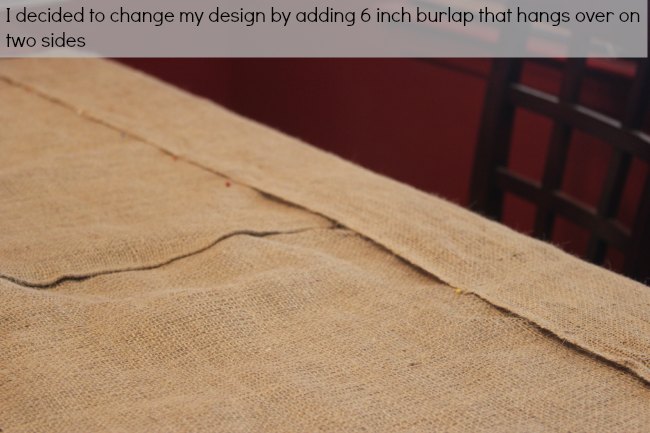
My next thought was just to piece it dead center. But, I just thought it would be more interesting by adding a seam 5 inches from the edge of the table on two sides. On these two sides of the table the fabric flows down another 5 inches. (with selvages it is 6 inches then sewn and trimmed)
Why not add it to the other sides? I could of but, I just thought it looked interesting and worked for our modern room design. We have a triangle in the sheet rock jetting out on the ceiling. Why not? Now that you have decided one piece, two or four for your table cloth. Get’s get onto the steps.
How to sew the burlap table cloth:
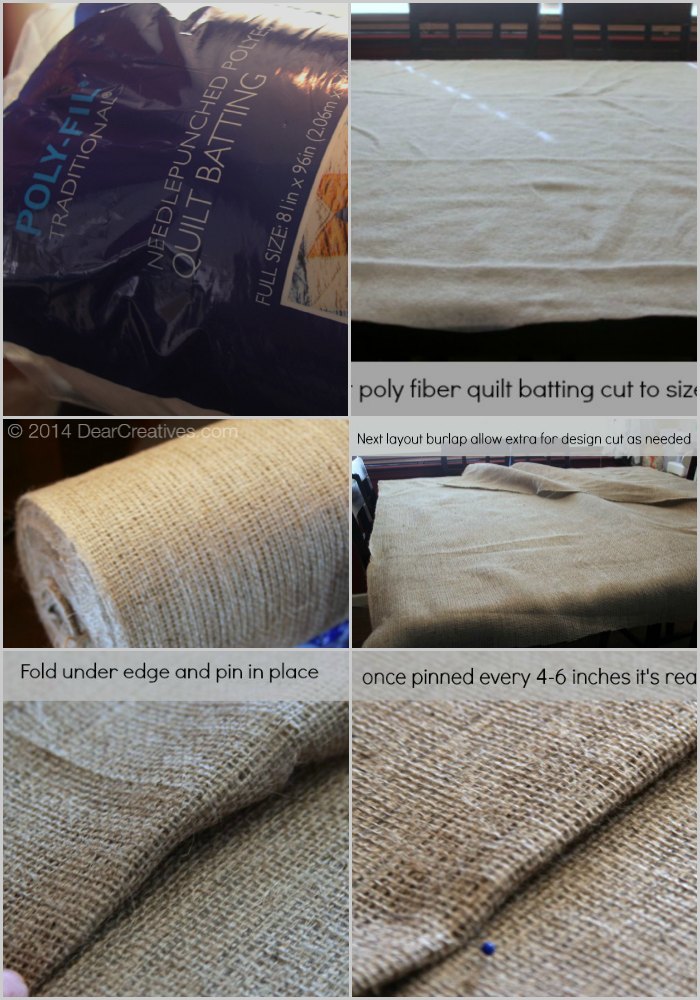
- Cut your poly fill to the size you’ll need for the table. This piece will be under the burlap and then be finished with adding muslin. To keep your table safe from warm plates. ( Do not add this poly fill to the burlap until all the burlap seams are sewn!)
- You can refer to the step by step images too click and it enlarges
- Pin any piecing into place with raw edges tucked under and when done measure for any needed seam allowances for edges and cut excess.
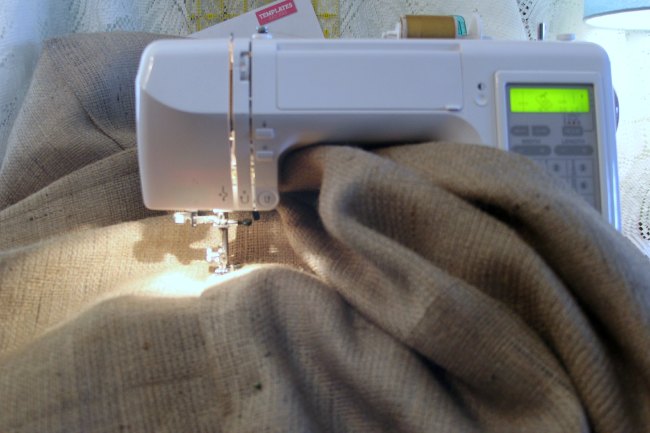
- Now just sew all your seams!
I have my sewing machine on a small vintage vanity and as you can see this was getting bunched up as I went along. I should of known better, right! I moved it to my dining table as you need more room to lay out your fabric and pull it along to keep your seams straight.
- Tip: When sewing a large amount of fabric make sure to use a large table area. It makes it way easier to move along.
I re-measured after I edited the photo it is 5 inches from edge of table to seam and another 5 inches flowing off table with seam. Allow yourself at least one inch for seams. That’s where I got the six from with selvages.
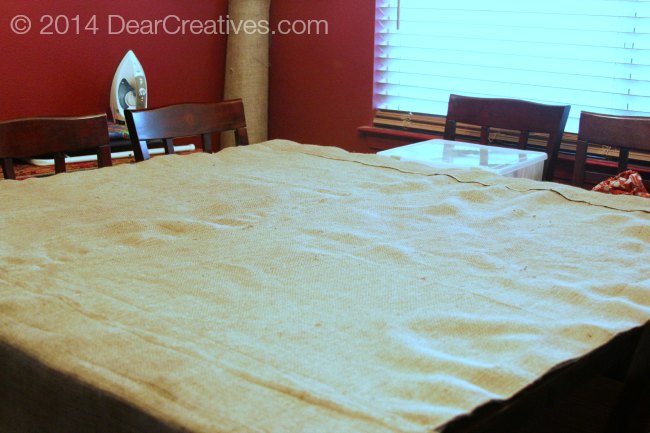
It’s hard to see the over hang in the photo because it’s so dark and the table cloth hasn’t been pressed well. This is after the batting was attached. On part two I’ll share how to attach the batting and finish the backing with muslin!
I really like how it turned out I added a cut piece of burlap to my lazy Susan and some woodland decor on it. Your getting a sneak peek of another project coming soon! I think I’m going to try and add a ruffle edge to my lazy Susan cut burlap when I have time. Or just make a second one.
Disclosure: Today’s post was brought to you with Burlap provided from YourFabricSource.com
You can also find YourFabricSource on Social Media at :
YourFabricSource on Pinterest
YourFabricSource on Google +
Do you enjoy sewing or crafting with burlap? What have your made with burlap?
Related Posts:
I wish I could sew! I bet this is going to look great when it’s done!
Thanks Kathy! It’s easier to learn than you think, especially if you have a machine sitting around.
It looks very very nice!!
For the life of me – not a chance that I could do it 🙂