How To Decorate Mini Chalkboards – Be Mine DIY
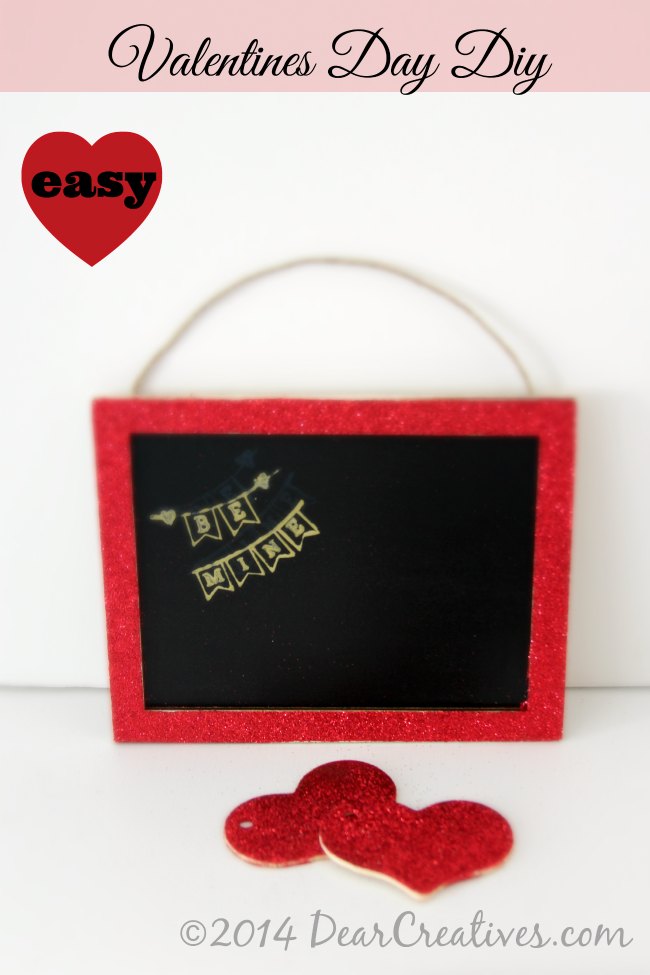
How to decorate mini chalkboards – Be Mine DIY. I love finding easy ways to make DIY home decor for Valentine’s Day and crafts for Valentine’s Day. I picked up a few crafting supplies for my Valentine’s Day Crafts project. We started with cute chalkboard frames, pretty red glitter and a be mine stamp in a banner style. Then I added a few items I had on hand to make it perfect for use on Valentine’s Day!
Let me show you how easy this Crafts Valentine Day project is to do. This craft project will include a tutorial, supply list, and resources to enable you to create the same project or something similar.
This craft DIY can also be done a Valentine’s Day project to do with the kids, used as a teen craft or an adult Valentine’s Day craft. You can put quite a few spins on the ideas making each one unique. I hand Stamped the chalkboard with the be mine after adding a bit of Valentine’s glitter to the outside frames! But, you could use a chalk pen to handwrite a little message too. You cand also use this project for a DIY wedding.
How To Decorate Mini Chalkboards
Be Mine DIY
Besides being an easy project you can create variations on the design. If this isn’t the craft you are looking to make see all our Valentine’s Day Crafts or our other craft ideas from the menu.
Valentine’s Day Craft – Mini Chalkboard DIY
Supplies
- glue (that dries clear)
- scissors
- glitter
- twine or ribbons
- hearts
- mini chalkboards
- chalk pens
- Valentines Day stamp
- hot glue gun
See all the supplies we used later in the post.
How To decorate mini chalkboards
The steps are easy. Tip if glittering do a bunch at once following these directions –
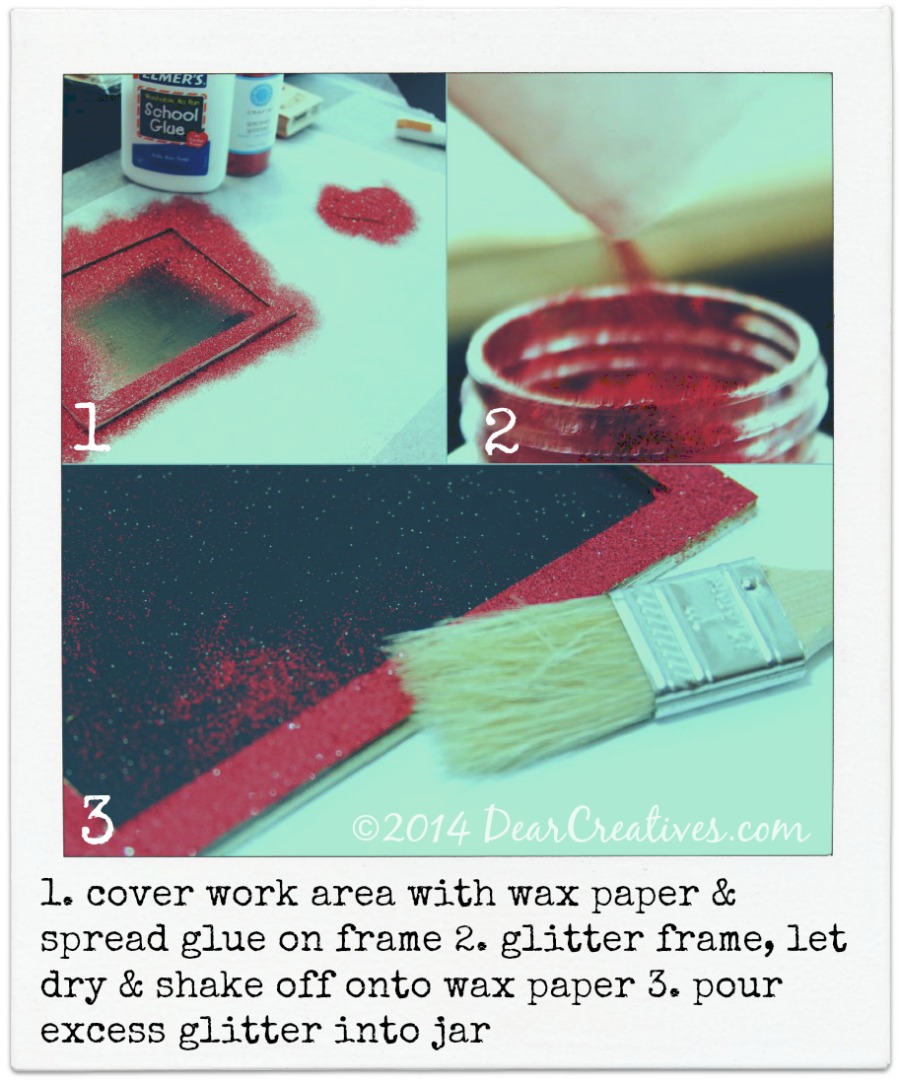
- Cover work area with wax paper (to pick up excess glitter and save it)
- Spread glue onto the frame but, make sure not too thick and try not to drip onto the chalkboard. Tip: have handy a damp rag ready to wipe off drips.
- Glitter frame and let dry! (ya, you might not want to glitter it as much as in the photo, just enough to fully cover glue area)
- Again, let completely dry! This is where you go up in the laundry or read a book to the kids.
- Shake off excess glitter onto your wax paper and pour back into the jar. Tip: if using different color glitters use a different piece of wax paper for each color.
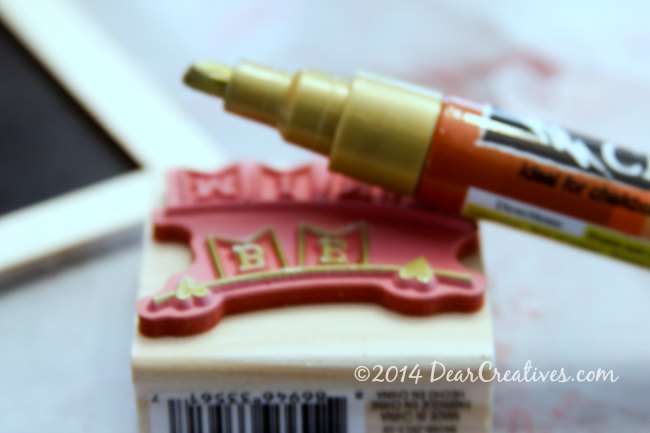
Shake your chalk pen with the lid on up and down to distribute the ink inside of the pen tip. Test on paper that nib has ink flowing to tip. Color stamp with the desired color and quickly place stamp where you want it inked applying pressure. (don’t lift up and down) Then lift off. If not enough ink or too much and blurs wipe off and try again.\
Mini Chalkboard Valentine’s Day DIY
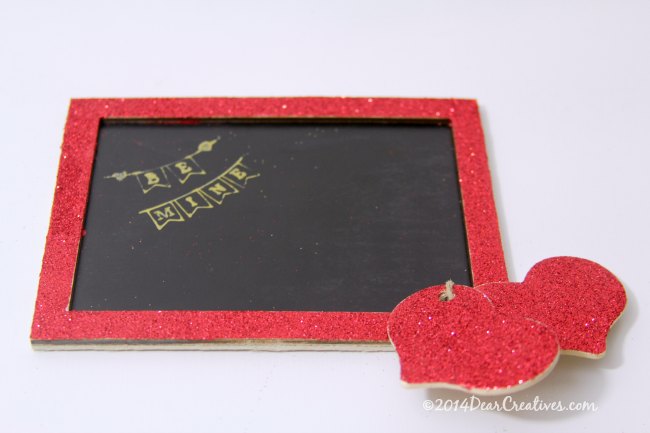
Vary your designs tie together two wood glittered hearts and hot glue to corner of the chalkboard. Of course, I needed to make some gold ones! I would have used my white chalk pen but, it ran out of ink. Note to self get a new one! lol
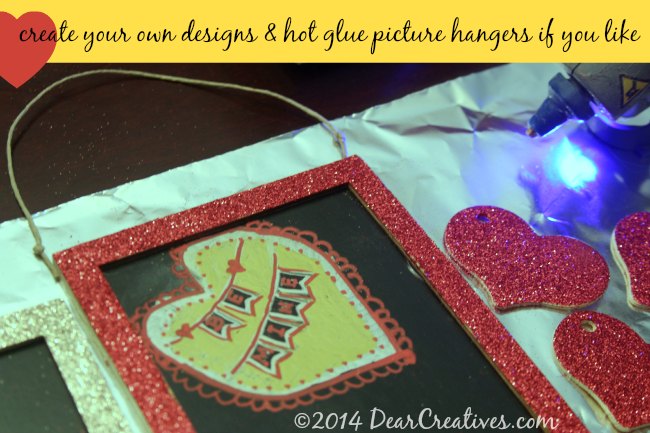
BE Mine DIY
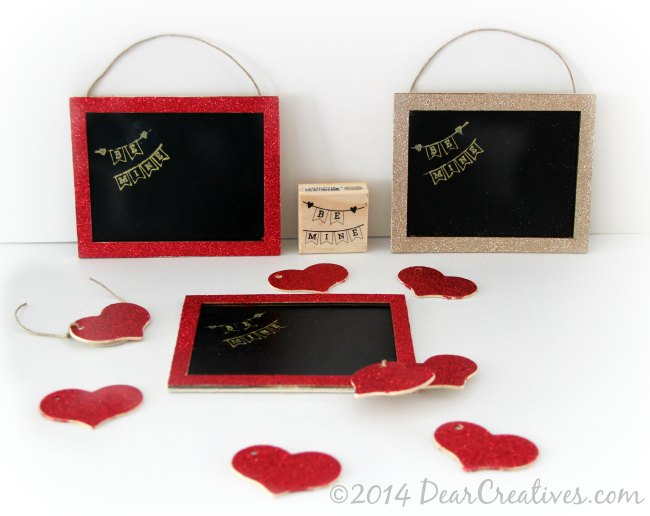
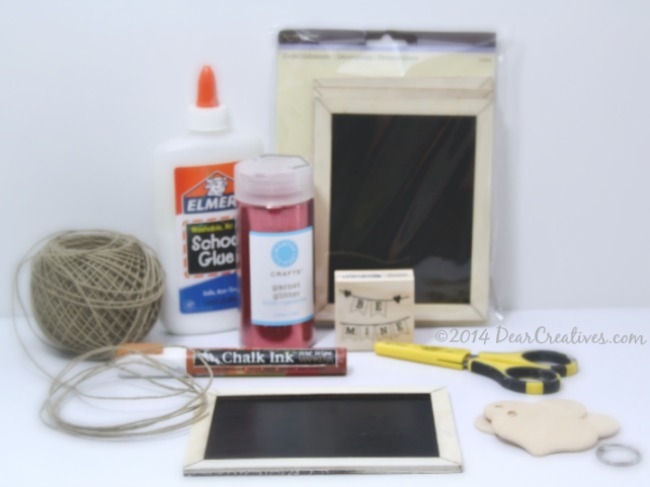
Craft Supplies you may need – Amazon
- Black Slate Chalk Board Double-Sided 8 1/2″ X 6 1/2″ Natural Wood Frame
- Chalk Ink Marker 6Mm Metallic Solidgold Dancr
- Chalk Ink Marker- Chalk White (15mm tip)
- Chalk Ink 6mm Classic Wet Wipe Markers, 8-Pack
- One Package of 400 feet 100% Natural Hemp Cord #20
- Be Mine Stamps
- Hearts wooden with holes
- 130 ct Wood Hearts
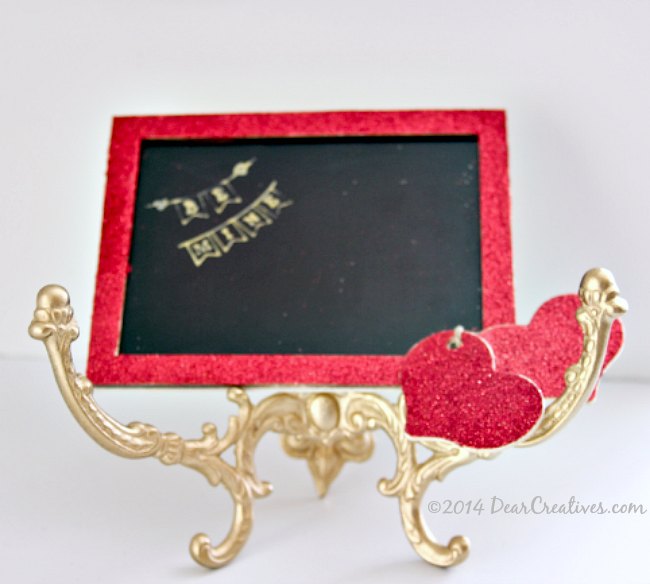
Next just find some cool vintage hanger to re-purpose. This was a tarnished piece I found and spray painted gold. Then set your pretty board on it for display and make some more to give away! On a sunny day or in the garage spray your glitter with Krylon 6-Ounce Crystal Clear Acrylic Coating Aerosol Spray this will seal your glitter. (make sure to cover chalkboard with paper when doing this!) I hope you enjoyed this easy Valentine’s Day project!
What have you been crafting for Valentine’s Day?
- New here? Don’t forget to subscribe.
Want to grab more free printables? Free Printables
Looking for more Valentine’s Day Crafts to make?
Valentine’s Day Crafts To Make
- Valentine’s Day Free Printables & Craft Round-up
- 10 Easy Valentine’s to DIY
- Our free printable Valentine’s Day Cards
- Valentine’s Day Salt Dough Craft
- Valentine’s Day Ideas
- Valentine’s Day Crafts
More Valentine’s Day Craft Fun!



Wow. I love this idea. The vintage hanger really took up a notch. I’ve never created anything for Valentines Day so this would be a great project to try.
Hi Chichi, I hope you do get a chance to give it a try! Thanks for dropping by and your lovely comment.
These are just precious. Thanks for sharing!
XO,
Steph
http://www.newlymynted.com
Hi Stephanie, Glad you liked them and thanks for stopping by today!Happy Wed!
Oh I love these! So cute! Stopping by from Get Crafty Friday link-up! Have a great weekend!
Emily
Hi Emily, Thanks for letting me know how you found me. I’ll try and drop by to soon. Have a great weekend too.
I love this idea!
Have a great weekend!
Hi Joanna, Thanks glad you like it. Its a super easy idea!
Easy is mostly the best
Hi Joanna, Easy is good!Have a great day!
This is adorable! Thanks for sharing and for linking up for the Thursday Favorite Things Blog Hop at Katherine’s Corner. I’ll be back to check out more of your crafty posts! Come on over and check out some of my craft tutorials, too, at http://www.mamaslittletreasures.com See you again soon at the Thursday Favorite Things Blog Hop! Nina @ mamas*little*treasures
Hi Nina, Thanks for dropping by. Nice to share when I can. I hope to make it over your way soon as I can. Have a great rest of your week.
What a cute idea! I will definitely stop back to check out more of your crafty blog posts. Come on over and check out my craft tutorials at http://www.mamaslittletreasures.com See you again soon for the Thursday Favorite Things Blog Hop! Nina @ mamas*little*treasures
Really cute! Thanks for sharing on the blog hop today!
Oh my, I’m loving this! I’m completely into chalkboard art right now, but never thought of using the markers on stamps – seriously mind blown over here! I’m so glad I found this post!
I’m part of a Valentine link up party and I think this would be a great addition to the party, if you are at all interested in linking up here is the link to the party: raysofgraceandjoy.blogspot.com/2014/01/all-things-valentines-craft-for-little.html
I hope you stop by, as this is a great post!
Marissa
Hi Marissa, Thanks for the invite. I hope to make it by sometime soon. Glad you like the project and hope you get to make this.
This is adorable! So glad you shared it with us! ~Tammy
Hi Tammy thanks for dropping by & glad you like the project.
I love this! looks like it’s not too hard, going to make a trip to the dollar store soon. 😉 Thanks for linking up!
Hi Steph, I need to drop by the dollar store every so often. I hope you get a chance to make some. Thanks for dropping by!
Visiting from Katherine’s blog hop. Very cute V-day idea! I can’t wait to try this crafty project myself.
This is probably my favorite Valentine craft so far this year! So creative and beautiful yet inexpensive and it looks easy enough to do!! Thanks for linking this on SITS! Love it! Pinning!
Oh thanks Erica! Glad you dropped by and thanks for pinning. Glad to meet you via SITS!