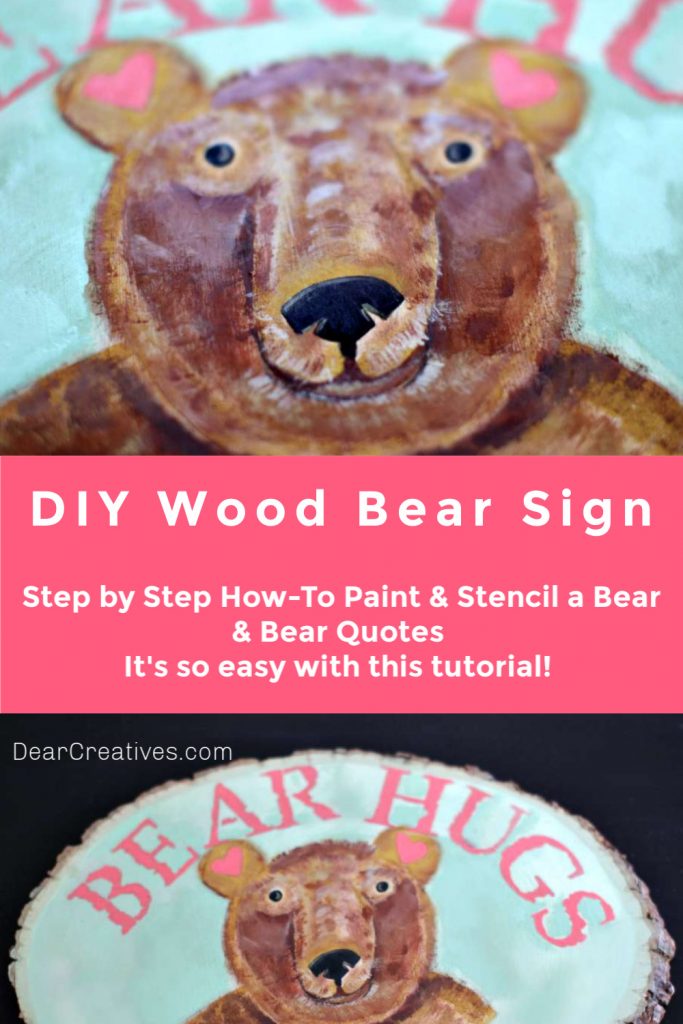
DIY Wood Bear Sign – Step By Step How-To
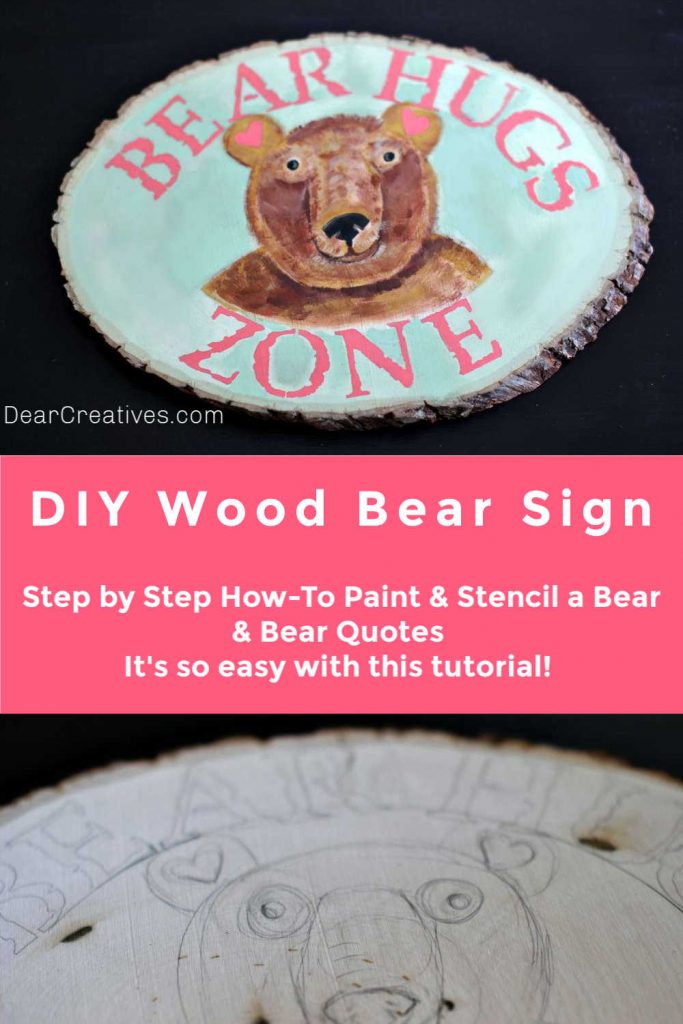
I am sharing a how-to, it’s for a DIY wood bear sign. If you are crafty you can make this wood round project. It uses acrylic paints, stencils, and an optional hand sketch of a bear. We will point you to a stencil if you feel you can’t tackle the easy drawing instructions and painting instructions. This DIY art project/DIY wood plaque is to hang in a nursery, kids playroom or a kid’s bedroom.
Looking for other crafts to make? See all our Craft Ideas
The colors of this project can be coordinated to suit your color themes. This is a fun craft project that is great to make for a DIY baby shower gift or even for a DIY kid’s birthday gift.
DIY Wood Bear Sign
You don’t have to be an artist to paint a bear or a cute bear face! But, if you are worried you can practice drawing and painting a bear with the instructions below, use a stencil or use a video tutorial. I’ve linked to a helpful video tutorial later in the post. You can make this design or pick another and follow the same acrylic painting tips and steps for how to paint on wood rounds. Let’s get started on today’s acrylic paint project.
I have a bunch of art and craft projects and tutorials that I have been meaning to share and this is one that kept getting pushed aside until I finally finished writing the post. I hope you give this project a try and enjoy trying to make art.
How To Paint A Bear Face
Supplies

These supplies are only a suggestion to help you make your own bear artwork and get the craft supplies you may need. You may have many of these acrylics in your paint stash. I always make a list of what I need and gather my supplies before starting my craft projects. Nothing worse than having to run out to get something in the middle of a project.
These supplies are sourced from Amazon. We are an affiliate which means we earn a small commission for qualifying purchases.
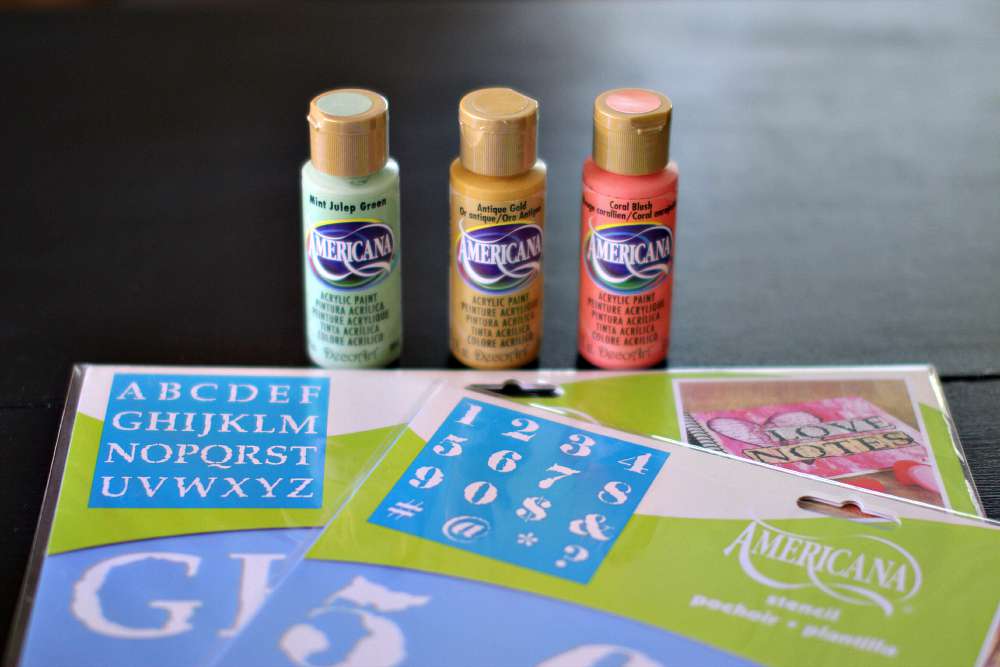
- Coral Blush
( DA292-3)
- Mint Julep Green
(DAO45-3)
- Antique Gold
(DAO9-3)
- Burnt Sienna
( DAO63-3)
- Toffee (DAO59-3)
- Lamp Black (DAO67-3)
- Or Your Choice of the most popular Americana Acrylic Paints
- DecoArt® Pochoir Plantilla™ Stencils Or other (alphabet stencils)
- Bear Stencil (optional)
Other supplies
- Oval Wood Round
or (Oval Wood Round-Large)
- Water container
- Palette or plastic plate
- Paper towels
- Wax paper (or freezer paper)
- #1 liner brush
- #2 brush
- #12 Flat brush
- Stencil brush
or Sponge Pouncers
Instructions
How to Stencil A Quote
- Gather all your supplies and begin to layout the design (or your design) for the oval wood round or wood round. (You can also do this on canvas if you prefer.)
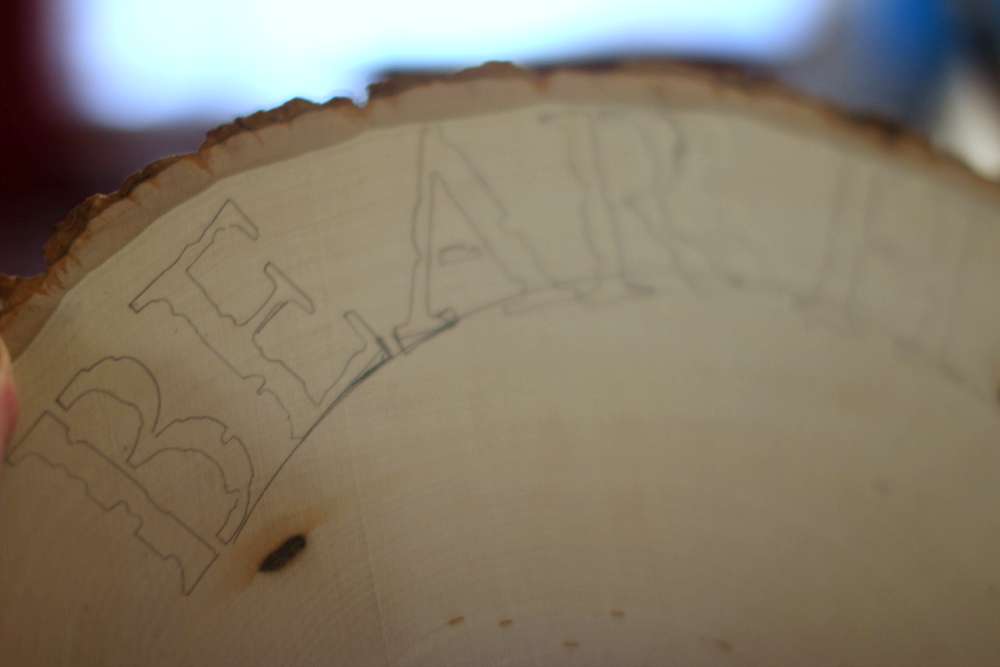
- (2a.) At the top of the wood round, arch the word “Bear Hugs” (or a saying of your choice) Need more ideas? Search DIY wood bear nursery signs on Pinterest or see this Pinterest board.
- Take a paper plate and fold it in half.
- Lay it centered on your oval plaque creating an arch for your lettering.
- Next lay your alphabet stencil letter by letter spacing and penciling in a light line of where you’ll be painting it in. (note mine is darker than normal to ensure you can see how I created the placement.
- Adjust any letter placement- corrections prior to painting!
(2b.) Bottom Arch – for the word “Zone”(or word of your choice) use your paper plate flipped over to create your bottom arch. Center the word Zone by eyeballing your placement. Mark placement of your word the same way as in 2a.
How To Paint A Bear Face
Instructions
Follow the acrylic paint techniques

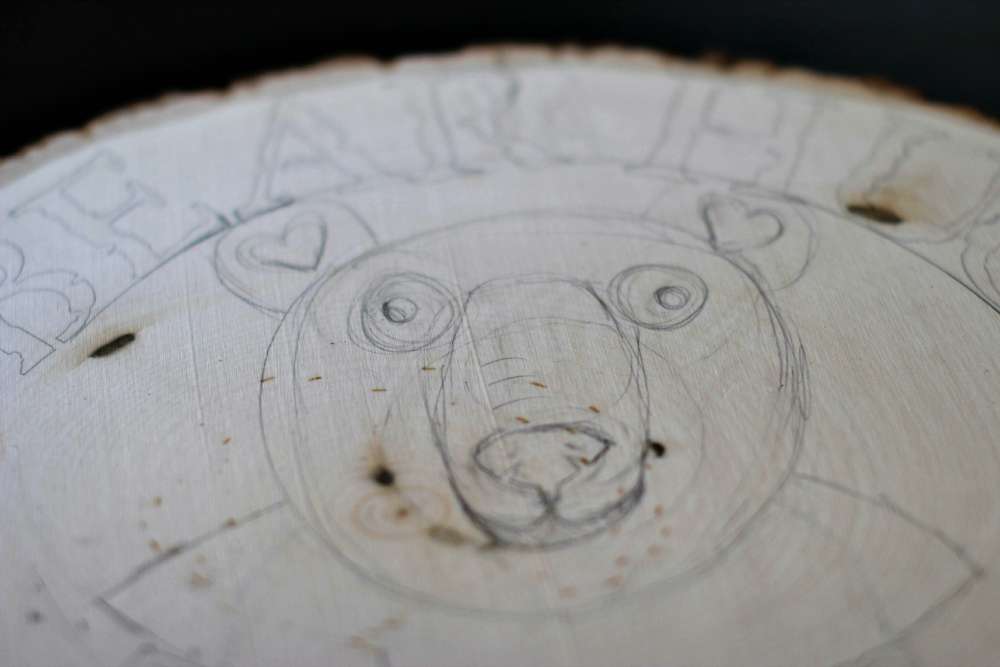
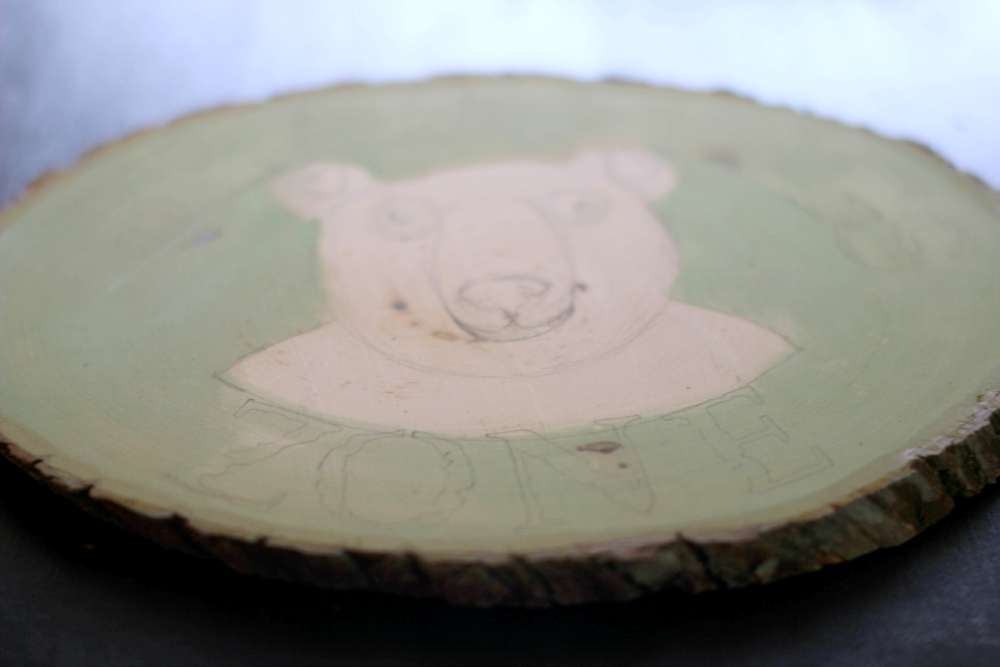
- Pencil the draft of the bear. Do this by centering the bear below and between the lettering that is above. You can use a pot, large cup for head or freehand like I did. Don’t worry about the pencil lines; the dark color of the paint will cover the pencil lines.
- Next, create a wash with theMint Julep Green Acrylic Paint. Use your #12 brush and wet it, mixing water to paint until watery. Apply one to two coats. Do cover your lettering as it will make touching up green easier! It’s not necessary to cover the bear. I did have a spot that I accidentally rubbed when wet. I let it finish drying then added more mint green to touch it up.
Accidents happen no matter how much you do art. Remember, happy accidents? I loved watching Bob Ross as a kid and still do. What about you? Most mistakes can be fixed when painting.
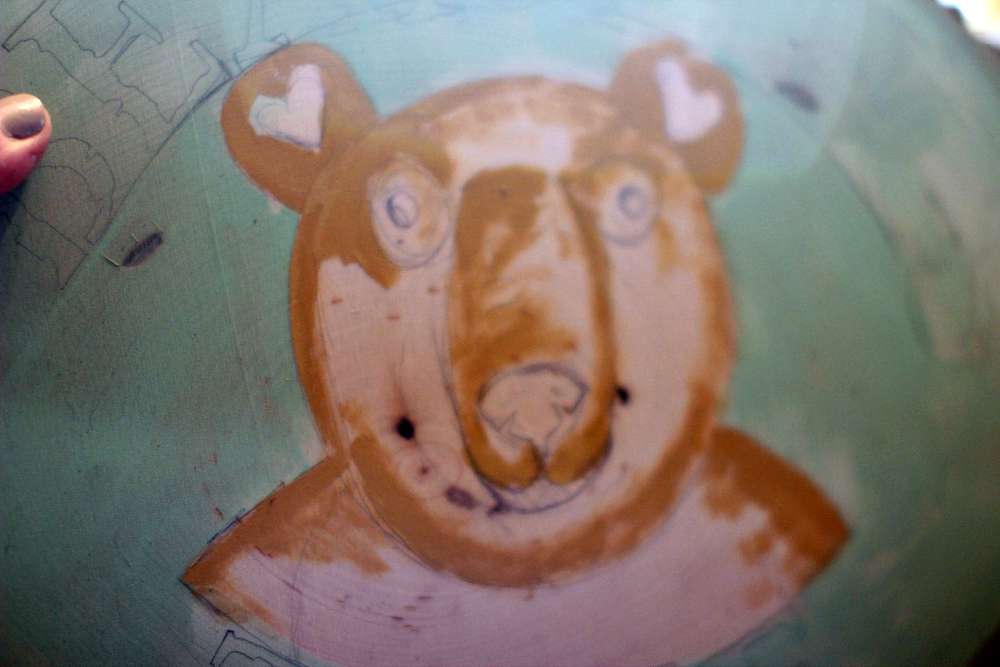
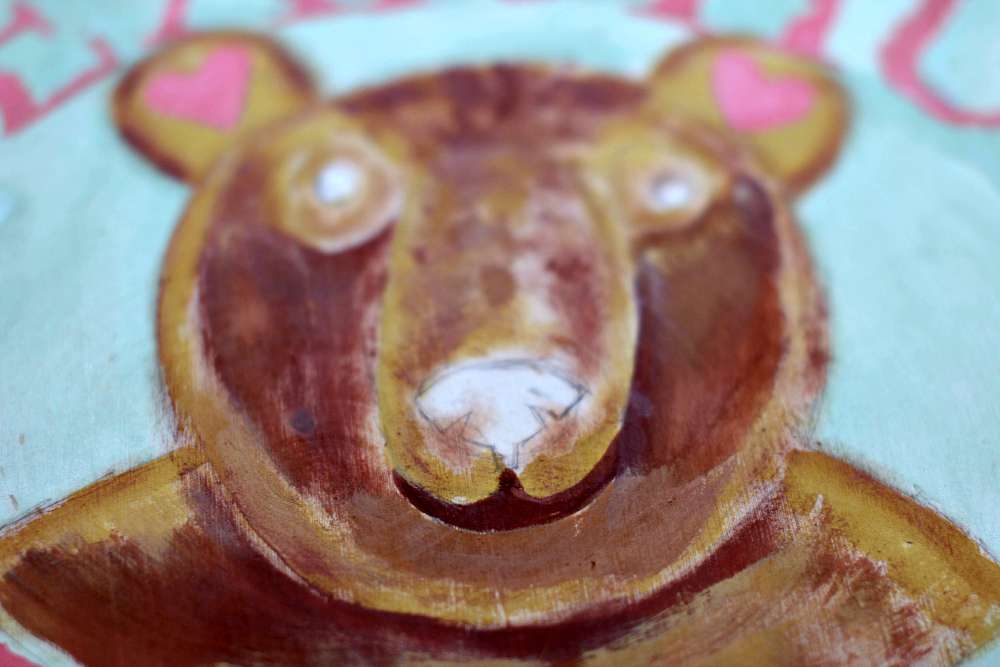
- Use your Antique Gold Acrylic Paint to block in all the light areas of the bear’s fur.
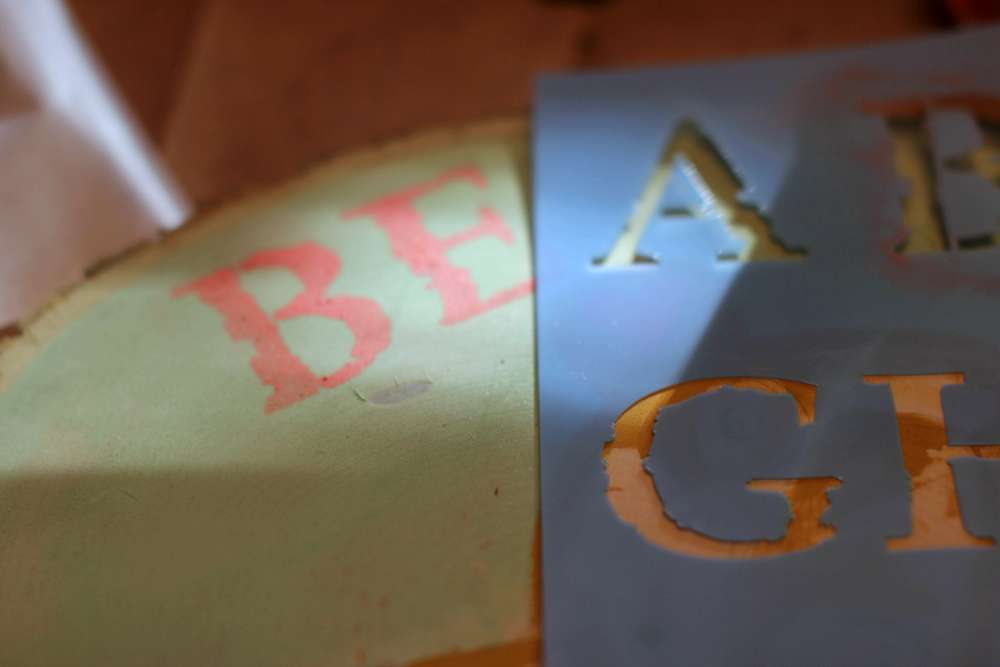
- Letter by letter use Coral Blush Acrylic Paint (or your choice of acrylic paint) and your Alphabet Stencil placed over penciled marks to fill in the words you marked in pencil.
PRO TIPS
- Wipe off the back of the stencil with a paper towel prior to moving to the next letter!!
- Use a dry brush stencil technique with your stencil brush.
- Blot excess paint prior to filling in the stencil.
- Resource -If you need a video to help you paint a bear face (or bear) YouTube has so many to pick from.
- Finished stenciling the project.
- Next, add heart ears then touch up with mint julep green paint as needed.
- Block in with Burnt Sienna Acrylic Paint the dark fur area. For mid-tones, I mixed Antique Gold, Burnt Sienna and Toffee. Around the outline of the bear and bears ears, I used a dry brush technique to Make it look like fur. You can even use your fingers to smudge a little paint if needed.
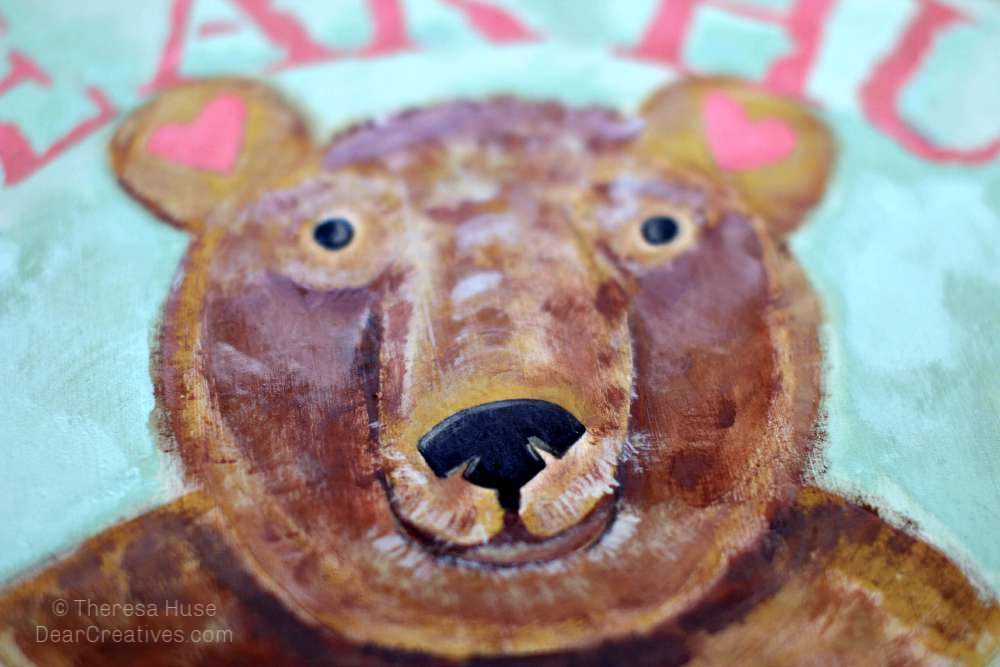
- Detailing bear face with Lamp Black Acrylic Paint
for nose and eyes. Toffee Acrylic Paint for fur highlights on the nose by using a liner brush. For eye highlights use a liner brush to create a half-moon shape.
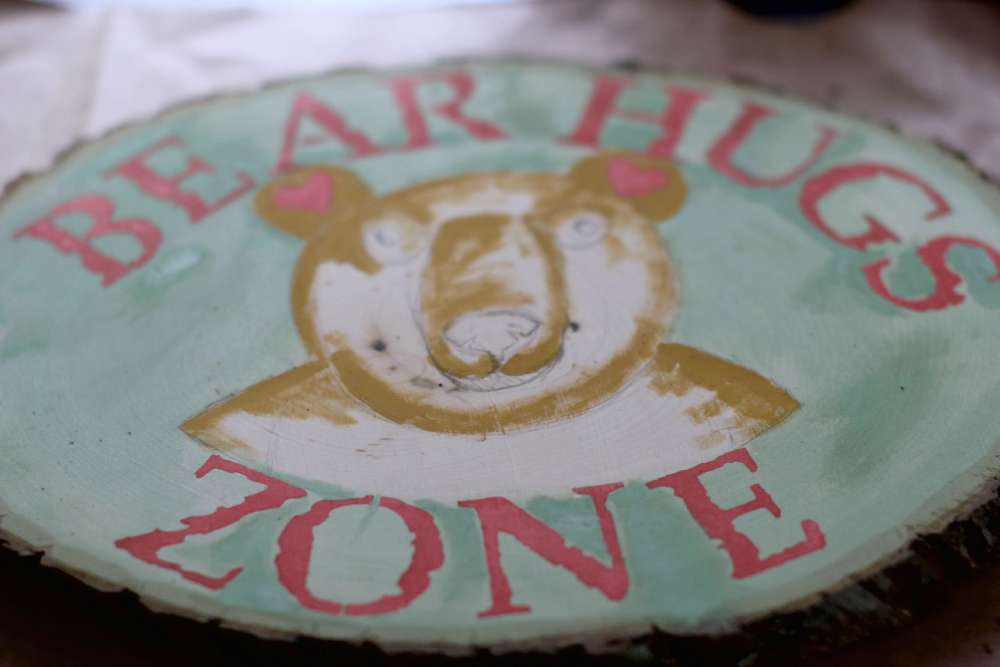
- Touch up as needed to finish your Bear Hugs Zone Stenciled Plaque.
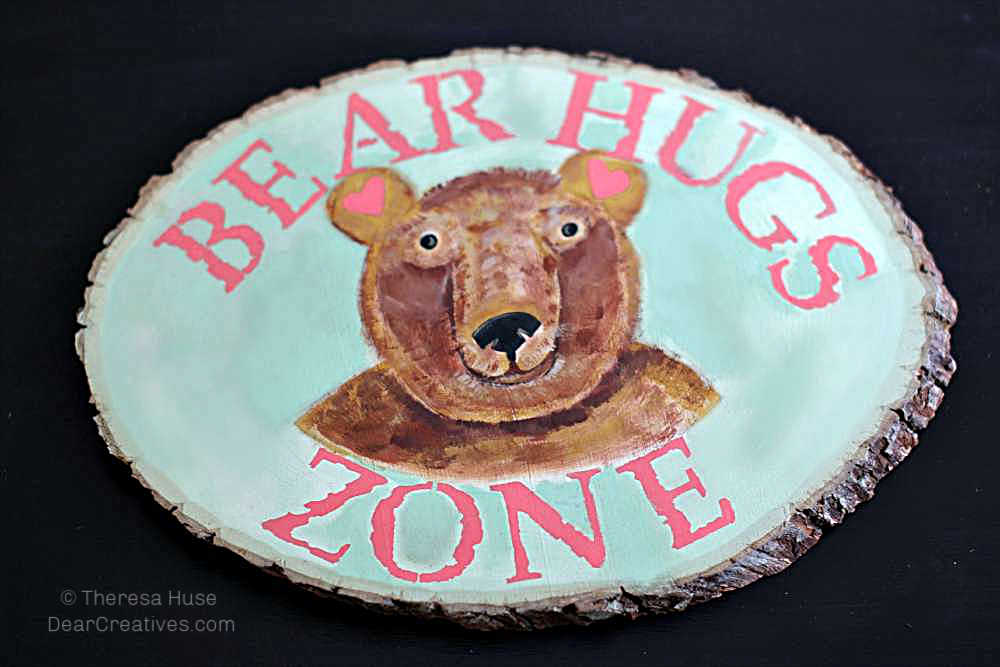
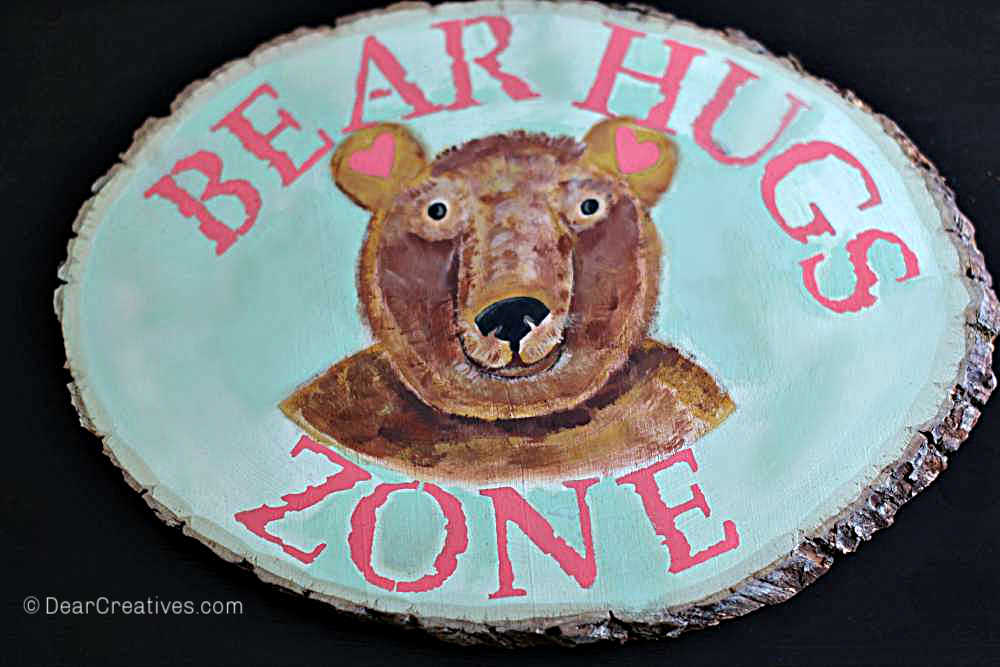
Finished DIY Wood Bear Sign
- Add an extra-strong command strip to hang on the wall, add a picture hanger
to the back, or place on a shelf with plaque holder
. Or carefully lean the wood plaque on a dresser or shelf display. I can’t wait to update you when it’s hung in its new home.
Tada! You have finished your DIY Wood Bear Sign! I hope you have fun making a cute bear face if you haven’t tried this art project yet.
I hope this inspires you to make your own painted wood signs. It’s been a while since I shared a craft project with acrylic paints. I am part of the DecoArt bloggers community. You can find a few of my projects there too. Occasionally I am supplied with free paints and stencils to create craft projects to share with you.
Related arts and craft projects that you might like
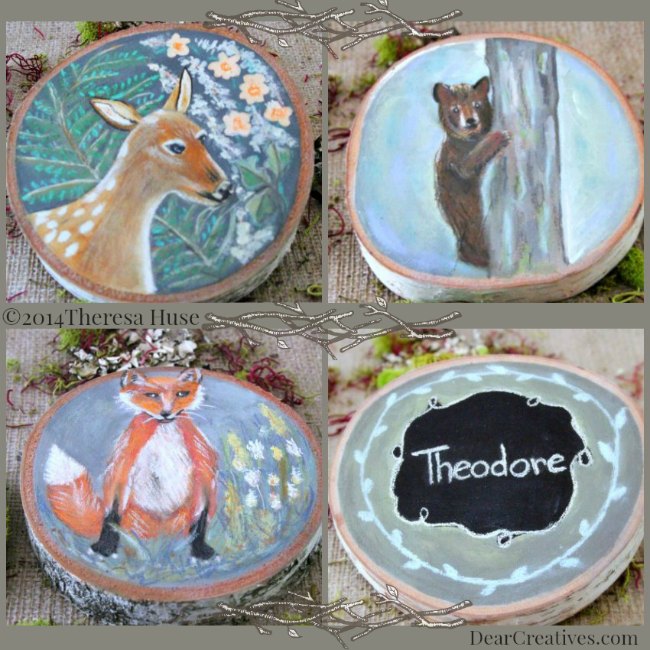
- You might remember when I shared the wood signs for my grandson’s nursery? (Woodland Paintings on Wood Rounds)
- How To Get More Creative Time (How to Paint A Rose + Journaling)
- A fun way to practice painting is by Art Journaling
- DIY Upcycled Utensil Holder (How to Color Block Paint + Easter Decorations)
- How to Stencil a Bulletin Board
- DIY Photo Prop
- DIY Wood Fall Banner
- How To Paint a Skull for Dia de Muertos
- How to Stencil and Decorate Pumpkins
- Tips for Drawing With Colored Pencils
