How to Make Photo Booth Props + DIY Photo Back Drop
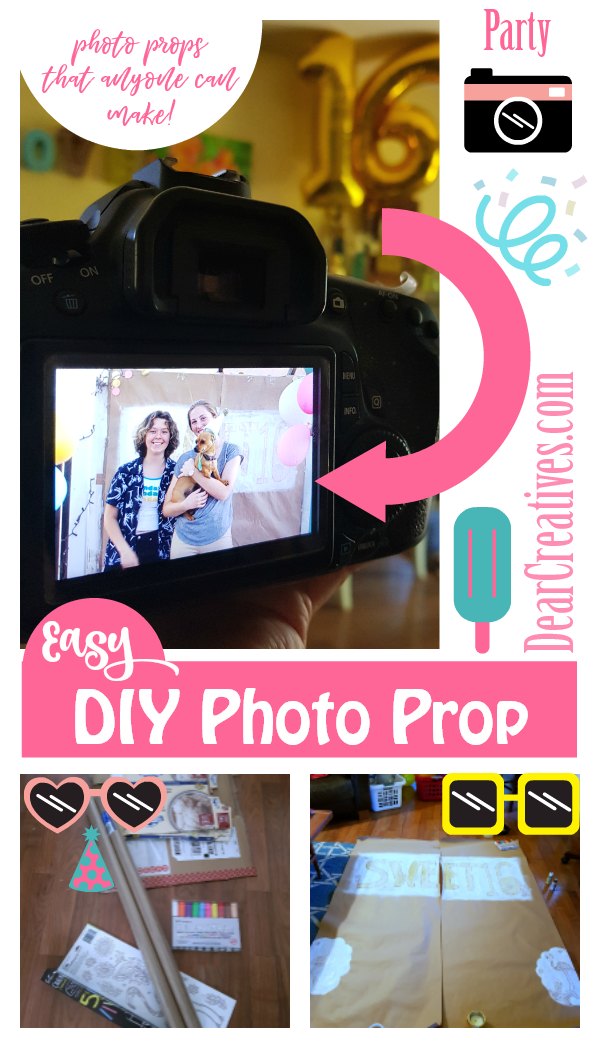
Have you ever wanted to make photo booth props? Today we are sharing an easy way you can make a photo prop. We happened to use this backdrop for one of our sweet sixteen ideas. But, you can use this same technique for your own diy photo prop. Photo props are fun for birthdays, weddings, or other celebrations.
We are sharing a few tips for creating your own photo props, and backdrops. I promise to share more Sweet 16 party ideas later. When I was planning this party I was like how is this even happening? My girl is turning 16!
- You might remember this post where we made photo prop mustaches we made these for here sister’s wedding quite a few years ago. See this, and a few other ideas at the bottom of today’s post.
Photo Booth Props
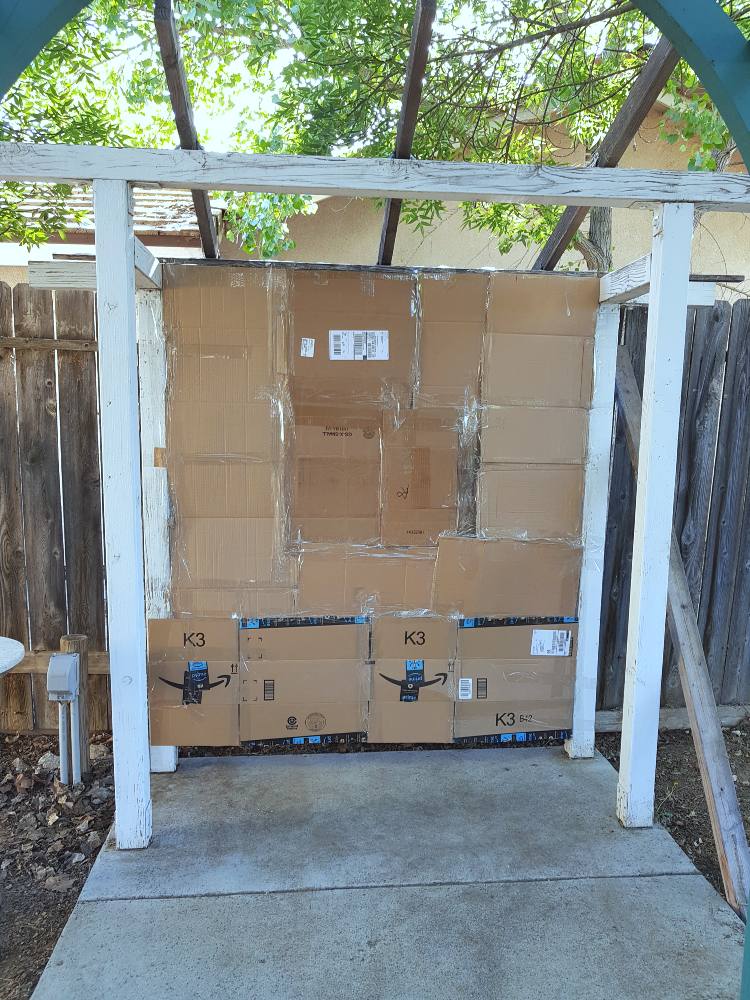
We happen to have a spot in our backyard that has two wood beams about four to five feet apart. We used cardboard to make a base for the back drop. But, this photo booth prop also can be added to the back of a fence or to a wall indoors. Let’s make this back drop.
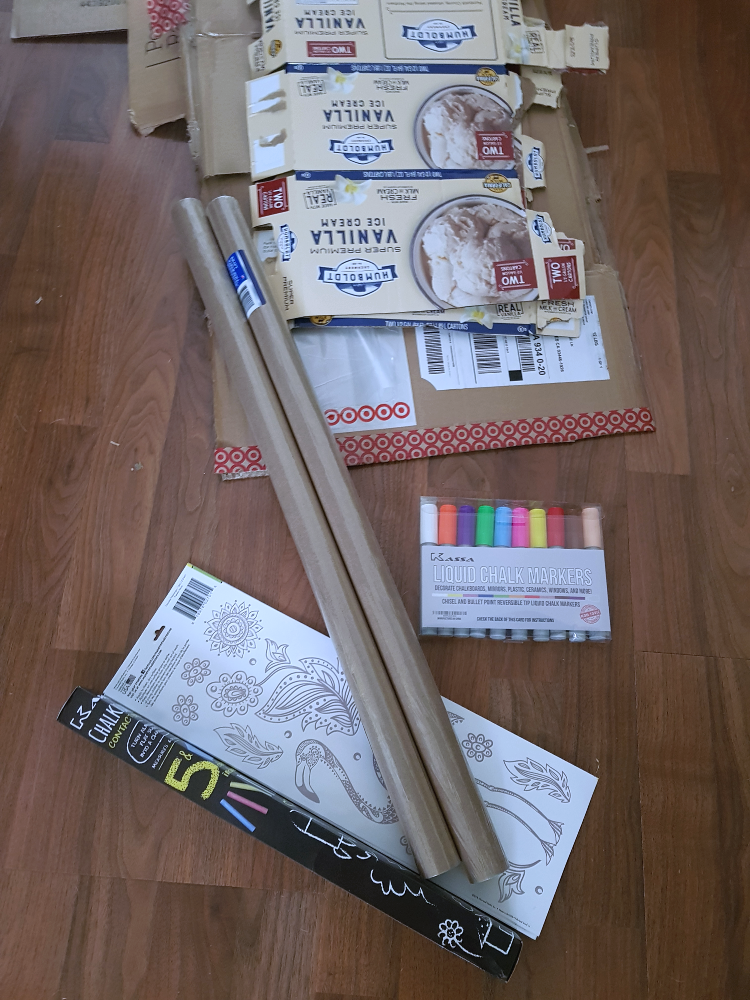
First gather your supplies. Below is a list of supplies to make this photo booth back drop.
DIY back drop
Supplies
- Cardboard (either recycled or chip board sheet- cardboard
)
- Clear Duct Tape
- Scissors
and or retractable box cutter
- Ruler
- Pencil
- Sharpie
- Or optional technique: Kasa Chalk Pens
and Chalkboard Contact Paper
for making signs.
- White Acrylic Paint
(or other paint colors of acrylic paints
) Gold Acrylic Paint
- Decal Flamingo Wall Stickers
or Other Decal Stickers
- Roll (s) of Kraft Paper
or White Kraft Paper
- Recycled containers for paint, and a small container for water (you only want your brushes damp not WET so squeeze out excess water)
- Paint brushes (flat 2, 3 or 4 inch
, and small angle paint brush
)
How to make a photo booth frame
If you don’t have a wood frame pre-built, you can attach your photo prop to a fence, or indoor or outdoor wall. Us this technique for how to make a photo booth frame from cardboard, then attach it where you will hang your back drop.
- If you need to create a backing for your photo prop to be hung you will take your cardboard pieces, and tape
them together in place. This part is really fast with 2 people.
- Place cardboard either between wood posts, or against a fence. (If your fence is painted you may want to use push pins or command strips to attach the cardboard.)
- You can see we picked a spot that had an outlet nearby.
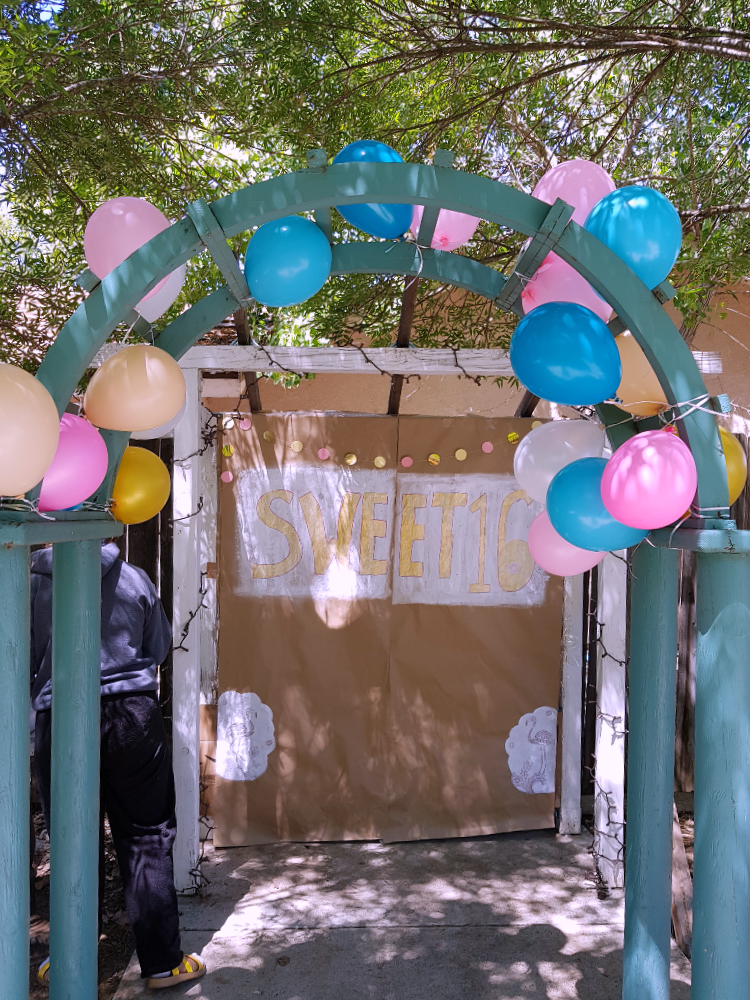
- We wrapped the wood posts with lights for at night.
- Then added balloons
and number balloons
to our archway, and other places. (which we added helium
to, and had ready and waiting to bring outdoors to hang by having the balloons in laundry baskets)
diy photo booth backdrop
Follow these tips, and steps for how to make a photo booth back drop. IMPORTANT: Determine the size of your photo booth prop (measure where you will hang it write down the overall finished width and length.) Make sure you have enough room to back up away from photo prop when photographing larger groups, and also for including the whole body of people in the photos.
- First measure your space and decide size you’ll need.
- Unroll your paper and cut to the length you need
- For the width you will need to tape together cut sections (width is the size of your roll divided by total needed width = pieces you will need to cut. For ours it was x 2 cuts
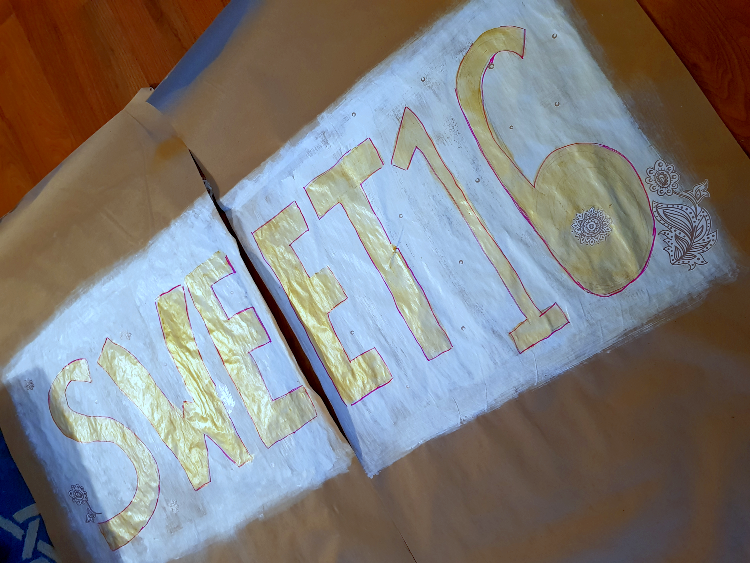
- Lay out your sheets onto the floor – workspace
- Use your pencil, and ruler and mark where you will paint
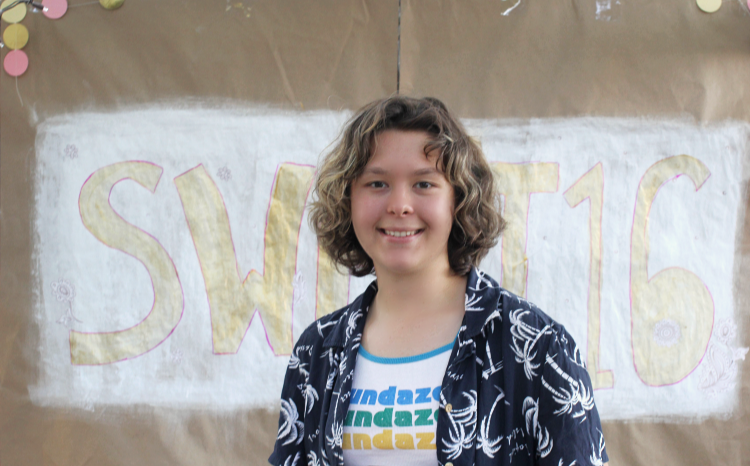
- Pencil in a sketch of your words (our prop said Sweet 16)
- Paint back ground areas and let them dry competely
- Paint lettering, and let dry
- Outline lettering with a sharpie pen or chalk pen
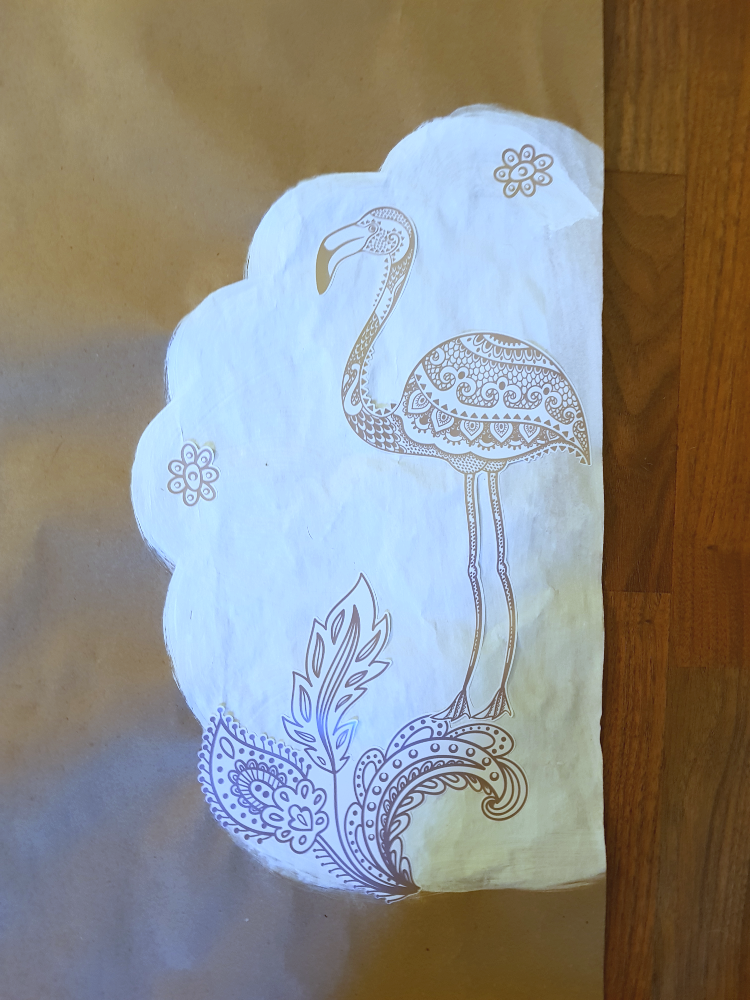
- Add wall decals to your prop (in your theme)
- Flip over, and tape with your clear duct tape down the seam area (get as close together as you can or overlap slightly)
- Carefully take it to where you will hang it
- Use your clear tape attaching to top, middle and side on back to secure in place. (loop to make double sided where needed)
NOTE: If you are using this on a wall indoors use push pins or command spring clips
or gorilla mounting strips
You DO NOT want the paint peeling off the wall when you take it down!
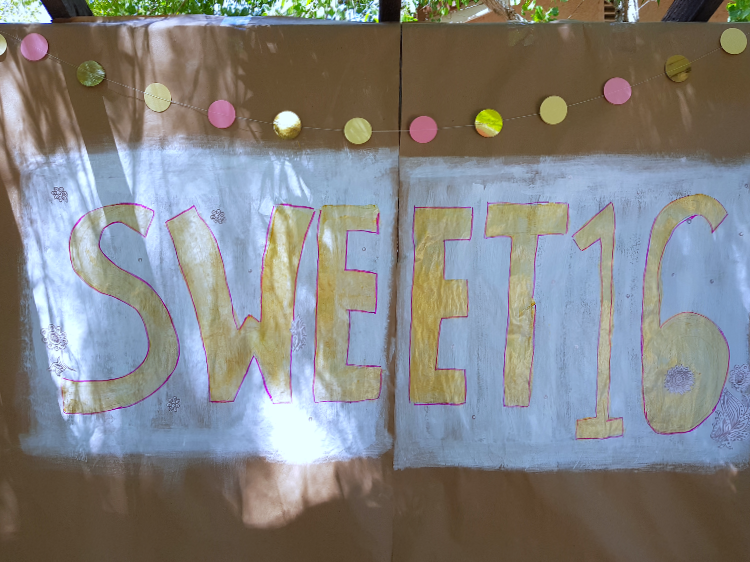
You want to place your writing at the highest spot on your photo prop so you can see it when your taking photos. For the writing to stand out off the paper use a light color or white. Let the paint dry, and then add your writing. We used a color block text style so the writing would stand out. (Sorry, our living room is super dark and we had lights on so the photos aren’t the best. But, you get the idea. See outdoor closeup below)
When the gold paint was dry we added a hot pink around the edges to make it pop. After we added decals, dots, and other floral designs to the photo prop. We also hung a dot paper banner at the top of the photo prop. This came in the Sweet 16 Birthday Balloon and Banner Kit we purchased. For hanging indoors, and around the party area.
Closeup of bottom designs. We made them the same on the right, and left far sides of the back drop for photos.
To the side of the area we set up a table for all our photo props, and camera. That is Sammie setting it up.
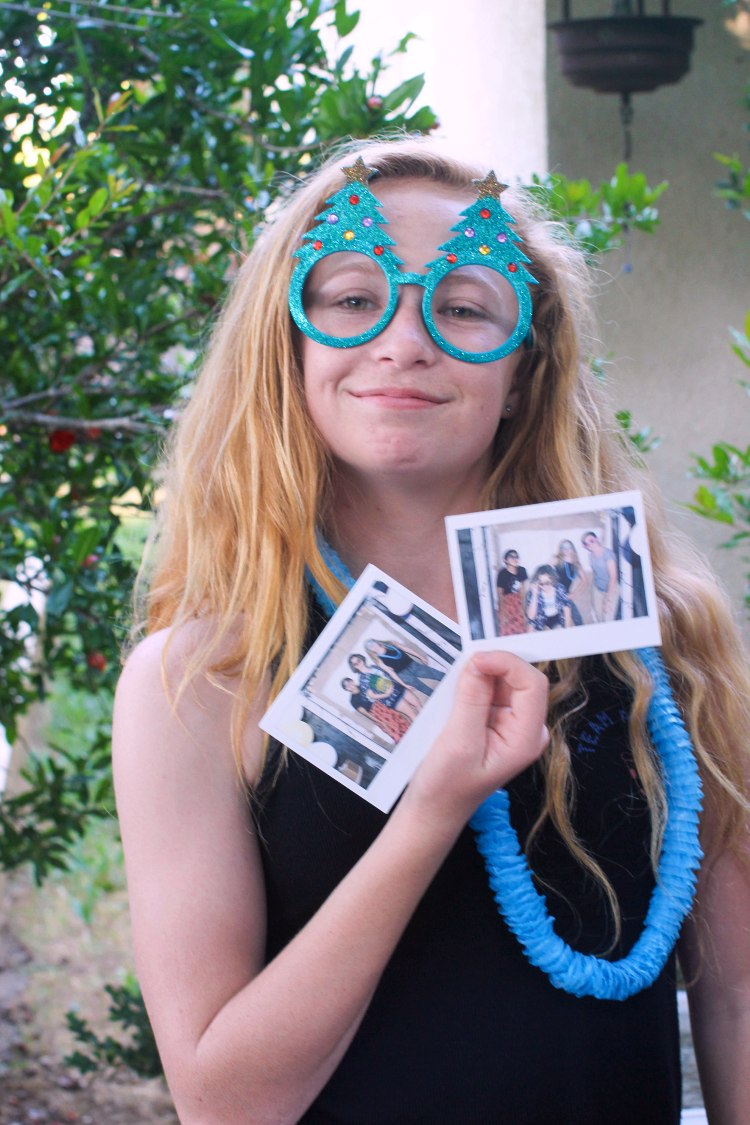
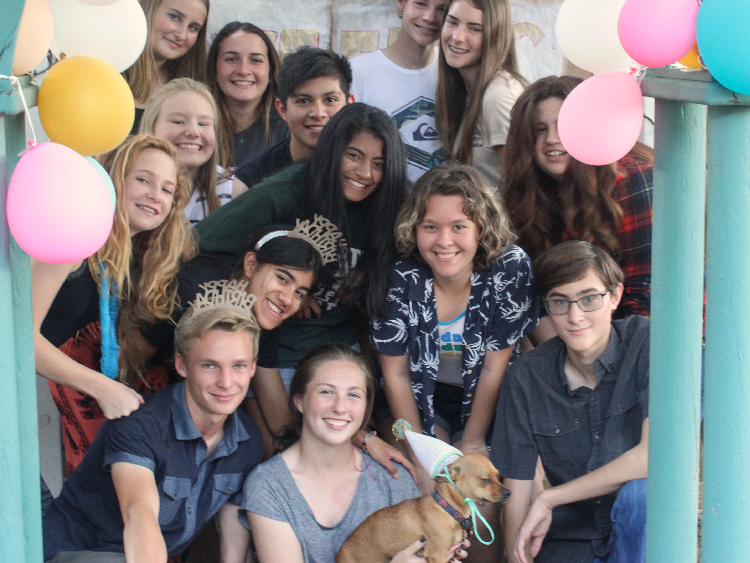
There were so many photos taken, and fun memories being made. Sammie has a whole photo book with Polaroid photos taken by her, and her friends.
With one, two, three or the entire group. Honestly, they had so much fun taking photos. By the end our puppy Luna was over it, and ready for a nap! She tolerated her dog party hat really well. PS. try to get your seams as close together or overlap slightly. I’ll just edit it in photo shop, wink, wink.
- Photo props – photo props for Sweet 16
, birthday tiaras
, party hats
, party sun glasses
,
- Polaroid Camera
(make sure to have extra film, and if needed batteries)
- New here? Be sure to subscribe!
- Pin it for Later
We hope you enjoyed seeing these photo booth ideas, here’s a few more you might enjoy!
Photo prop ideas
- Mustache Photo Prop DIY
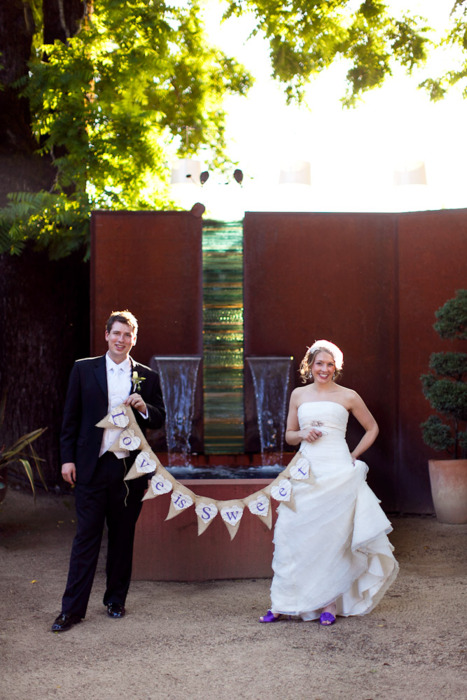
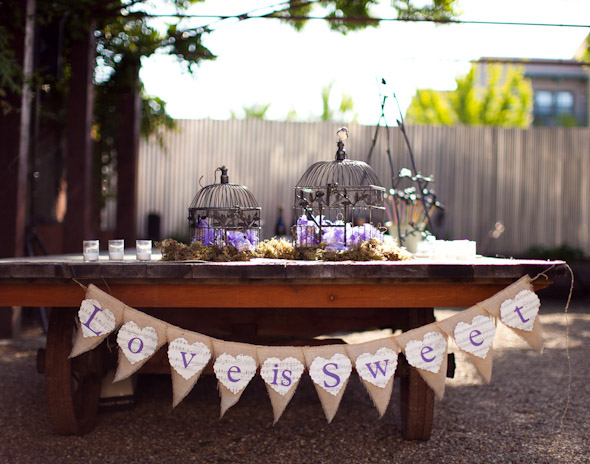
- Wedding Banner Photo Prop
- Burlap Wedding Banner Photo Prop DIY (Mr. and Mrs.)
This burlap banner was made for photos, and used as a display for where people dropped off their cards, and money gifts. This was also next to the connecting table where we set up the photo prop mustaches, and Polaroid camera for taking photos.
Looking for more fun ideas for photo props?
