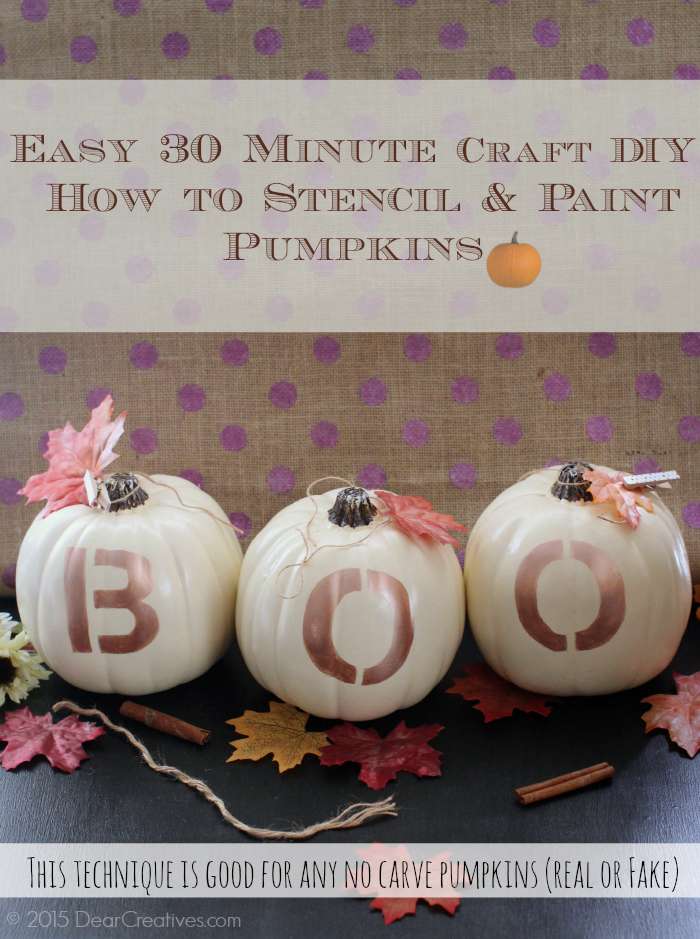
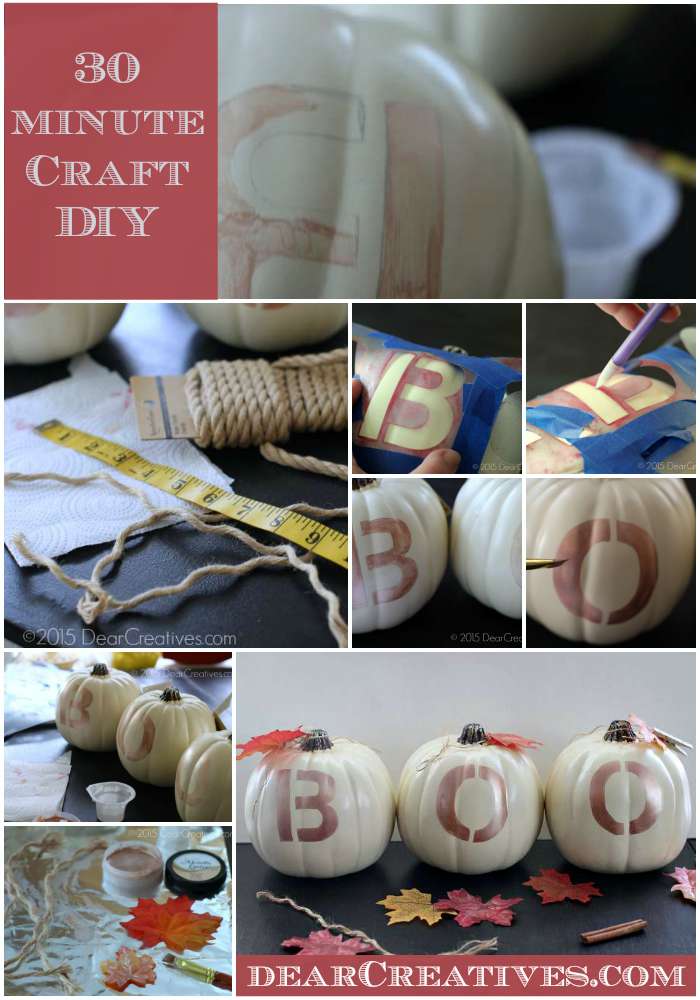
How to Stencil & Decorate Pumpkins With Paint Real/Fake In 30 Minutes!
Are you ready to try a craft project? This tutorial is for how to stencil pumpkins. Perfect for decorating fake or real pumpkins! We wrote BOO on ours but, you can write or decorate them any way you like using our tutorial.
Looking for more ideas to try? See all our Halloween Ideas
How to decorate pumpkins for Halloween
What's great about this easy DIY project is that you will be able to use these decorated pumpkins for your fall home decor too, just by flipping the pumpkins around to the backside. Just set them on the porch, mantel or bookcase to display after you have decorated your pumpkins.
- This craft project takes 30 minutes to an hour depending on your skill level and the dry times for layers of paint.
Everyone is going crazy doing the most fun projects right now for Halloween. But, in my house, I like to keep it simple. Gone are the days when I had the full house of kids. Although it is one of several favorite holidays we love I've paired down my home décor for Halloween.
I still love decorating my porch and front window for Halloween. Knowing all the kids and families dropping can enjoy the Halloween decorations we make and display. I think today's craft project is easy to add to any themed Halloween décor. Hope you enjoy it!
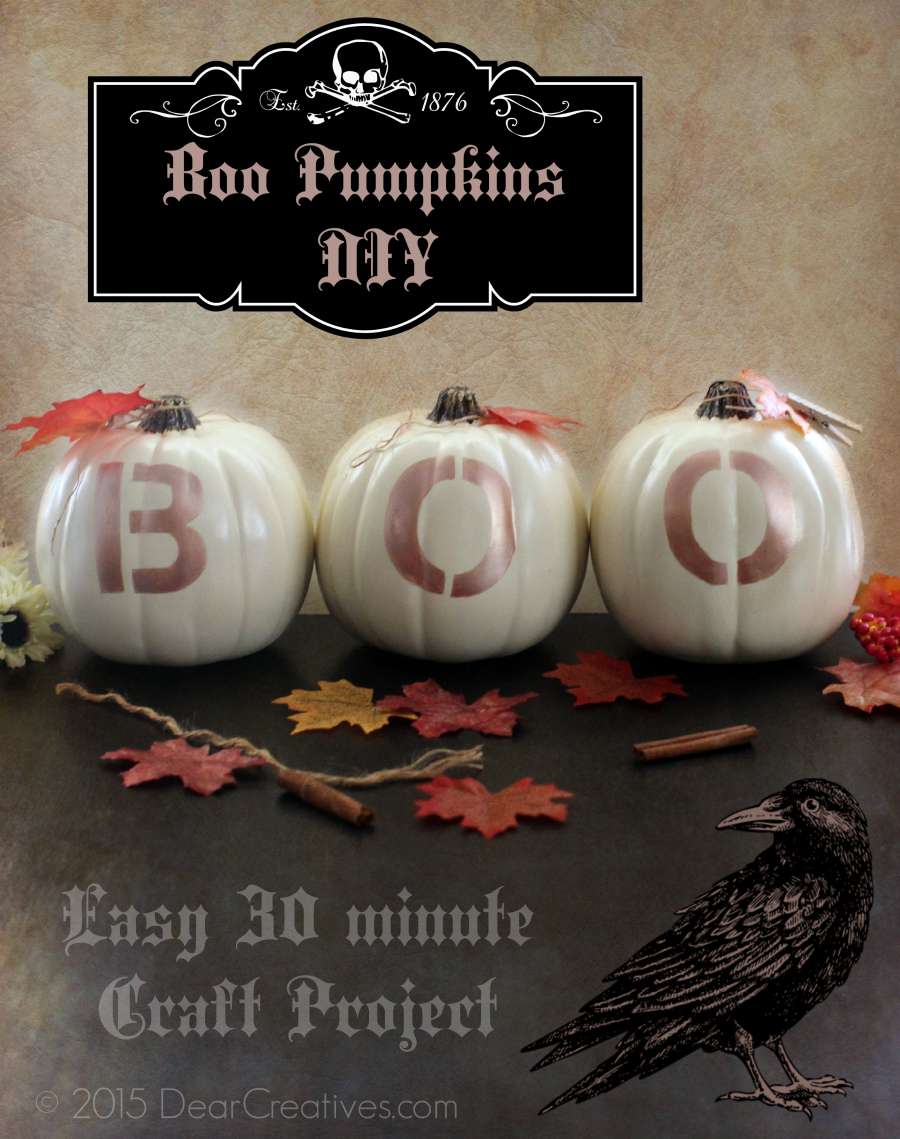
DIY Stenciled Pumpkins
Boo Pumpkins
You can add these pumpkins to your mantel, porch, bookcase or home décor table-scape. This technique is good for any seasonal lettering.
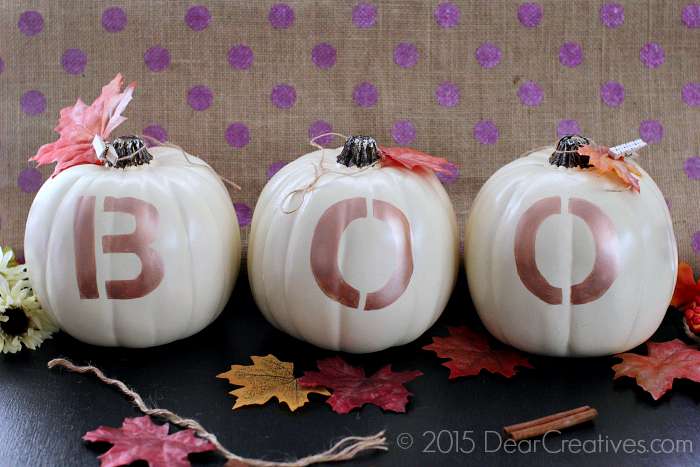
Honestly, this is a very easy project. The finished project will fit into any theme by changing the leaves and twine. You could even hot glue spiders or hang ghosts over where you set them. Now here's how to make them.
How to decorate pumpkins
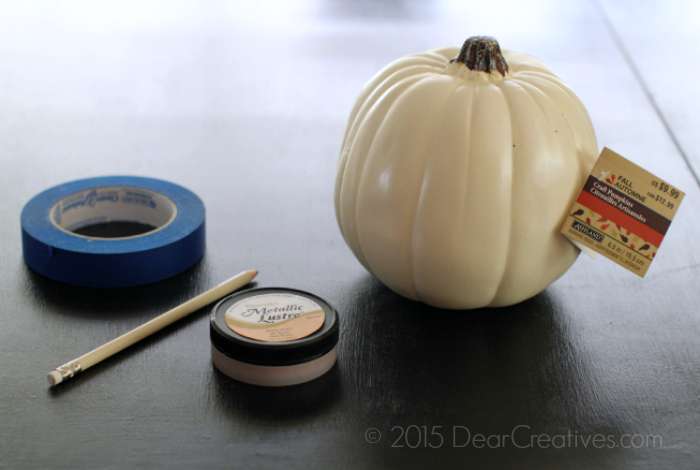
I used a lovely Metallic Lustre Rose Gold from DecoArt. The supplies you need are minimal The project quick and easy! I found my pumpkins at Michaels.
What you will need for stenciling pumpkins with paint
Supplies
- Pumpkins 3
any size (real or fake) (fake) Craft Pumpkins
- Painters Tape
- Stencils (Letter Stencils 2, 3, 4, 5-inch options DecoArt Script Letter Stencil 6 “
- Pencil with eraser
- Metallic Luster Rose Gold Paint Or Acrylic Paint
Or Glow In The Dark Paint
- Angle Edge Paint Brush /optional Small Stencil Paint Brush
- Twine
- Fall Leaves: Maple Leaves Pack
- Paper Towel or Q-Tips
- Water Container


How do you stencil on pumpkins?
How to stencil on pumpkins
Follow these steps for stenciling a pumpkin
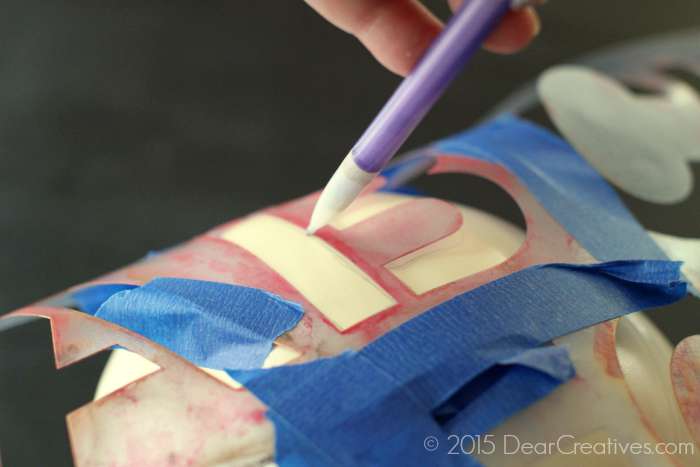
- Grab your pumpkin and center stencil 1 1/2″ from the bottom of the stem piece (at the top of the pumpkin). I was going to try to tape down stencil then paint with my stencil paintbrush.
- I quickly saw that it would be better to trace the stencil with a pencil then paint with an angle brush. My pumpkins were pretty round.
- When stenciling with a stencil tape the stencil onto the pumpkin.
- The stencil needs to be flush to your surface and completely taped down for it to come out properly.
- Do whichever works best depending on the surface and shape of your pumpkin.
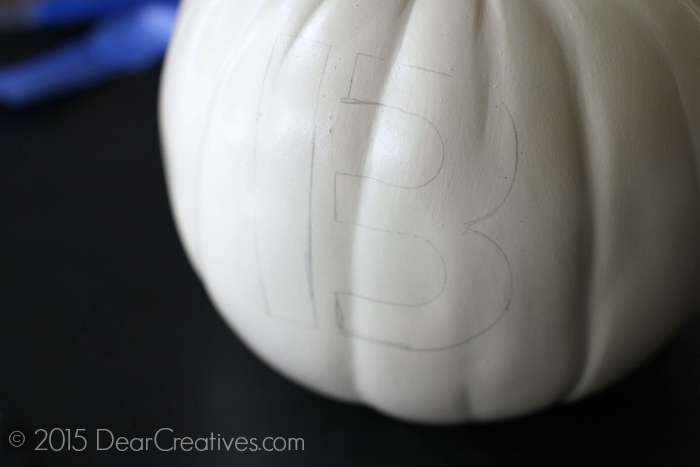
Stencil the letters one by one on the pumpkins until you have the word BOO. Or another word like Eek!
- Or any letters to the words you want to write.
- Do not press too hard just enough to see it on your pumpkins.
- For real pumpkins, you can always use a white pencil to see it better.
How To Stencil Words on a Pumpkin
Pro Tips for Painting Pumpkins
- Make sure to work in a warm, dry environment. Inside a kitchen, craft room or garage is fine. (My house was warm and fan going when I was painting. By the time I covered the other two and went back to the first one it was dry.) If it is cool where you are working you can use a heat gun
to dry your project if you are in a hurry. But, do NOT overheat the surface.
- Paint with your angle brush until the letters are fully covered, drying in between for each one.
- The pumpkins are slick so it's easy to wipe off mistakes if you need, use a Q-tip or edge of a damp paper towel.
-
Tips: You need to let the coats dry fully in between coats or it can smear the paint off.

Go close to edges and pull paintbrush loaded with paint slowly. Do not over-ly wet paint and do not over-ly load the brush. I like to load my brush and run half on the edge of paint container getting off excess. Only wet paint is enough to mix and load. Fill in any light spots after the pumpkin layers have completely dried.
- It takes about three layers of paint to make the lettering filled in. Different paints will vary how many coats of paint are needed.
- The photos don't do the colors justice as it's so shiny any sunshine gives it a glare, it's absolutely beautiful.
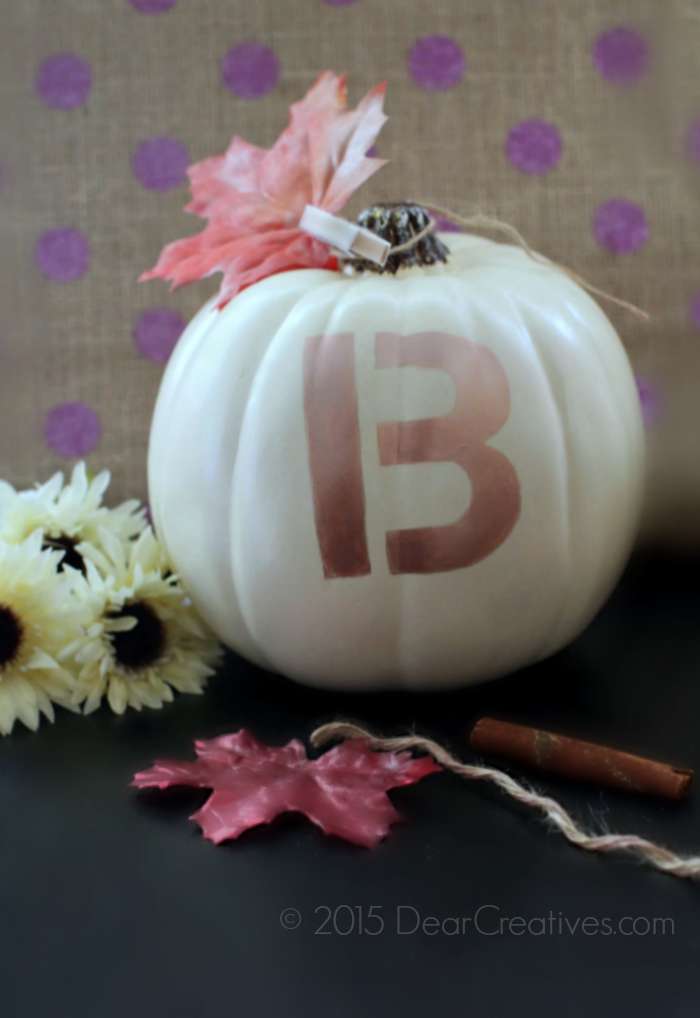
I started to play around with faux leaves 
Make a Boo Pumpkin Craft in 30 Minutes! It's so easy!
- New here? Be sure to Subscribe
- See all our Halloween Ideas
- I love this paint so much I have done three other projects to share with you!
- Today's post was brought to you by DecoArt I am part of their core blogger program. Be sure to give them a visit to check out all their great products and projects they share. These are my 100 % honest opinions of the metallic paint that I tried.
What DIY craft projects have you been working on?


Oh my goodness, these are so cute and I love that they aren’t in traditional Halloween colors because bright orange and black just don’t fit in my house…this is a much more neutral look and I love that!
Thanks Julie. I know I love the more neutral color vs Halloween colors. Bonus, I’m going to flip it around & create a Thanksgiving look on the opposite side. I’ll be sure to share that later on.
These are so cute!! I love everything pumpkin!
Hi Lauren, Thanks, yep me too! & we are dying to back when it cools down. Thanks for your visit.
I love these!! I’m going to stop by Michael’s today and see if they’re in stock, fall crafts are my favorite =)
Hi Jacquelyn, You should be able to find them easily. They do have them in stock online I checked just in case I decide to do another pumpkin project for Thanksgiving too. I’d love to see what you make be sure to come back to share it with us at the weekly linkup!
Love these! I like how you used the rose gold paint instead of traditional black or orange.
Hi Joanna, Thank you. I loved how pretty they turned out. In person they look amazing.
I love diy projects and looking forward to decorating for the fall and finishing up some DIY projects this month.
Hi Ashely, Thanks for stopping by. When you do finish your projects and decorating drop back by & share them at our party! Can’t wait to see them.
These are super cute! I’ve had a couple small pumpkins sitting out in my dining room since LAST fall. Perhaps I should paint those 😉
Hi Bev, You should give them a new look! Thanks for the compliment & stopping by.
I love the non traditional color scheme you used for this. The white and rose gold is a perfect combo! Thanks for linking up with us at the Best of the Blogosphere! We’d love to have you back tomorrow with another blog post.
Hi Amber, I Love that you can flip them around to the other side too. Make a another design or keep them as is to get you to the holidays.
Those are really cute! Great tutorial too, might have to make some myself.
Hi Emmy, Thanks for stopping by and the compliment. Hope to see you again soon.