DIY Desk Makeover with Contact Paper Works Like Magic!
DIY Desk Makeover – Dorm Room Decor Ideas – Are you looking for ways to make your dorm room more aesthetically pleasing? Moving into a blank space like a dorm room can be drab, with its neutral colors and lackluster decor. But, today we are sharing easy ways to brighten up your space and desk! Not only is this easy to do, it is a budget-friendly project for the dorm room, or even a kid’s desk, or other desk that you have at home.
My daughter Sammie moved back to college out of state to her dorm room/apartment. She is into thrifting, upcycling, and doing DIY projects. Even if you aren’t crafty, you can do this project.
Affiliate links may be included in the post. By clicking the links for qualifying purchases we earn a small commission. This is at no additional cost to you.
Dorm Room Desk DIY
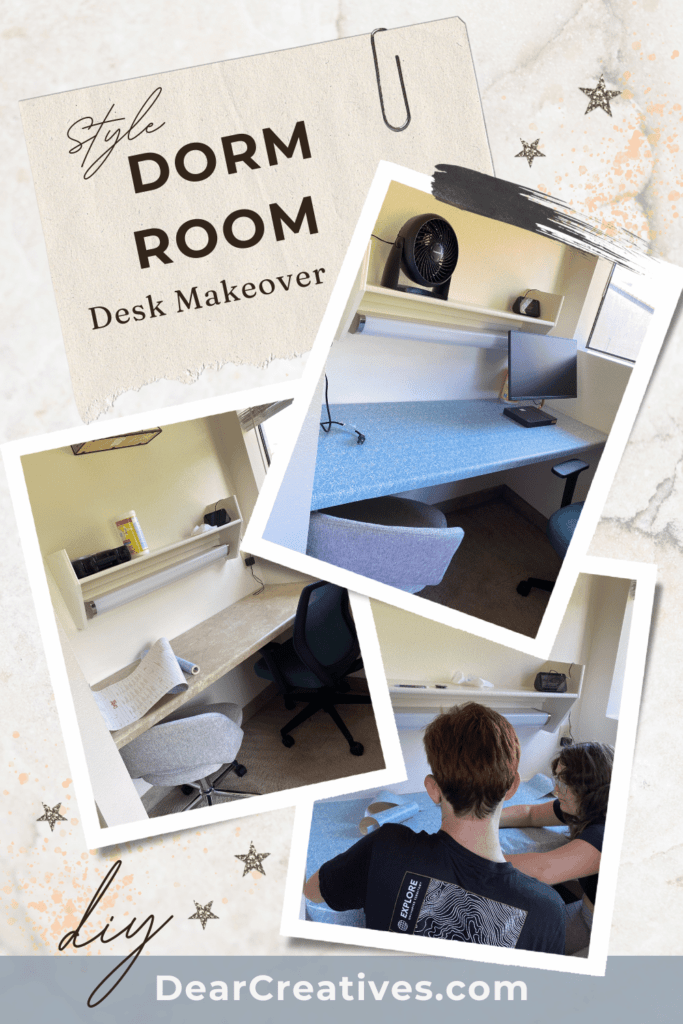
Dorm rooms come with at least one desk space. Whether you are sharing a room or not, the desk area and countertop are quite bland-looking. Let’s makeover this dorm room space. You will need a little time and a few supplies.
DIY Contact Paper Desk Makeover
Supplies
- Pretty Contact Paper like this or this Faux Marble Contact Paper
(Shop contact paper designs on Amazon or shop for contact paper at Target) - Ruler (optional)
If your contact paper has no lines on the back. - Scissors
- Exacto Knife (optional)
Exacto Knife is great for edges and detailing. - Squeegee
- Clorox Wipes
DIY Desk Makeover
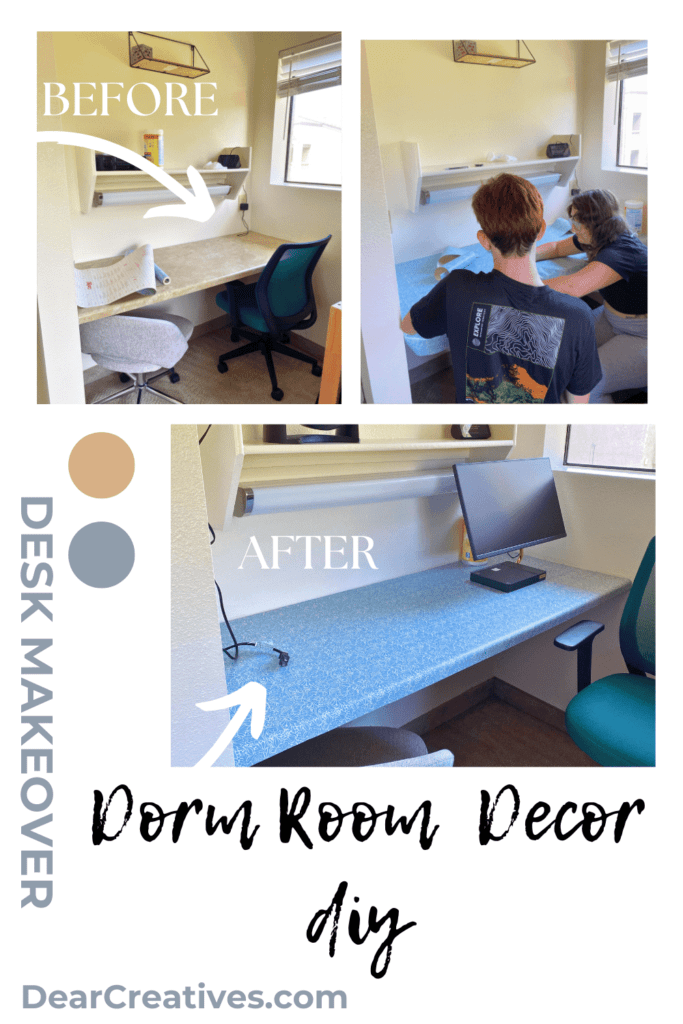
How To Cover A Desk With Contact Paper
First off, it helps to have a second person to help you! Grab a roommate, friend, or parent. The reason is one person will be smoothing out the contact paper, and the other will hold it steady and keep it straight, as it is being unrolled.
Be sure to wipe the desk clean and let it dry completely before starting. We used Clorox Wipes.
- Flip the contact paper (wrong side up) and measure the space it will cover.
- Mark where you will cut the contact paper and allow for a 1/4 inch extra.
- Cut the paper off the roll and flip it to the correct side.
- Next, work 4-6 inches at a time. Unroll and smooth out the bubbles as you adhere the contact paper to the desk surface (the second person will hold the extra unrolled contact paper lined up with the desk). Slow and steady is best!
- Repeat this process until the entire sheet has covered the desk.
- Typically, the desk is wider than the contact paper. You will cut a second piece and repeat the process. Next, cover the previous contact paper; by slightly going over the laid-down contact paper.
- Roll out the contact paper following the same steps until the desk is covered.
Tips For Smoothing Out The Air Bubbles
If you make any mistakes or need to smooth out air bubbles; carefully lift the contact paper (carefully). Adjust the contact paper and smooth out the air bubbles as you go along (use your arm and hand to smooth it out or a Squeegee). Have the second person hold the contact paper that you are not working on. They should be holding it taught and giving you room to work and smooth things out.
Using Soapy Water Or Windex For Adhering Contact Paper
Video Tutorials For Adding Contact Paper To A Desk or Wall Desk
Some people use soapy water in a spray bottle or Windex to help align the contact paper onto the desk surface. We didn’t try this. If you want this extra step here are two DIYs using this method to help you. Just be sure not to over-saturate the surface, all the Windex or soapy water has to be squeezed out.
Finishing The DIY Desk Makeover Project
To finish cutting off the excess contact paper use scissors or carefully use the exact knife along the edge with the excess contact paper (be sure not to cut into the desk by using a light hand weight).
If the alignment went slightly off anywhere; cut a thin strip of contact paper to cover that area. No one will be the wiser. Especially after you add your laptop and other things to the desk.
Removing The Contact Paper
At the end of the college year when moving out, you will need to remove the contact paper and wipe the desk clean. Start at the edges and lift the contact paper up to remove it. If you really have a hard time I’ve seen some tutorials where they use a hair dryer to heat up the contact paper to remove it (6:00 min on video). But, then you will have to clean up the sticky residue. A product like Goo Gone will help with that. Then clean with soapy water or your sanitizing wipes.
I hope you enjoyed this tutorial for adding contact paper to a desk!
How do you decorate your dorm room?
We’d love to see your DIY desk makeover! Or dorm rooms! Tag us on social media @DearCreatives
I hope to update this post with photos of her finished, decorated and organized desk soon. Her room mates were still moving in and she was still finishing unpacking when I left. Additional things she did was hang a small shelf for decor and she was going to add fairy lights or other twinkle lights to her room decor. Below we have some of our favorite desk decor and organizers…
Shop Our Favorites for Desk Decor, Desk Organization, Desk Lamps, Desk Chairs, Planners and Wall Calendars…
- New here? Be sure to Subscribe.
- Pin it for Later
- Follow us on Pinterest
- Shop our favorites on Amazon
Dorm Room Decor Ideas & College Clothes Packing List

College Life
- Off To College Dorm Room Essentials
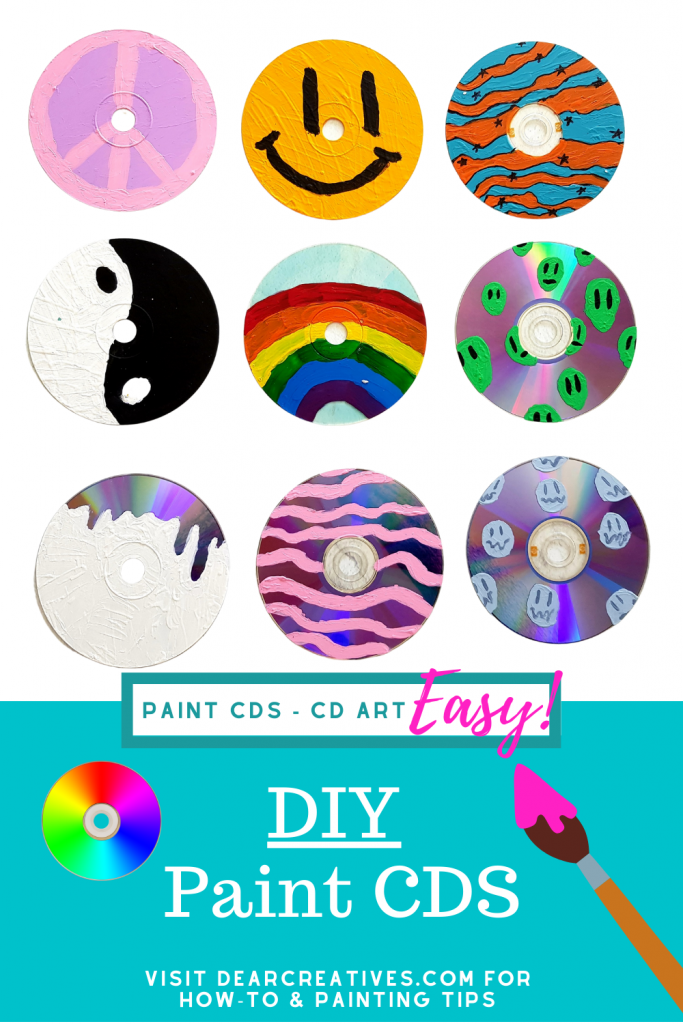
- How To Paint CDs (Decorate your dorm room or hang in your room).
- College Clothes Packing List (Tips and Printable) What Clothes To Bring To College.
- Pantry Staples Checklist
- How To Organize Your Kitchen Spices
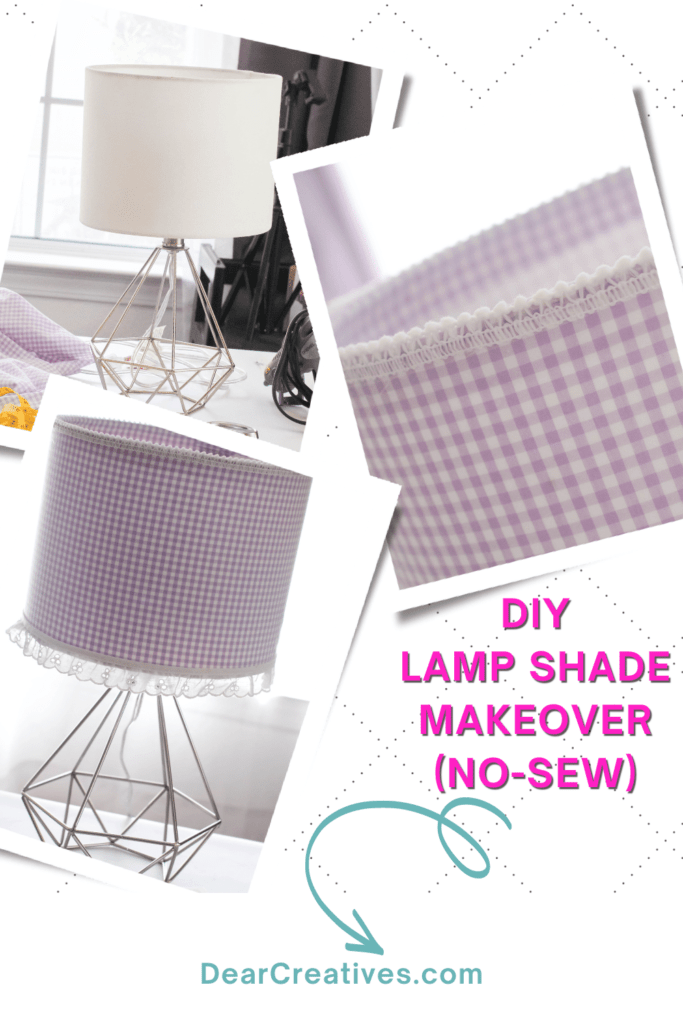
- How To Cover A Lampshade (DIY Lampshade Makeover)
- 25 Simple Hairstyles For Long Hair
- 24-Fall Hair Accessories To Style Your Hair With Easily!
- Hey parents and grandparents be sure to pin this post – College Girls Christmas Gifts
- Find our fashion posts in Lifestyle or by using the search bar.
- Easy DIY Improvement Projects
- Follow Us On Pinterest
- College Days Pinterest
- Prime Student 6-month Trial
