DIY Coastal Coasters – Paint And Decorate Mini Pallets
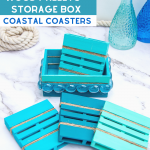
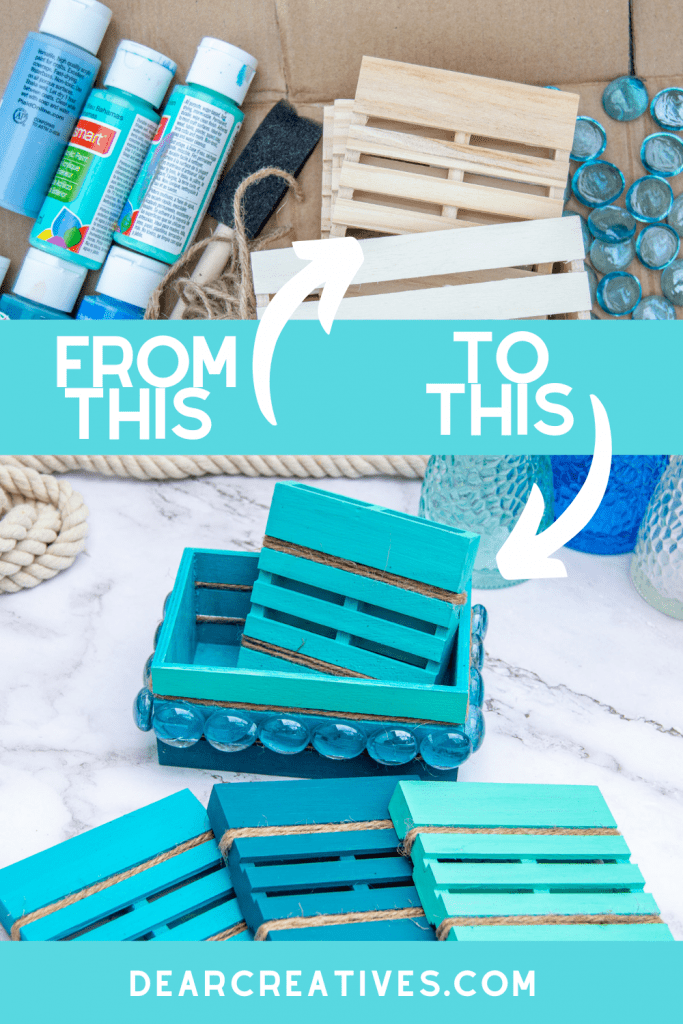
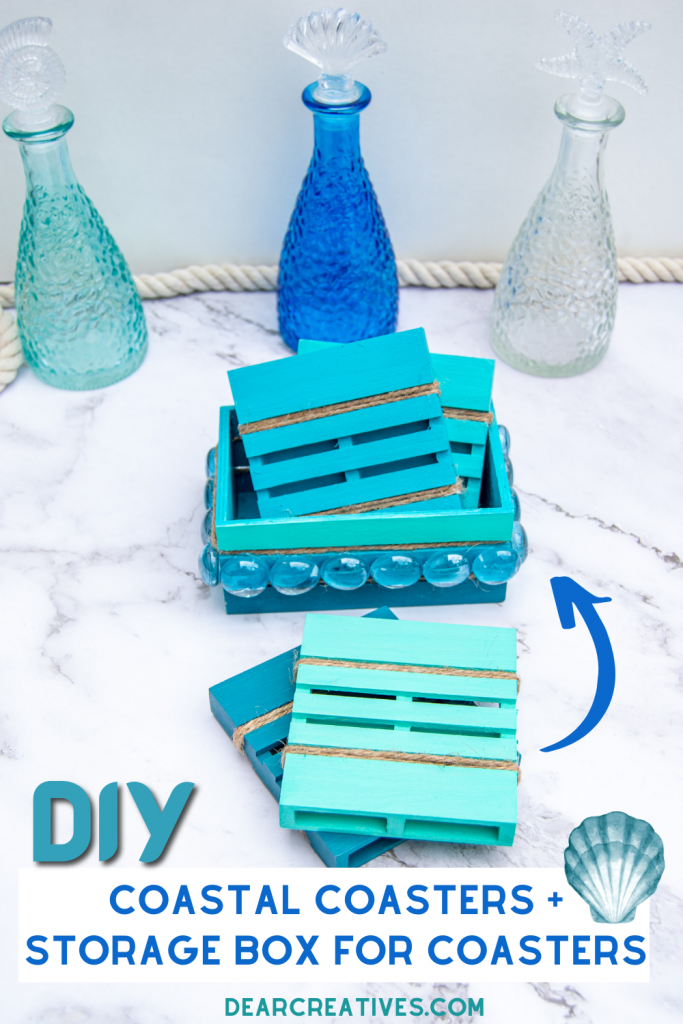
DIY Coastal Coasters – Decorate Mini Pallet Coasters and a storage box for them!- Take plain wood pallet coasters and turn them into pretty beachy coasters! These coastal coasters are easy to make. Use acrylic paint and a few beach-themed supplies. Next, paint and decorate the pallet storage box. Use it to store the beach-themed coasters.
These DIY coasters with beach vibes can be used indoors to protect your furniture or carry them outdoors to use on your patio tables. Perfect for the home, on the patio, or by the pool to set your lemonade, iced tea, coffee, or iced coffee onto! Looking for summer crafts? See all these Summer Craft Ideas So many summer crafts to make! For kids, teens, and adults!
DIY Coastal Coasters
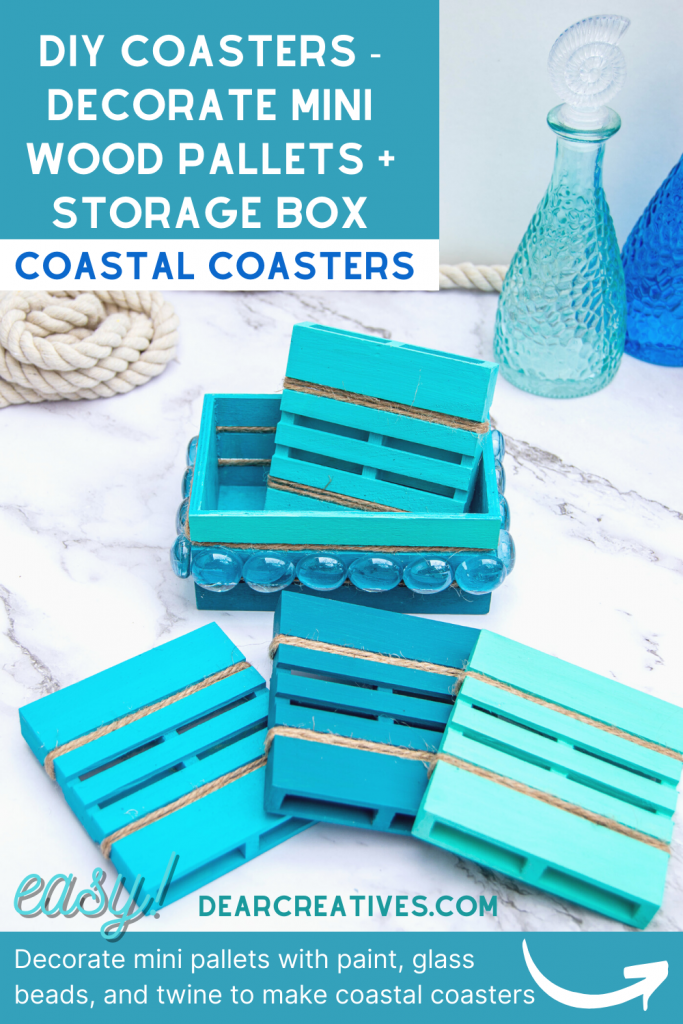
I think you will enjoy this DIY home decor project! With spring here and summer almost here it’s time to pull out cute coasters to set your cups or glasses onto! This project is fun and easy. You probably have a lot of the supplies in your stash. Grab the mini wood pallets and whatever materials you need to make these coastal coasters! Add beach vibes to your decor! And protect your tables.
Affiliate links may be included in the post. By clicking the links for qualifying purchases we earn a small commission. This is at no additional cost to you.
Don’t have time to make coasters to use in your home? Shop for beach coastal coasters on Etsy!
DIY Coasters
How To Make Your Own Coasters
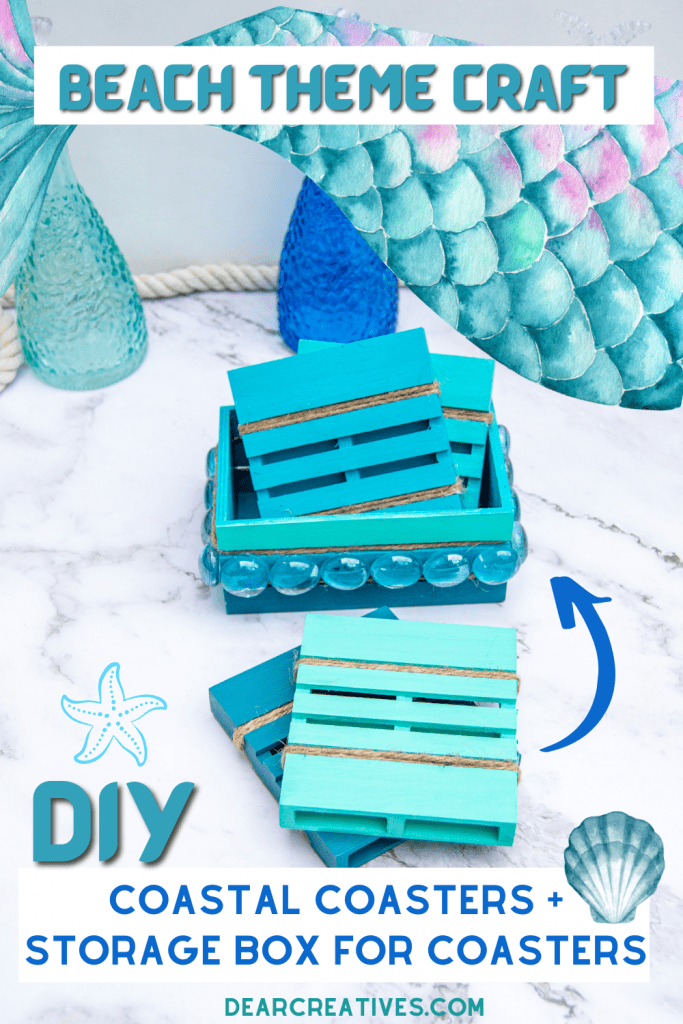
Paint and Decorate Mini Wood Pallet Coasters and A Wood Pallet Storage Box
Supplies:
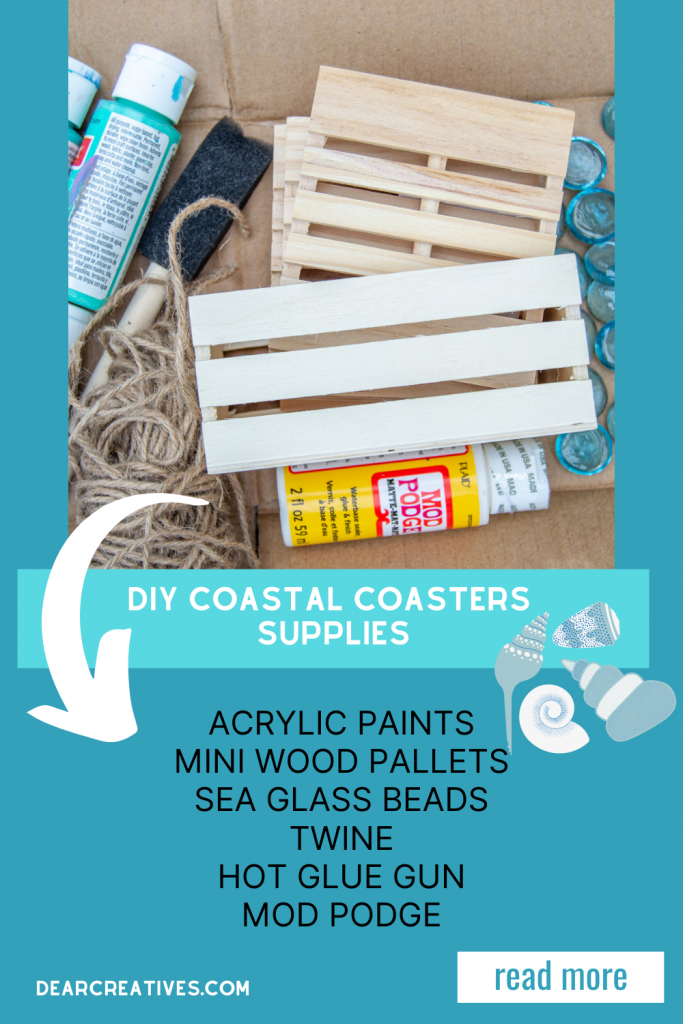
- 4 mini pallets 4 inches x 4 inches
- 1 mini wood crate (similar)
- 4 different shades of acrylic paint (These are some of my favorites).
I used Tuscan Teal, Bimini Blue by Apple Barrel. Turquoise and Ocean Breeze by Craft Smart. You can use your favorite blues or ocean colors. Or adapt the project any way you would like to. - Matte Mod Podge
- Foam brushes
- Twine
- Scissors
- Hot glue gun with glue sticks
- 20 decorative blue glass beads
- Optional self-stick felt pads (see tips below)
You might have some of the supplies on hand if you craft. And you can try to find some of these items from Dollar Tree or buy the supplies via the links above. If you don’t have glass beads you can use seashells.
Directions:
Steps for painting the mini wood pallets
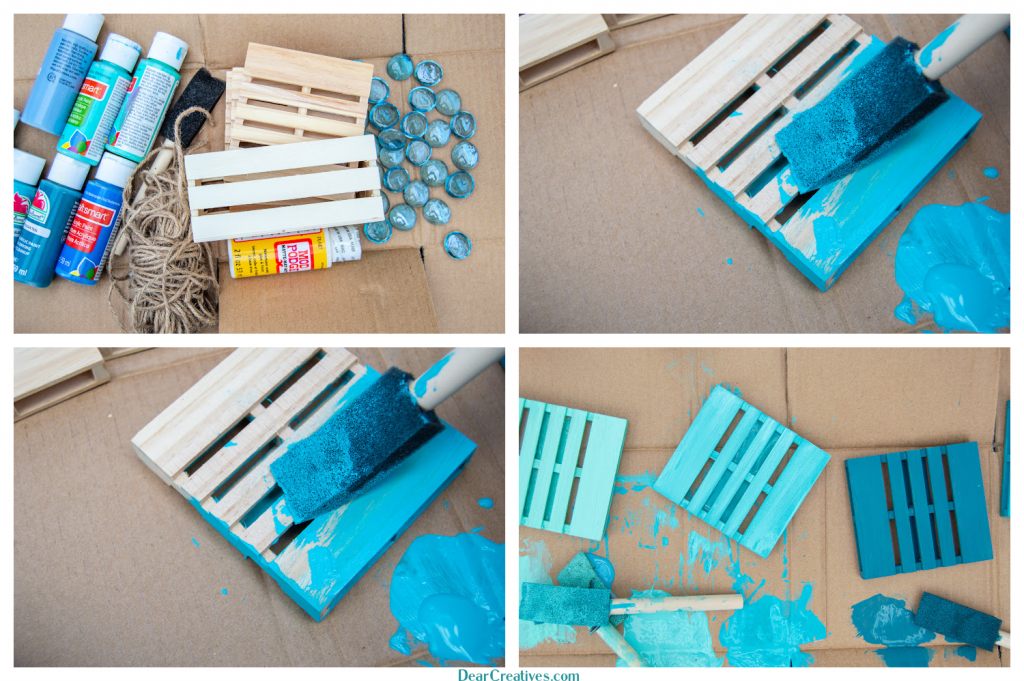
Note: Use a protective surface to cover your tables or craft tables.
- Start by Painting the front, back, sides, and inside of each pallet a different color and set it aside to dry.
- Then, paint the crate.
- Next, paint the front and back top slats. (I used Ocean Breeze).
- Moving on, paint the front and back bottom slats. (I used Tuscan Teal).
- Paint the middle front and back slats, the sides, and the inside Turquoise (or the color of your choice).
- Set aside and allow it to dry for at least 2 hours.
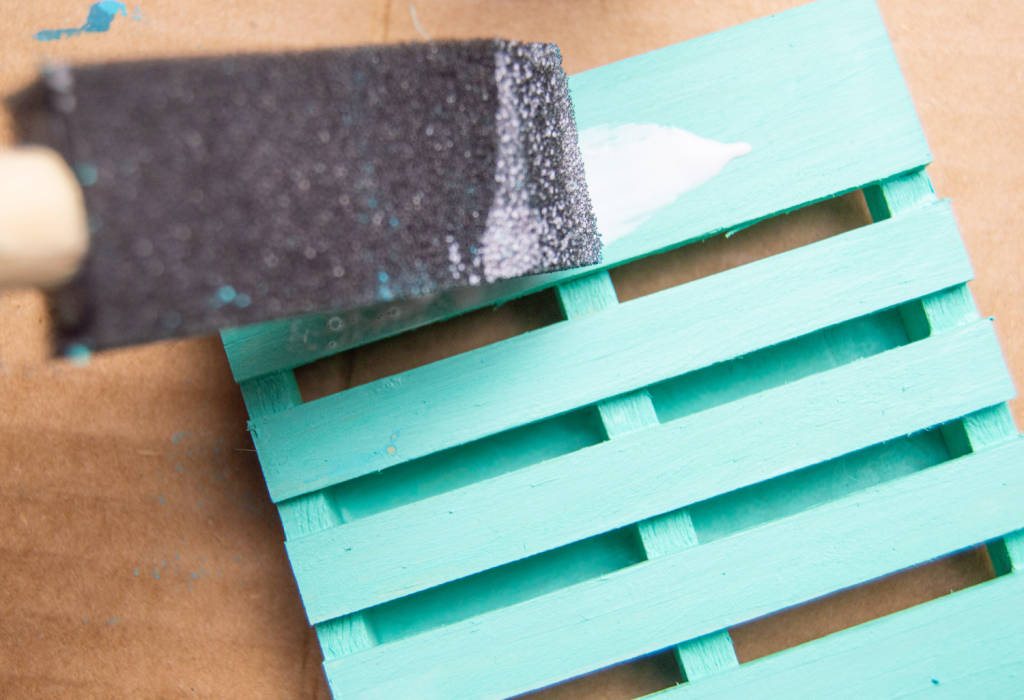
After the paint is dry add Mod Podge to seal the mini wood pallets
- Brush on a thin layer of Mod Podge all over the pallets and the crate.
- Allow it to be completely dry, preferably overnight, or for at least 10 hours before moving to the next steps. (This will ensure the stones will adhere to the crate.)
Steps for adding the twine to the wood mini pallets
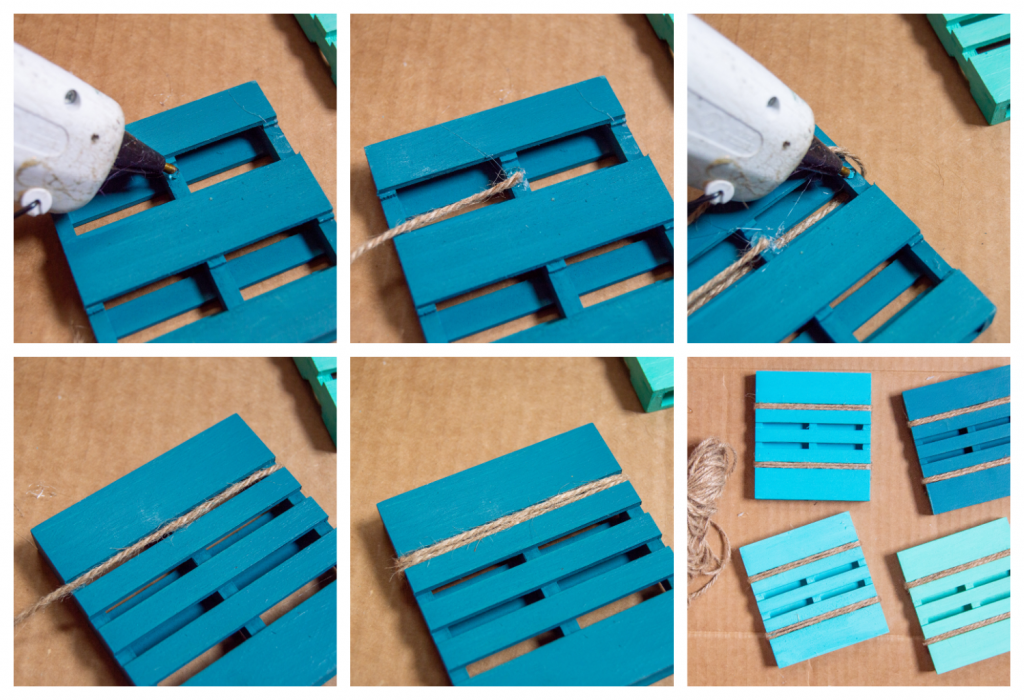
- Each pallet has 4 small horizontal open spaces between the slats and 2 large horizontal open spaces on the back.
- Turn a pallet over.
- Between each large horizontal open space, there are 3 small vertical pieces of wood, one on each side and one in the middle.
- Add a dot of hot glue to the top vertical middle piece and press the twine down into the glue and hold for a few seconds.
- Securing with glue on the back vertical pieces as you go, wrap the twine around the front twice.
- Cut off the twine, securing in the middle.
- Repeat this on the bottom, then repeat on all pallets.
- Now add twine to the crate.
- The crate has two horizontal open spaces between the slats.
- Add a dot of glue to the right side edge of the wood between the first open space.
- Press twine down and hold for a few seconds.
- Wrap around twice, securing with glue on the left and right between the slats as you go.
- Repeat with the second open space, cutting off and securing the end.
Directions for adding the glass stones
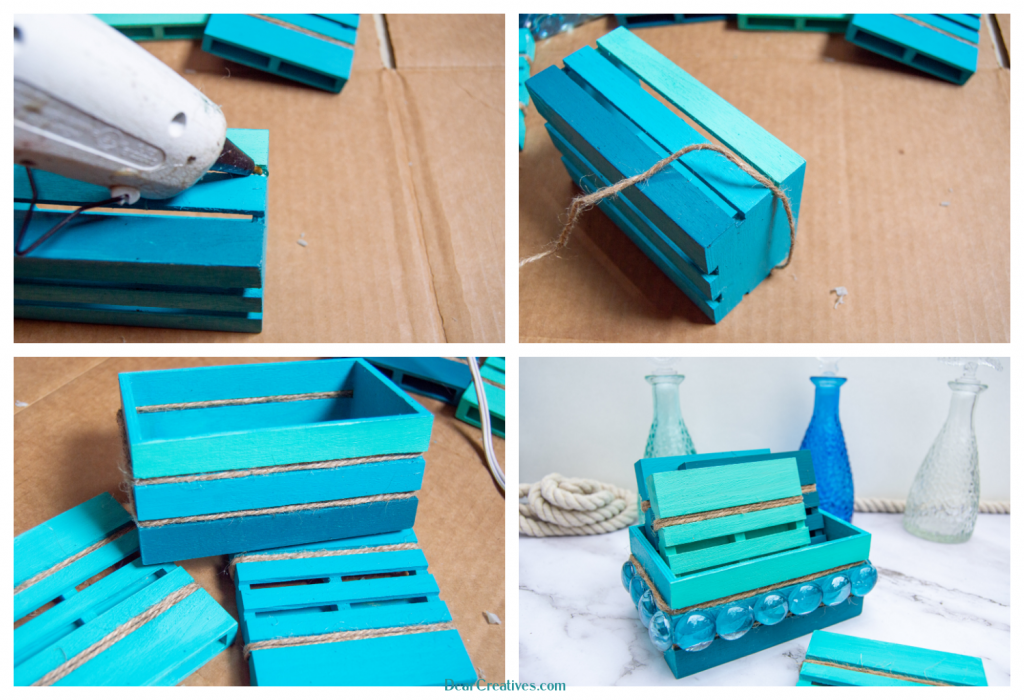
- Glue the stones, flat side down, to the middle slat of the crate.
- Six fit on the front and back and four on each side. Note- that this amount may vary depending on the size of your stones this may differ.
Project Tips:
- If you have trouble painting the inside of the pallet – Use a small thin brush to reach into the small cracks and crevices.
- Be very careful when using the hot glue gun. Use finger guards, tweezers, or something that can’t melt when pressing the twine into the hot glue.
- Make it your own. Use different colors, add different stones, seashells, Caribbean blue sea glass, and more to make it your own.
- PRO TIP: Are you using the coasters indoors on nice furniture? You can adhere self-stick felt pads to the bottom of the wood. This will keep them from harming the table surface.
Crafting later? Pin The DIY Coastal Coasters Project For Later!
- New here? Be sure to Subscribe.
- Pin it for Later
- Follow us on Pinterest
- Shop our favorites on Amazon
- Beach Crafts – Have fun crafting ocean and beach-themed ideas! For kids, teens, and adults!
- Home Decor Ideas and DIY home decor.
DIY Coasters To Make!
