Easy Chalkboard Art! How To Make Chalkboard Signs
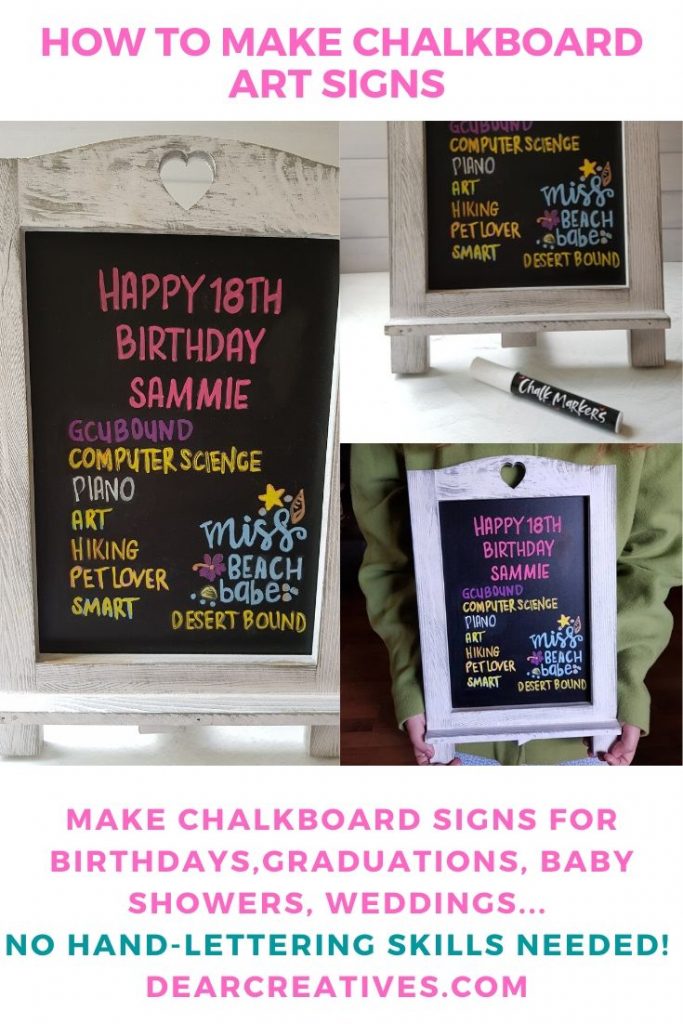
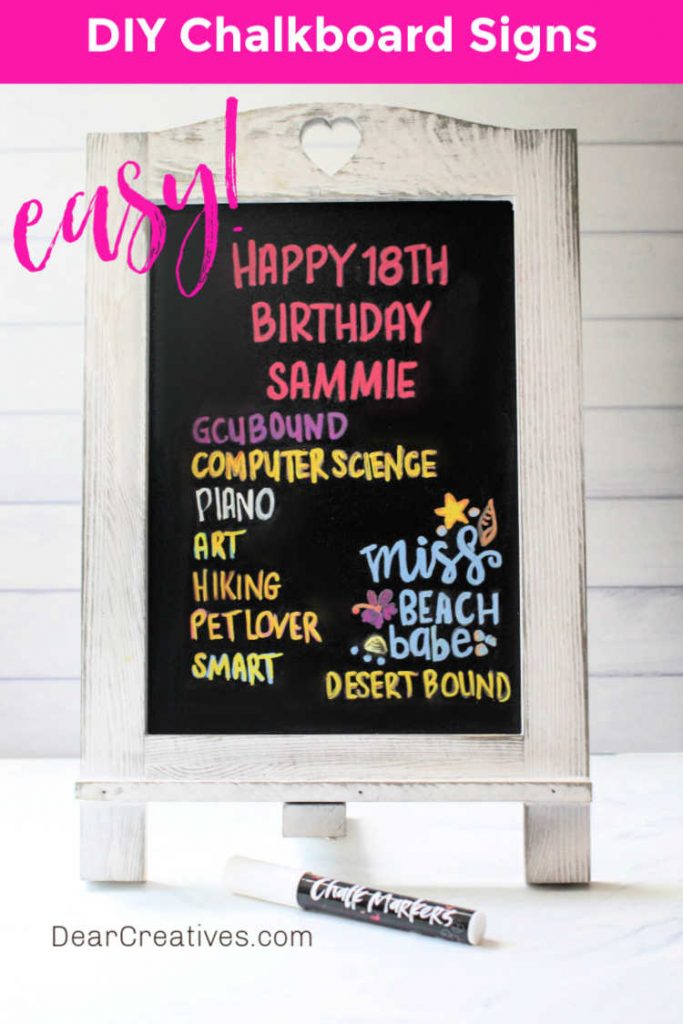
I am sharing an easy way to make chalkboard art and designs. You can use this tutorial to make any chalkboard art or chalkboard signs. You don’t have to know hand lettering for this technique. It uses a transfer paper technique and designs made on the computer.
Chalkboard Art Easy
Have you ever wanted to make a chalkboard art birthday sign? A graduation sign? A sign for a wedding? Or other ideas for chalkboard art? But, thought to yourself, I can’t hand letter! This tutorial is for you!
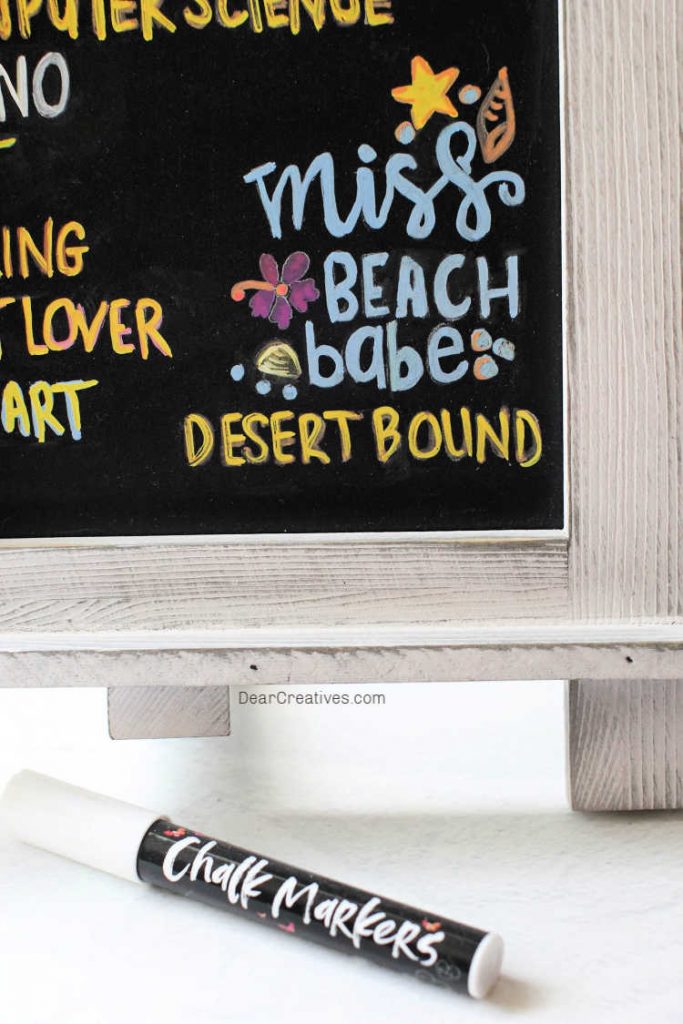
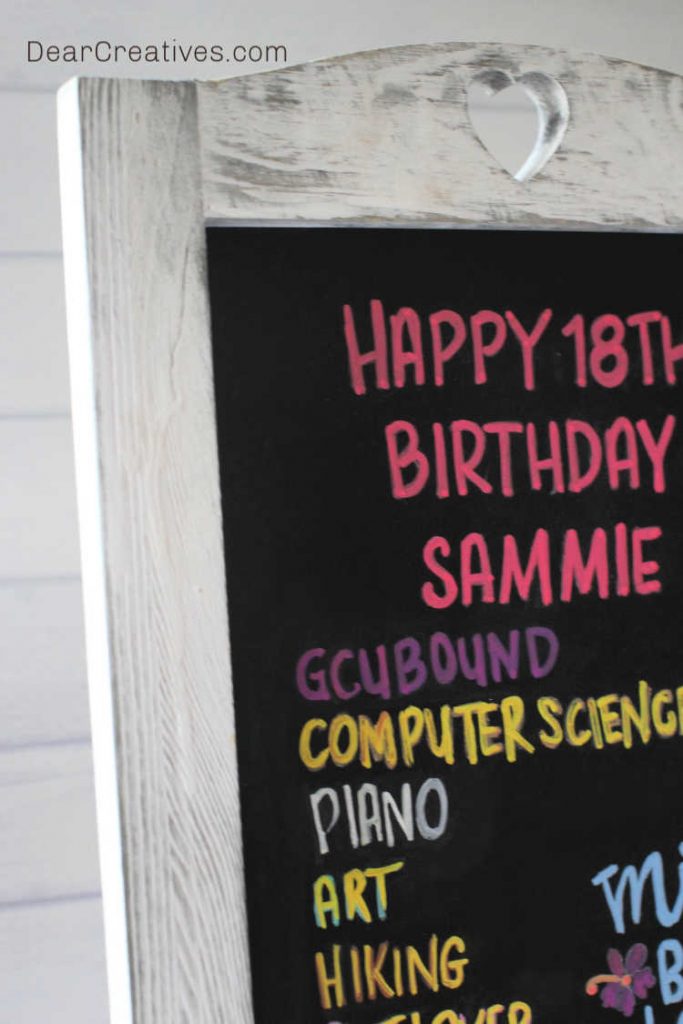
See the closeup photos below for better quality pictures of the details.
You don’t need to be great at hand lettering or calligraphy to make pretty chalkboard signs. Of course, if you do want to get better at hand-lettering or calligraphy (like me) I have sourced a few books and tutorials to help you learn that too. Practice makes perfect!
But, for this DIY chalkboard, I’m sharing an easy way to make chalkboard signs and chalkboard art where you don’t have to be an expert at all.
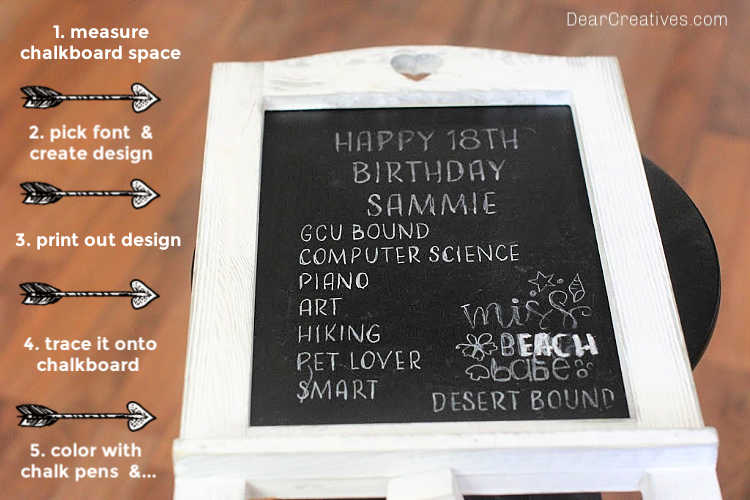
Start with a new chalkboard. Make a design. Print it, Trace it and use chalk pens to color your work!
DIY Chalkboard Art
Supplies
(May include affiliate links, we earn a small commission for qualifying purchases.)
- Tracing Paper for chalkboards
- Pencil or Stylus
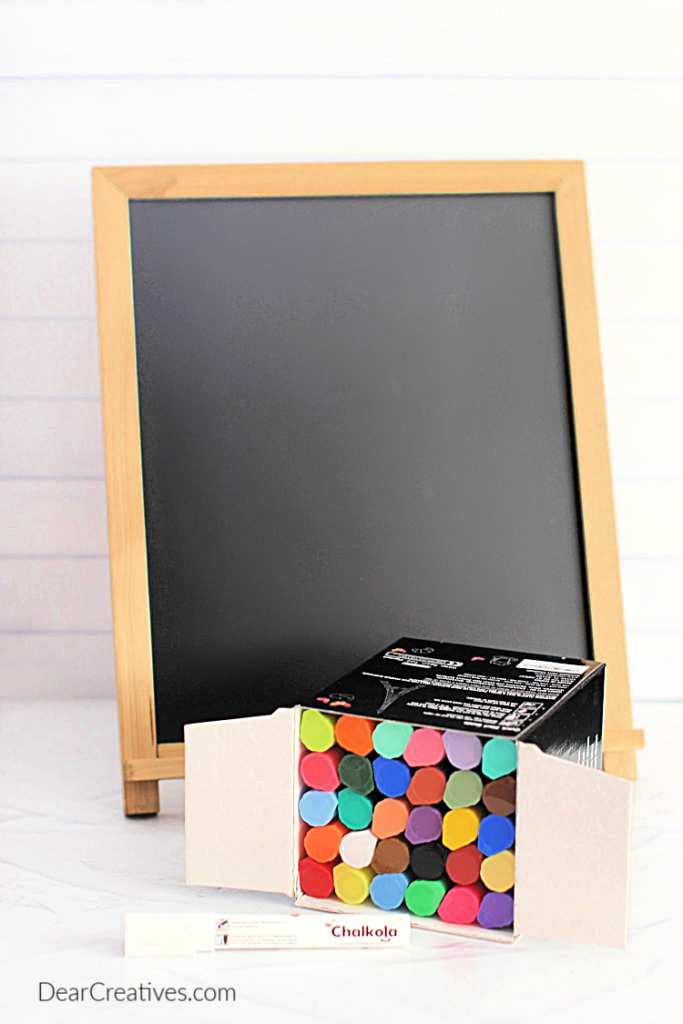
- Chalkboard Sign
(Like this it’s the white one I used, or grab another any size and color. This Chalkola chalkboard
is the one above with the pens.)
- Chalk Pens
- A program like Illustrator, Photoshop (For these two you can get it by the month or year to use online) or Cricut Design Space (Which is free to use! You just need to sign up if you don’t have an account. They have affordable designs, graphics, and fonts. Plus, free stuff too!) They also have the Cricut Design App. for iPad.
- Another great program I use for designing is PicMonkey if you don’t have it yet grab the free trial! (I upgraded from the free version but, you can try it to see how you like designing or photo editing in this program).
- Later in the post is where to get free fonts and graphics or where to purchase them for commercial use.
- Printer
and Printer paper
- Ruler
If you know hand lettering you probably don’t need the program, printer, and printer paper. You can just lay out your design by making your straight lines with the ruler, (lightly) and pre-drawing your hand lettering.
Be sure to see all the tips and recommended resources at the end of the post!
Instructions
-
-
- Measure your chalkboard space with the exact measurements where you will write out the text (inside of the frame). Do this with your ruler or a sewing measuring tape.
- Next, open up your design program and create a blank page with the exact same measurements you will make the sign with.
- Pick a simple font or one that you can easily use a chalk pen to write over.
- Size the font to fit your writing space.
(I used 48 pt. for my design with the font style Adorn Condensed Sans – regular I wanted a skinny font for this design the workspace is a bit smaller than my previous chalk art). - Pick the words you want to say on the design and type them into the program. Add spacing and adjust as needed. Do a print preview (before printing)
- Add any graphics you want to trace.
- Make adjustments if needed.
- Name your project, save the design to your computer (or the design software).
- Print the design on printer paper.
-
Now that the design is printed. Follow these steps!
-
-
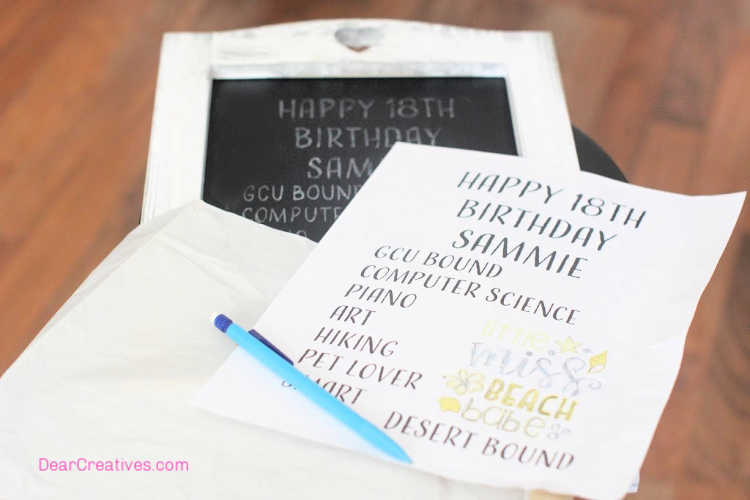
- Layout, the tracing paper face down on the chalkboard.
- Place the design onto the chalkboard. (face up)
- Optional, you can tape
into place to the edges.
- Trace the design onto the chalkboard lightly using a stylus or pencil.
- Lift the papers off when done.
- Take the chalk-pens and write over the traced words.
- Have Q-tips, water and a soft cloth towel or paper towels (slightly damp on edge) for quick clean up of lettering with the chalk pens.
- If you pressed too hard or see marks on the chalkboard that you don’t want, take a black chalk pen and cover that area.
-
Tips
-
-
-
Shake the chalk pens before using them. Blot excess ink off the tip before writing!
-
Before moving on to the next word, let the word(s)dry at least slightly. I used two colors for some words. For two colors I let the letters dry completely before layering on the second color.
-
Optionally, you can layout your own hand lettering onto the chalkboard and write your birthday, graduation, or other messages onto the chalkboard sign!
-
-
What is the best way to clean up mistakes for chalk art?
-
-
-
Use Q-Tips and a soft cloth (preferably) or paper towel to smooth out any mistakes or straighten lines. Step back and look at it from a distance. It may not need to be 100% perfect close up to have a good looking sign.
NOTE -If you do use a paper towel, you may have to go back with a soft cloth or Q-tips to get off traces of the paper towel.
-
-
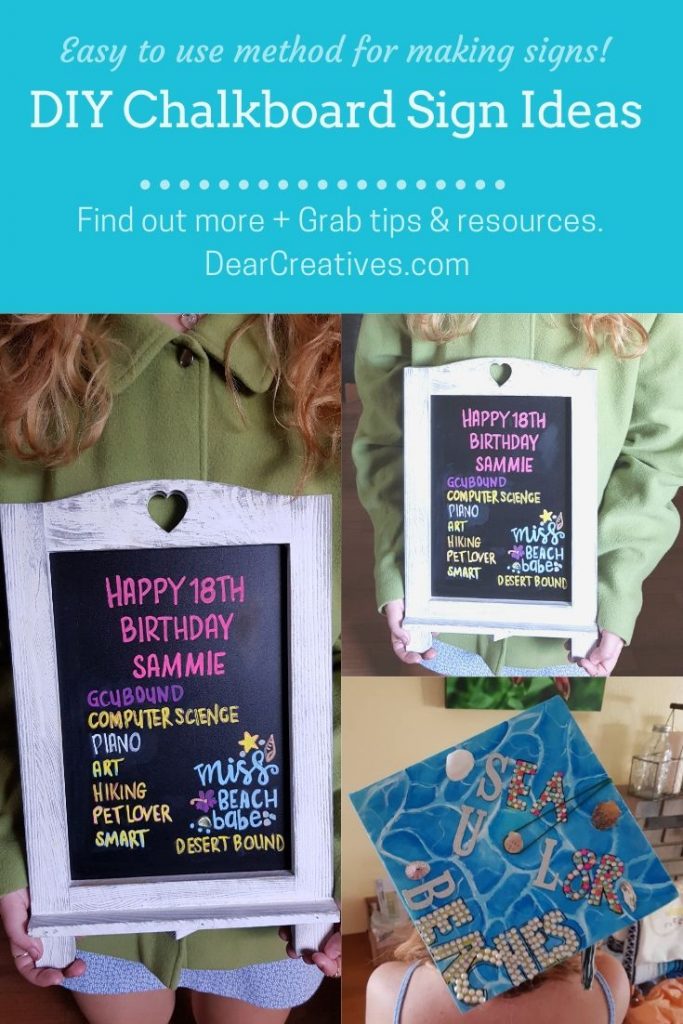
You can see Sammie holding her gift from me, of this chalkboard sign on Instagram! Follow me there for behind the scenes!
Helpful books for making chalk art
How To Make Chalkboard Signs
- If you are a visual learner this video tutorial will be helpful, it shows how to use transfer paper to copy your design onto the chalkboard.
- Besides these books, this video of 10 things she wished she knew when beginning lettering may be of help to you.
- This video is an example of how to layout and make a large birthday chalkboard. (Similar technique but, I like using quality chalkboards vs. cheap ones – quality ones can be reused and painted over again if needed over-time with chalkboard paint
.
- This video tutorial shows how you can use chalk on the back of the design vs. using transfer paper.
- This video 10 Chalk Marker effects anyone can do!
Where can you get fonts for lettering? Where can you get graphics?
Here are a few of our favorite places to grab designs, templates, graphics, and fonts!
Places to get fonts for personal and commercial use.
-
-
- Dafont.com – Be sure to read the terms by each creator for the fonts. Many are free for personal use only! Click on the font you like, see the terms of use. If using for commercial purposes email the artist shown or click their purchase link for acquiring licenses and extended licenses.
- Places to get graphics and fonts for personal or commercial. Get stunning Graphic Design Resources at TheHungryJPEG.com every week they have new free files. They also have a $1 section! (This is where I found the mermaid design!)
- Creative Market (all kinds of designs, graphics, and fonts!) Plus they have weekly freebies too.
- PicMonkey also has free fronts and graphics to use for personal projects. Grab the PicMonkey free trial!
Here is a quick video tutorial start at about 3:30 into the video on how she uses PicMonkey and projects her design for a big wall chalk art design.
-
I hope this helps you make your own chalkboard art and signs. If you have questions just post them on Facebook or email me! Happy crafting and making!
I made this sign for Sam’s birthday and graduation. I will try to get Sammie to see if she has time to share how she decorated her graduation cap. Stay tuned. It says Sea you later beaches, she is leaving sunny California and the beaches and heading off to GCU in Arizona this fall or when campus reopens. I need to get photos with my good camera of her graduation cap…
-
-
- New here? !
- Pin It For Later
- Chalkboard Art
-
Related –
Chalkboard Art Ideas
-
- See more chalkboard art ideas!
