10+ Simple Tips Improving Your Photography Shots: Part 1
It’s been awhile since I did a behind the blog post. I thought I’d catch you up on what I’ve been doing besides trying to organize my home. I’ve got a few projects about ready to be started, two to finish. I can’t wait to share them with you. I have also decided to take a few classes. I can’t help myself. I’m always trying to learn new things and improve on the ones I am really passionate about. Photography is one of them.
I can’t believe that I haven’t shared anything about photography in a long time. Today I thought I’d share a few more tips I’ve learned along the way. I’ve really been trying to practice taking photos and improve on all my photography skills. I love to bake, cook and create things and I want to make sure I can show you the best possible photos of all my projects or recipes.Whether your a blogger or just love taking photos I hope you find a few tips to take away that will help you!
It can take more than a few shots to grab a great shot! If your a blogger I’m sure you know what I’m talking about. What goes into creating the photography shots that work? Good natural lighting! For me this only comes a few short times a day into my kitchen. We don’t have good lighting in our home it faces north/south. Our home is very dark which is only good for the summers here, where we get temps to 115 degrees.
It’s a constant battle as the seasons change to learn the best time to jump up and grab the proper lighting to work with. I even have to think about what time to have food ready to get the best shots. Taking a class is one of the things that will make all the difference in the world when it comes to improving. That’s just what I’ve done signed up for another class.
Simple photography tips;
- Learn which angles to shoot from and how light affects those shots
- Learn what tools can help you can achieve those shots
- Be willing to take the time to learn about your camera
- Learn how to style shots
- Learn how to create a mood or styling with or without props
I’ve been studying various photographers styles. Not to copy but, to learn from them. I’ve put together several photography boards, photography style boards and food photography styling boards with tips too. You can see them all and follow along on Pinterest the link is on the top of the site, below is just one example. There are some amazing resources I’ve bookmarked.
Follow Theresa Huse’s board food photography on Pinterest.
To take photography to the next level I’ve enrolled in this food photography eclass it’s called From Plate to Photo. I’m a few video chapters into it and loving it. Why food styling if you do arts and crafts? Well, there are concepts you can learn to showcase your work too with styling. Also once a week I do share recipes. Food can be a hard subject to make look appealing learning concepts of lighting certain objects and styling can help in all aspects of your photography.
I did take the product photography class ShootIt I think that was a great course. (you can preview either eclass if your interested) If you are looking to improve on your photography for crafts, blogging or your handmade products to sell (say your an Etsy seller or crafter) this is a great option and place to start. Then continue on expanding on styling and setting moods for your secondary shots. Now onto a few examples with real problems and solutions!
Simple Photography Styling Tips To Help You Improve Your Photography;
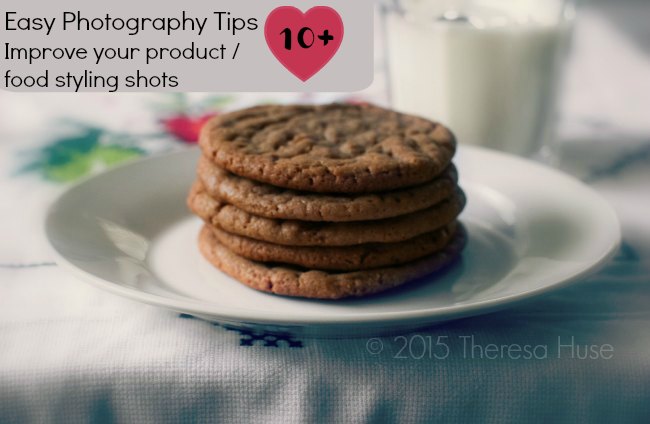
Let me share a few examples of what I’m talking about. Today let’s use my Reese’s campaign as an example / case study. If you follow me on Instagram you may have seen my two posts for the Reese’s Peanut Butter Chocolate campaign. Then there’s the actually blog post I created here. Check out the photography.
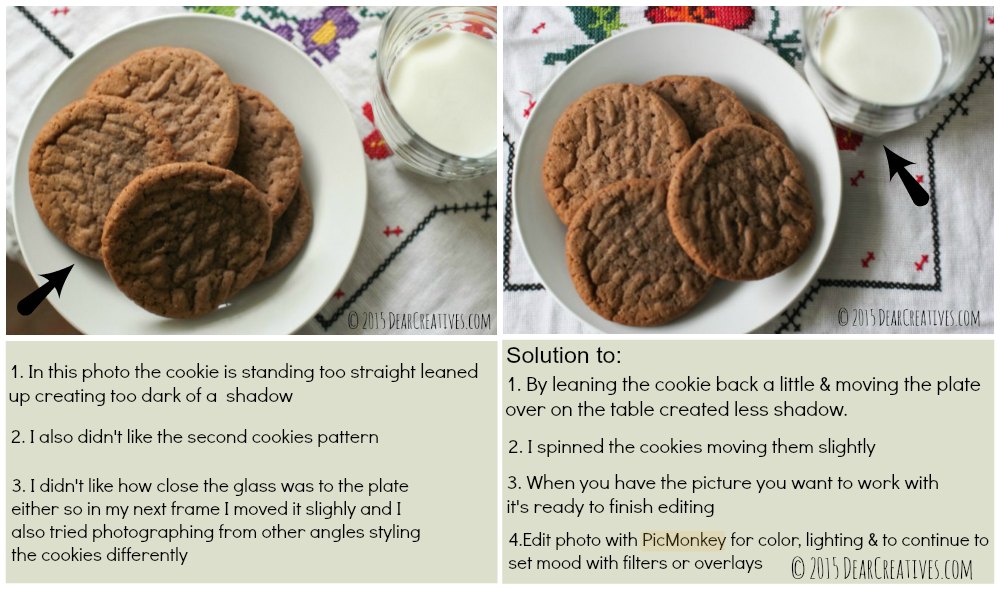
Now, here are a few different styled shots I created to totally change the mood and dynamic for those same cookies. These aren’t edited yet! These were taken for training purposes. When you set up your shots you can look at the details and make corrections prior to taking your shots.
Click to enlarge photo & Read
Both these photographs are in the raw. Which means straight out of the camera. The only thing I did was re-size them smaller and add the arrows. I wanted to share how you can make simple changes to improve on your shots. You can enlarge the image and read the steps to correcting these images. Be sure to subscribe and come back tomorrow for all 10 tips that will help you improve on your photography with more examples.
- Tip: Take wider and taller shots that you can crop down or rotate. (You can’t make a cropped shot larger)
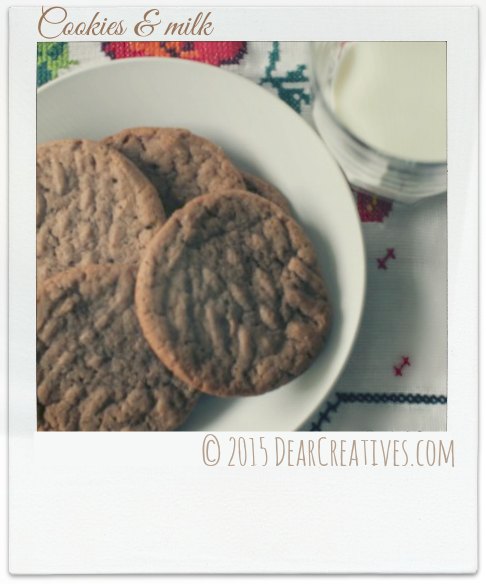
I decided to edit one of my least favorites to show you that with editing you can really change the look of a photo. Although it’s the same photo as above it’s better cropped. The glass and plate balance each other. I muted the color to give it a more vintage feel with the cloth behind. Doesn’t it remind you of having cookies and milk at grandma’s house?
Looking for more resources until tomorrows post? See the related posts below or check out the classes or other photography eclasses shown on the side bar.
What types of photography challenges are you having? Do you have any favorite photography tips to share?


I love this! I am always looking for photography tips! 🙂
Hi Lauren, Glad I could help you with a few.
These are awesome tips! Thanks for sharing these. I plan on trying them out soon!
Hi Samantha, Thanks for stopping by I hope the tips help you.