DIY Valentine’s Day Ornaments And How-To
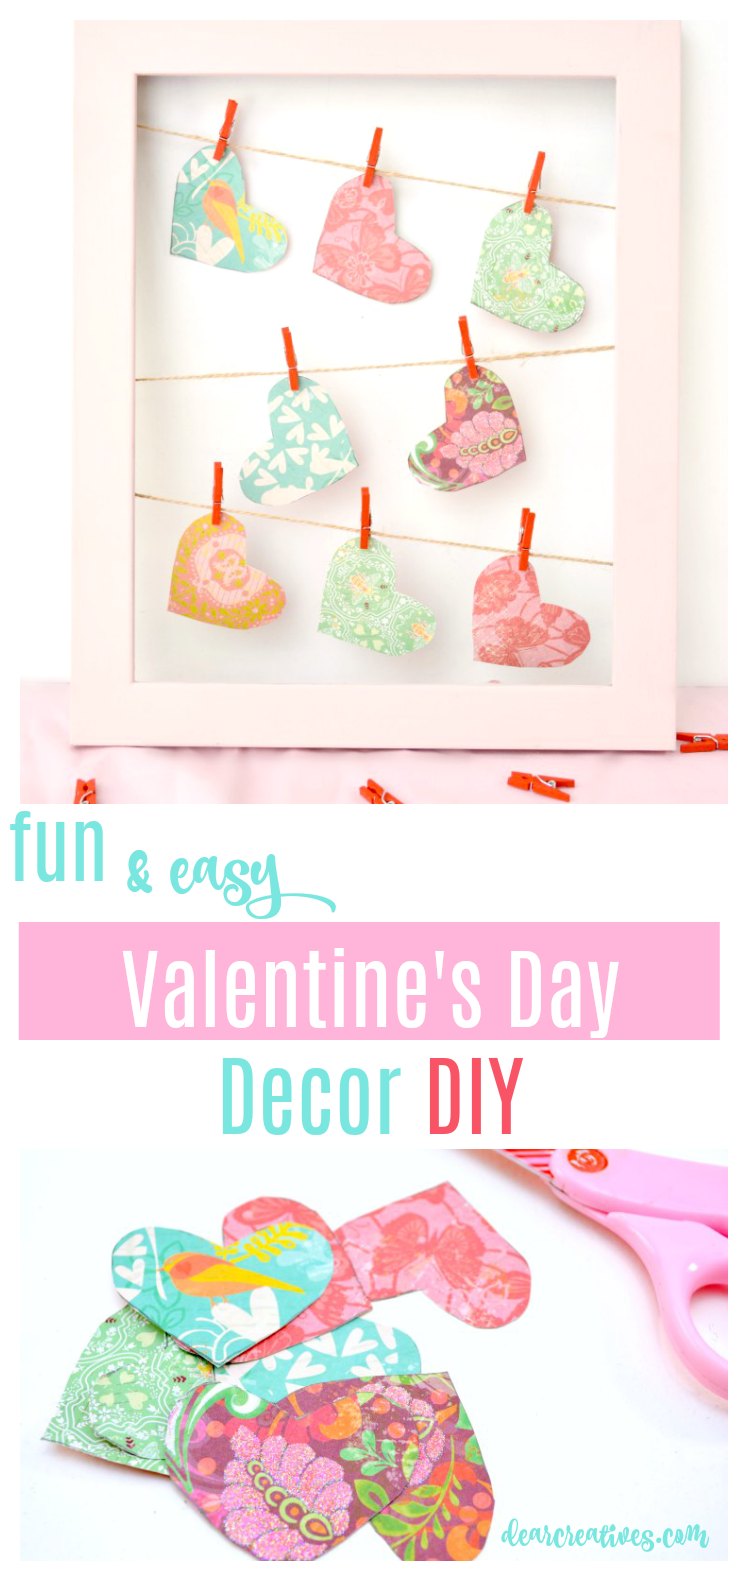
DIY Valentine's Day Ornaments – How-To With Step By Step Images -Are you ready to make crafts for Valentine's Day? Or are you looking for Valentine's Day Decor DIY? These can be hung for decor or added to the top of gifts. Today I am sharing how to make Valentine's Day Ornaments.
Looking for other crafts to make? See all our Valentine's Day Crafts.
DIY Valentine's Day Ornaments
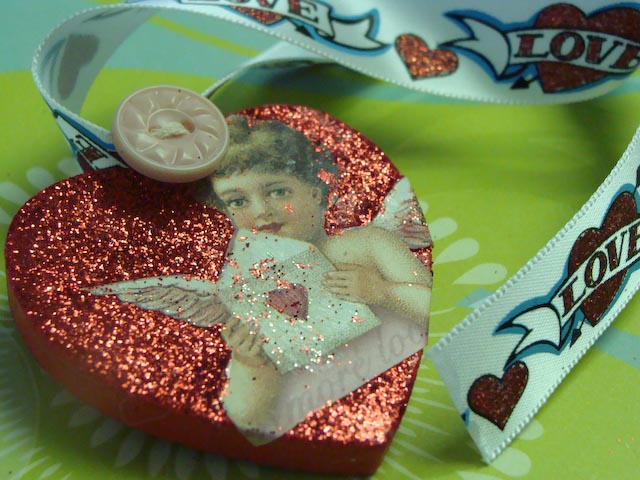
Take some simple 2″ wood hearts and paint them with red, pink gold acrylic paint. I choose red. Cut out your Valentine's Day ephemera images. Pick vintage images, modern images…Glue them onto the dried painted wood hearts. Spread glue around the area you want to have your glitter. When completely dry you can dust off extra by using a dry paintbrush. Cut ribbon to the length you wish and attach with the hot glue gun. Add a button to embellish.
Simple as that you have a pretty little Valentine Heart to hang or give a loved one.
This Valentine's Day Craft tutorial comes with a full supply list and easy to follow instructions with images.
Supplies needed
The supplies have been sourced from Amazon, we will earn money for qualifying purchases at no cost to you.
- 2″ Wood Hearts
(can be purchased at Michaels or on Amazon – our sourced link for you.) Or any size you wish to use.
- Acrylic Paint (favorites)
– (folk art paint set
)
- Paintbrushes
(2) 1 for painting 1 for spreading glue- this can be cheap because you will wreck it! Or get foam brushes
!
- Ephemera images
(can be purchased on Amazon)
- Buttons
(collect or buy)
- Craft ribbon
(Amazon)
- Glue stick or adhesive (for gluing down image)
- Diamond glaze adhesive
, Mod-Podge matte medium
or any glue that dries clear (for covering where you want the glitter to stick)
- Glue gun
(adhering the ribbon and button)
- Glitter
(Martha Stewart's are the finest but any will do)
- Tweezers
-(for holding the ribbon in place so you don't burn your fingers while it dries)
Instructions
How To Decorate Wood Hearts To Make Valentine's Day Ornaments
1. Cut out your image from the ephemera paper images.
 2. Paint your hearts, let them dry fully. Then, when completely dry glue on the image to the painted heart.

3. Paint glue on only where you want the glitter!
 4. Wait until the glitter is completely dry. Then shake and dust off excess glitter with a dry (clean) paintbrush.
Then Mod Podge


5. Hot glue ribbons a button to the front of the heart and ribbon behind the heart with a loop for hanging. Or leave unlooped for adding them to a gift.
Tada! You are done with your glittered wood heart Valentine! Make one or 10 it's up to you. Use vintage images, modern images… it's up to you how you will decorate your wood hearts. Take the idea and style your own designs. They make pretty ornaments to hang for Valentine's Day or cute for adding to gifts.
Create felt hearts to gift someone.