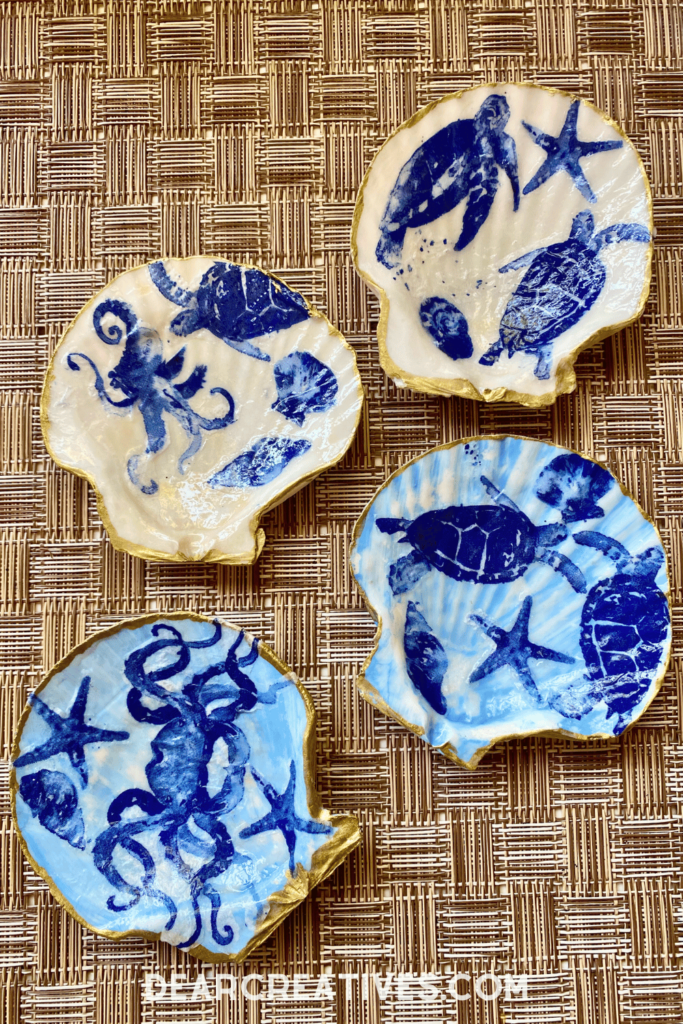
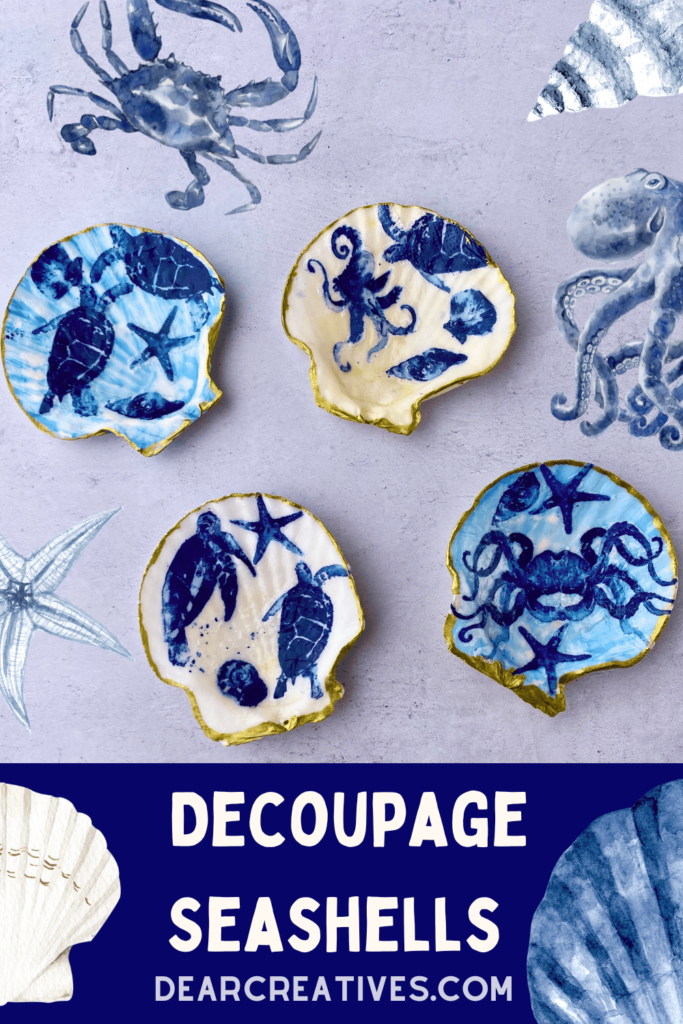
How To Decoupage Seashells (Easy DIY Coastal Decor)
Looking for a beautiful way to preserve your summer memories? This DIY Decoupage Seashells craft is the perfect way to turn ordinary finds into stunning coastal home decor. Whether you are making these for ring dishes, wedding favors, or just to display in a glass bowl, learning how to decoupage shells is easy, fun, and budget-friendly. In this tutorial, I’ll show you exactly how to use Mod Podge and decorative napkins to create professional-looking beach crafts at home.
With just a few simple supplies, you can transform ordinary finds into stunning decoupaged seashells. Whether you are using treasures collected from your last beach trip or seashells purchased from a craft store, this project is surprisingly easy to master. These beautiful shells make for high-end-looking accents in any room, and once you see how simple the process is, you’ll want to decoupage everything!
If you love this look, you should also check out my DIY Coastal Coasters for another easy way to bring the beach into your home decor.
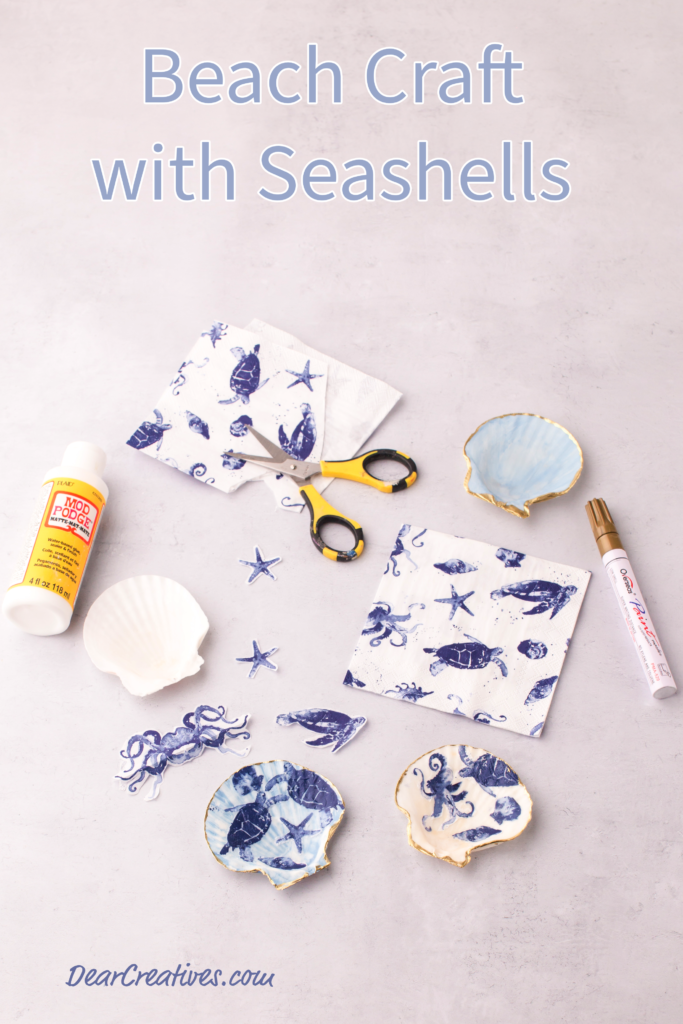
Beach Craft With Seashells
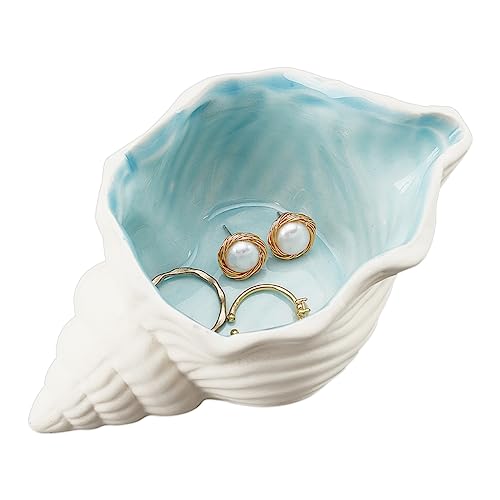
These decoupaged shells are a beginner-friendly Beach Craft with Beachshells. Use them for coastal decor around your home. Add them to pretty clear bowls, or use them for beach wedding decorations, gift them, or use them for ring holders for when you wash dishes. Or use them to make a craft to sell…
Do you love crafting with seashells? If you haven't tried it yet, you should! This craft project is easy, fun, and so pretty when it's done.
Make This!
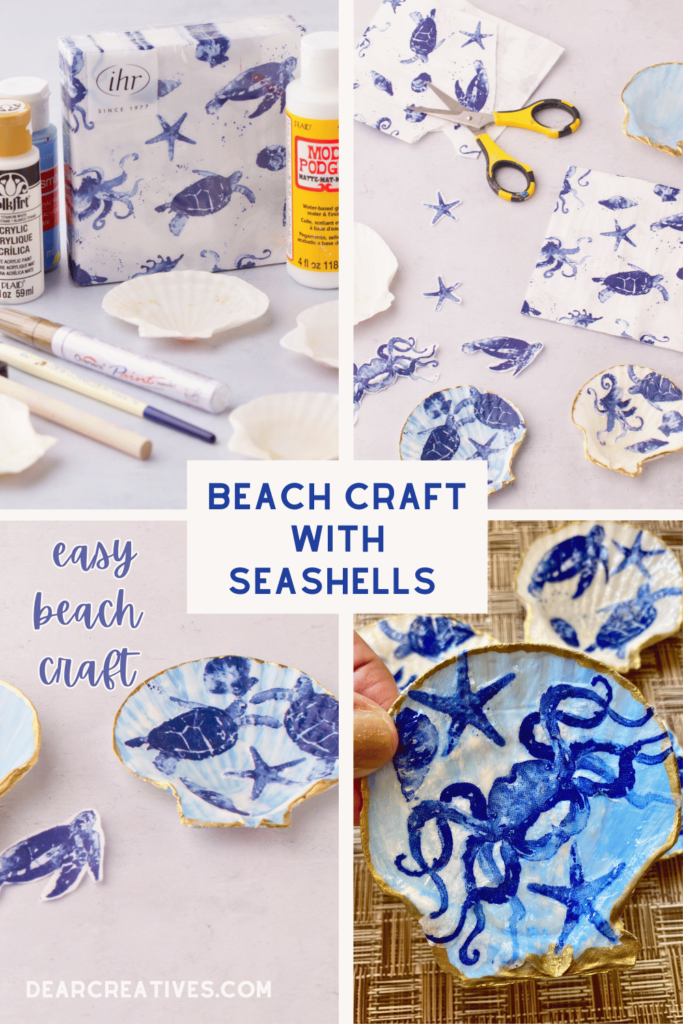
How To Decoupage Seashells Step-by-Step
If you love the beach, coastal decor, seaside living, crafting, have collected beach shells, and want to make an easy craft using seashells this is it!
This is a beach craft for adults or a beach craft for teens. But, possibly tweens or older kids could do this craft with you. Now onto the tutorial for DIY Decoupage Seashells Decor! Let's make them.
How To Decoupage Seashells/BeachShells
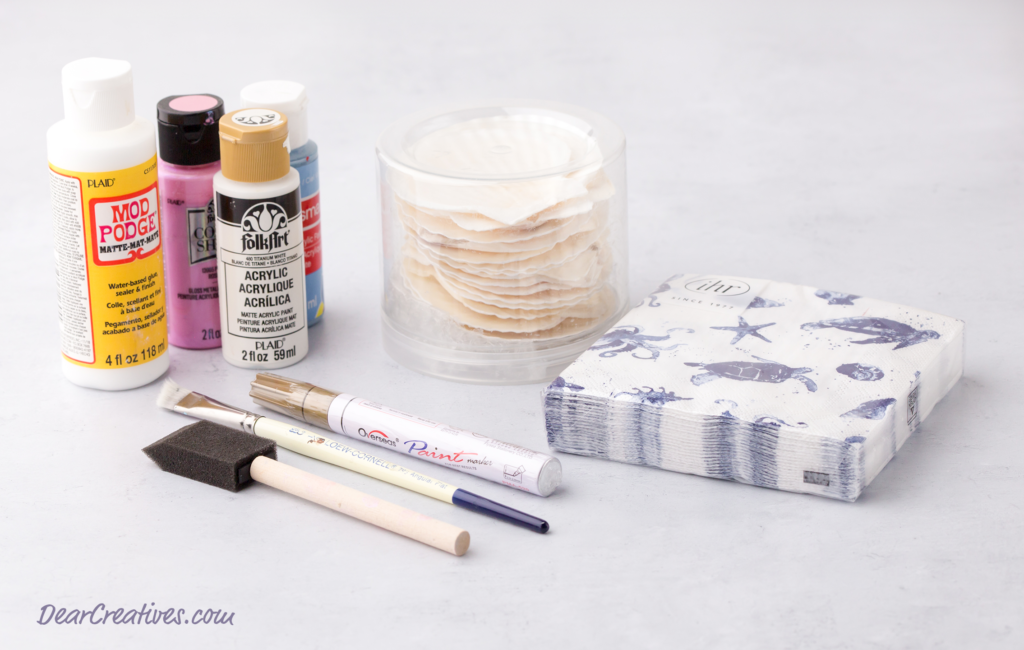
Supplies Needed For This DIY Decoupage Seashell Decor
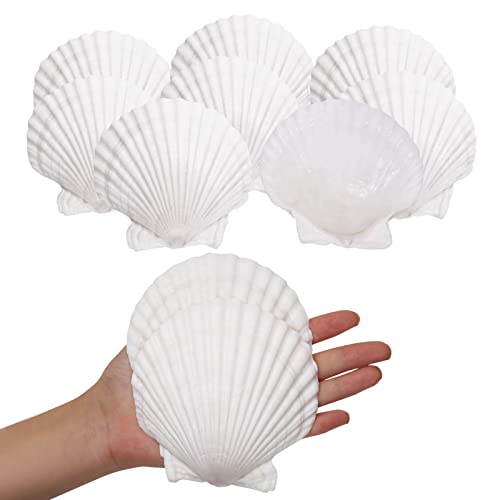
- Seashells (3-3.5 inches) Seashells (4-5 inches)
Use purchased (seashells or scalloped seashells) or found beach shells (scalloped seashells).
You can use any size beach shells; I would not go smaller than 3 inches. - Decoupage paper – seashell design (marbled ocean colors)
- This is what I used – Decopage napkins (marine life design).
- Mod Podge and Foam Brush
- Paint Brush
- Acrylic Paint (Folk Art white acrylic paint) (craft smart sailing blue)
OR get an acrylic paint SET (my fav) like this for crafting - Gold Paint Pen (oil-based)
- Acrylic Spray Sealer (I recommend sealing the project)
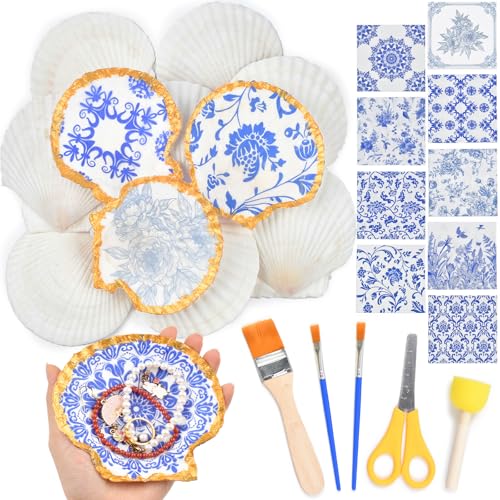
If you don't have a lot of craft supplies in your stash. You can purchase a DIY Decoupage Shell Kit on Etsy! It comes with everything you need.


How To Decoupage Seashells
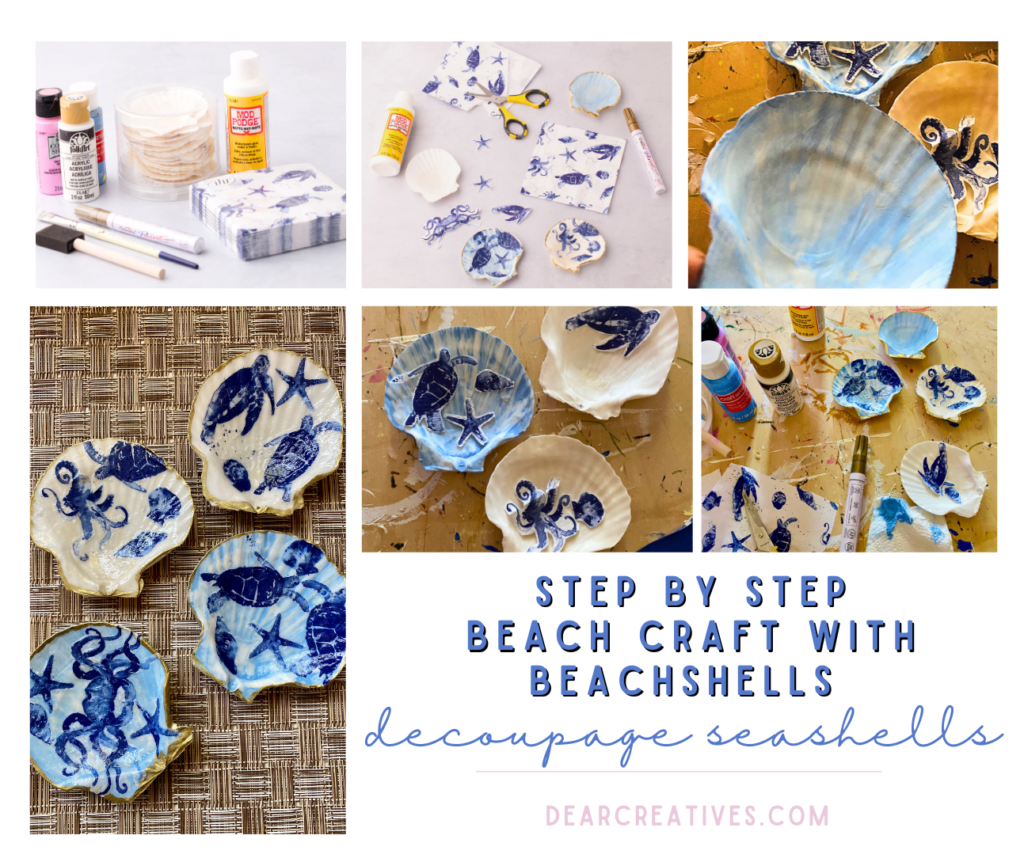
Work on a protective surface. I used a wooden board. You can also use cardboard or an opened plastic bag. Now, onto the process of making them.
Step-by-Step Guide to Decoupage Seashells
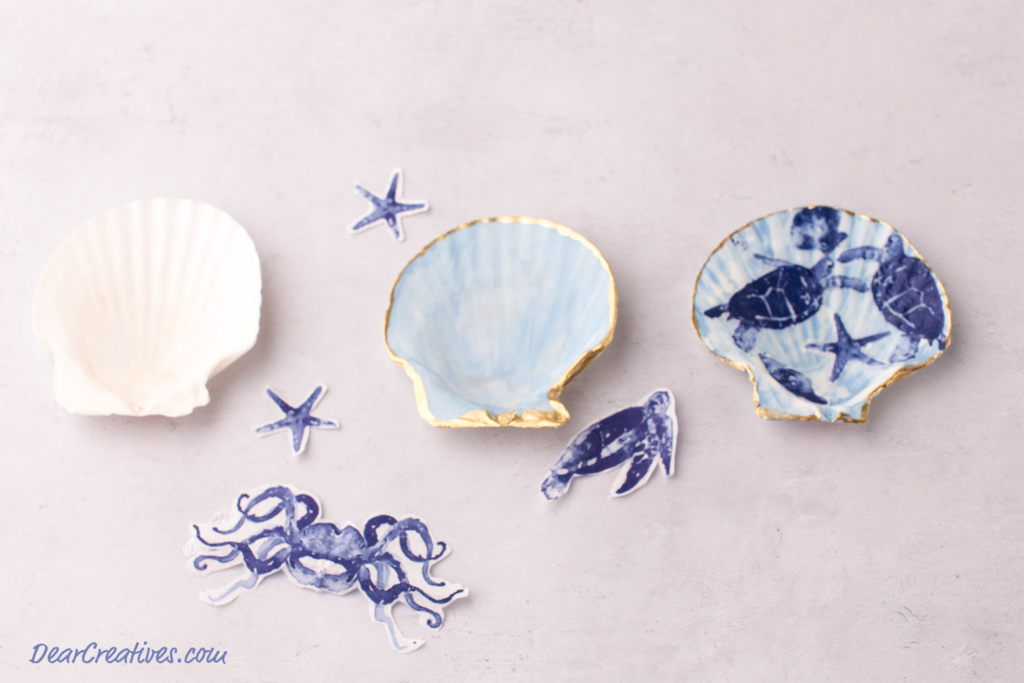
Clean Seashell | Painted Seashell | Decoupaged Seashell
Directions
Note: Are you new to projects like this? We recommend reading the “Expert Crafting Tips” below before you begin your first coat.
- Make sure your beachshells/seashells are clean and dry.
- Paint a light coat of white (or colored) acrylic paint onto the seashells. Let them dry completely.
- When you are painting, dampen the brush and squeeze out excess water. Dilute the paint with water if you want a whitewash effect (for blue paint or other colors).
- Add the gold paint (using the gold paint pen) around the edges of the seashell. You can touch up before the final sealing spray coating if needed.
- While the painted seashells are drying, cut out the designs you would like to glue with Mod Podge onto the surface of the painted seashell.
- Figure out your placement while being flexible with the design.
- Add the glue (with the foam brush)to the dry, painted seashell, and carefully add your paper or single sheet (cutouts) onto the shells (using your fingers). Give them an additional brushing of glue and let them dry completely.
Finishing Touches for Your DIY Coastal Project
- The final step is sealing the decorated seashells. Do this in a well-ventilated area or outdoors. I used an empty box to lay them down and spray them. Coat them evenly and lightly with the spray sealer, and let them dry.
Tada! You are done! I hope you enjoyed this decoupage seashell tutorial.
Craft Project Tips
Read the tips below before you choose your materials and toensure the best results.
- Clean the seashells with soap and water (if found). Give the beach shells a quick rub with a cotton ball dipped in rubbing alcohol. Let them dry completely.
- Use an acrylic paintbrush for the acrylic paint. And a foam brush for the glue.
- When the shell is dry, apply a base color (white or your choice). Then, always apply thin papers over the white or light base. Otherwise, the pattern will “disappear” once the glue makes the paper translucent.
- Let the seashells dry in between steps.
- Use only the top layer of the napkin (with the pattern). Separating napkin layers is important; use the top printed layer! Note: Rice paper can be the most beginner-friendly as it resists wrinkling better than standard tissue. I have only used napkins and decoupage papers.
- If your paper tears, remove it quickly and, if possible, realign it.
- When spraying the sealer, use the directions on the spray can. But, note do not spray too close or too much. I like using gloss. But you can use a matte finish product if you prefer that.
- Cutting the paper designs: You can use a larger portion of the decoupage napkin or paper if the design is smaller. If larger, you will cut out sections to glue onto the shells. It also depends on the size of the shells you are using.
Choosing the Best Napkins for Your Seashell Decor
Picking the Best Materials
- Napkin Ply: Most decorative napkins are 2-ply or 3-ply. Always separate the layers and use only the top printed layer.
- Transparency: Napkins become nearly transparent when wet with glue. Apply them over a white or light-colored base to ensure the colors and patterns remain vibrant.
- Paper Weight: If you are a beginner, look for “Decoupage Tissue/Papers” or “Rice Paper.” These are stronger than napkins but thinner than standard paper, making them easier to apply without tearing or bubbling. Since decoupage glue makes thin napkin paper slightly transparent, a white acrylic base acts like a ‘reflector' to keep your colors vivid.
- Pattern Scale: Match the scale of the design to your object. Large floral prints look great on furniture, while “all-over” small patterns are better for curved surfaces like jars or ornaments.
Pro Application Tricks
- The Water Brush: Trace around your design with a wet brush to tear the paper instead of cutting it. This creates a “feathered” edge that blends invisibly.
- The Plastic Wrap Trick: Use a piece of cling film over the wet napkin to smooth out wrinkles with your fingers without risking a tear.
- Dry Flat: If working on a thin surface, let it dry naturally to prevent warping.
Will you try making DIY Decoupage Seashells Decor?
Happy Crafting!
- New here? Be sure to Subscribe.
- Pin it for Later
- Follow us on Pinterest
- Shop our favorites on Amazon
Pin it for Later if you are not making this craft right now!
Stay tuned for more crafts to make!
- Don't forget to get our free printable 30-Day Craft Challenge. This is #20 on the list of crafts to make. It is a calendar of ideas filled with crafts (anyone can do!).
- If you are headed to the beach to collect shells with the kids, you might like this free printable beach scavenger hunt. Do you like crafts and decorating your home with beach decor? – Read this post 20 Coastal Home Decor Ideas.
Decoupage Crafts To Make
- Decoupage craft project, Nautical box with lid decorated for a Father's Day Gift. For Dad's desk, dresser, or side table to catch his clutter…
- Spring Centerpiece Decoupage Wooden Eggs.
- Decopauge and Painted Tea/Coffee Cabinet
Related Beach Crafts and Coastal DIY Crafts
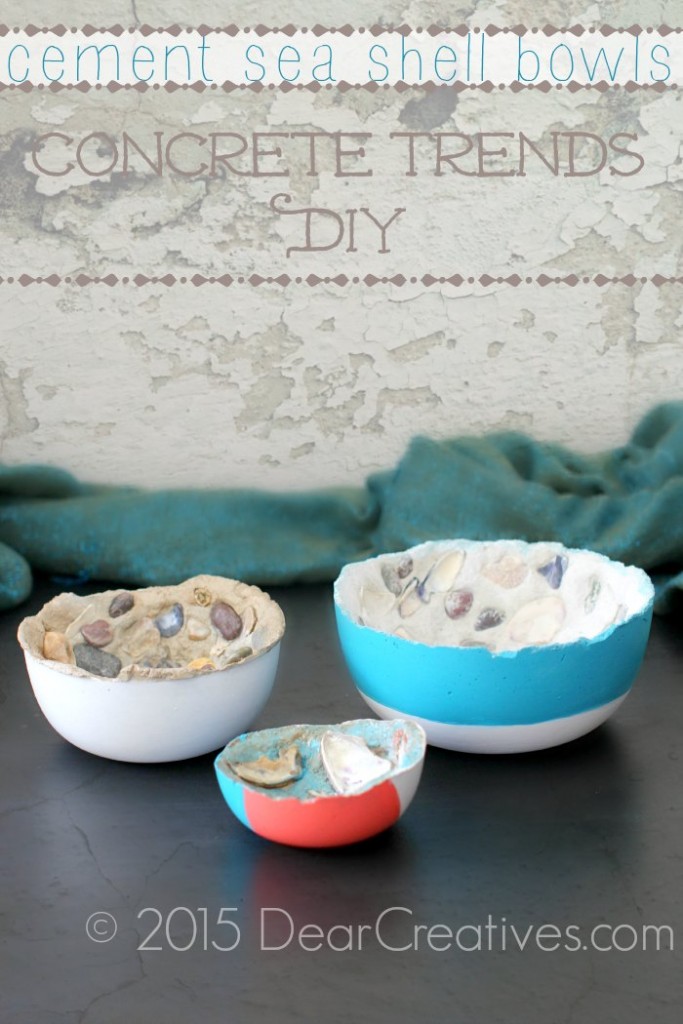
- DIY Concrete Bowls Using Seashells.
- 20 Beach Themed Crafts For Kids, Teens, and Adults
- Make Coastal Coasters using this craft project tutorial.
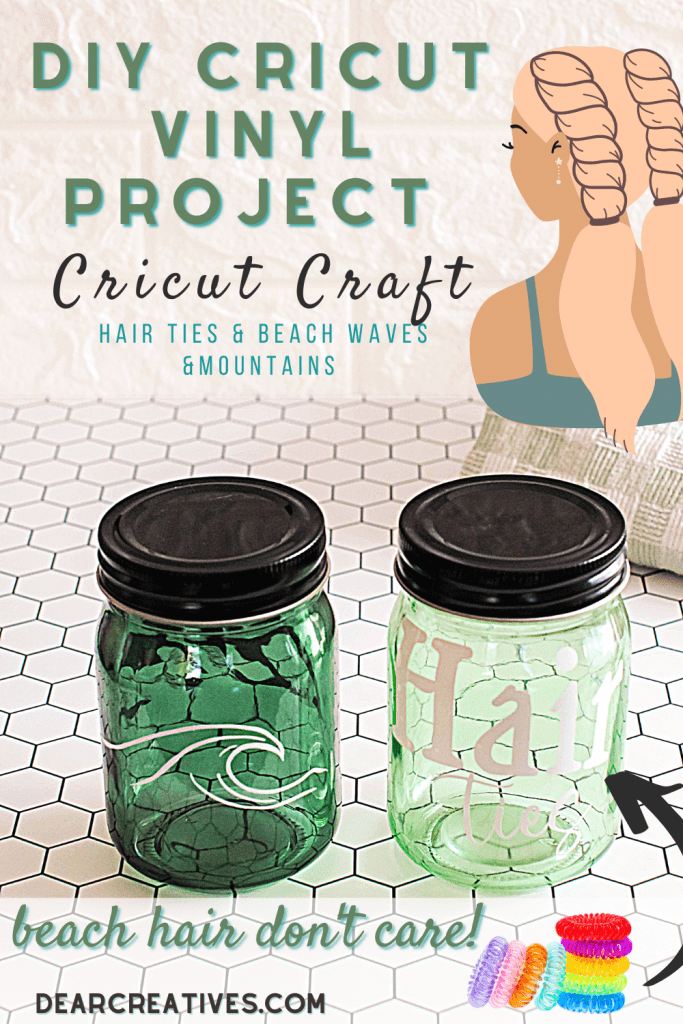
- Beach Hair Don't Care – Add vinyl to jars for your hair ties! and… How to add Vinyl to Jars Cricut Craft Jar Ideas.
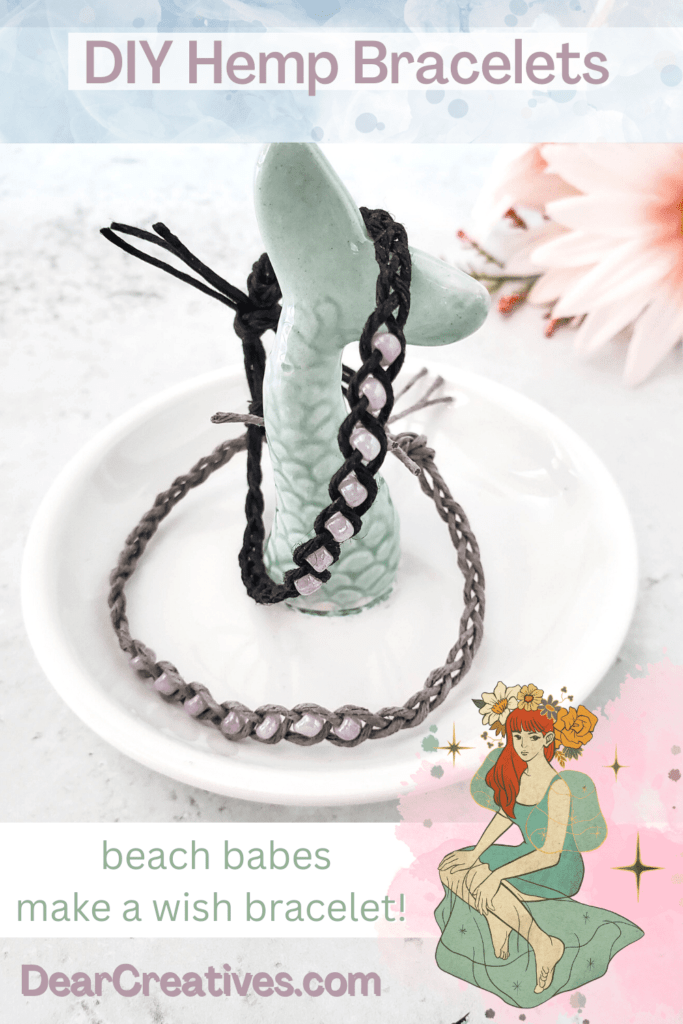
- DIY Hemp Wish Bracelet (jewelry/beach craft). Perfect for wearing at the beach! And perfect for all my beach babes.