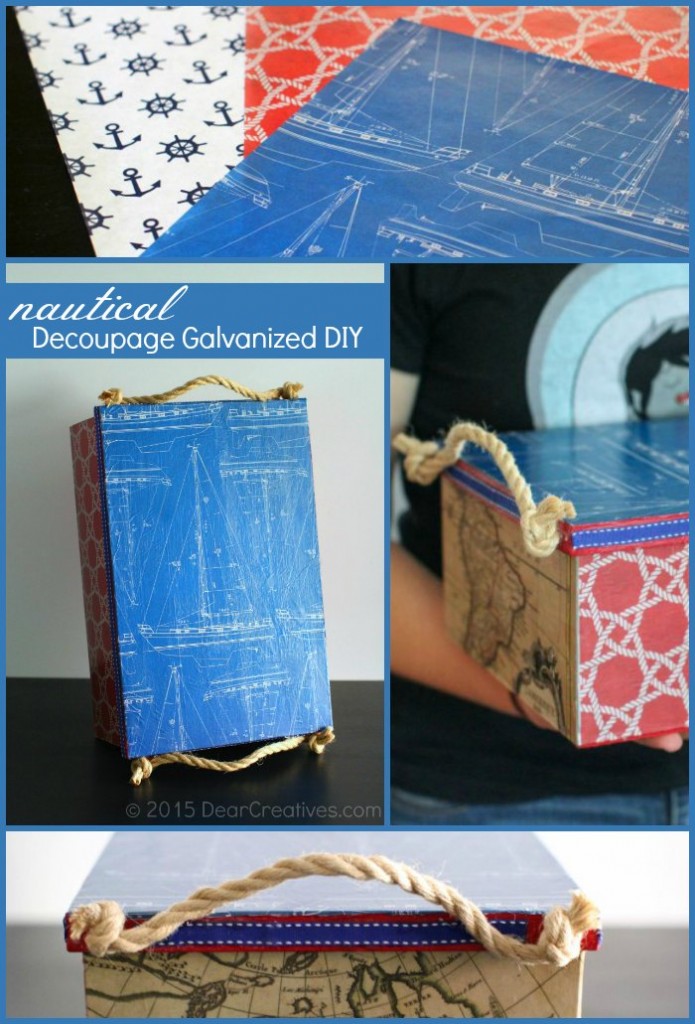
How To Decorate A Box For Dad! DIY Father’s Day Gift
With Father’s Day right around the corner, I am going to show you, How To Decoupage A Box for all dad's loose coins, keys, and mail. This is an easy craft project perfect for placing on his desk. I was over at the craft store and saw so many galvanized steel boxes and boxes on sale I picked one up. I had decoupage papers I had gotten for free to try out so I decided to use them for this DIY Father's Day gift.
Decoupage papers can really transform a plain box into a themed gift perfect for dad or anyone else you need a gift for. Anyone, including dad, can use the decorated box for a catch-all.
Plus, you can even add a gift inside the decorated box if you like. I like surprises, that have surprises, don't you? I think he will like this gift too! Below is the complete supply list along with the easy instructions so you can decorate your own steel box or wood box.
DIY Father's Day Gift
Decoupage Galvanized Steel Box DIY
You can even use this decoupage tutorial over again with other decoupage papers down the road for décor or other uses.
How To Decorate a Box
Supplies
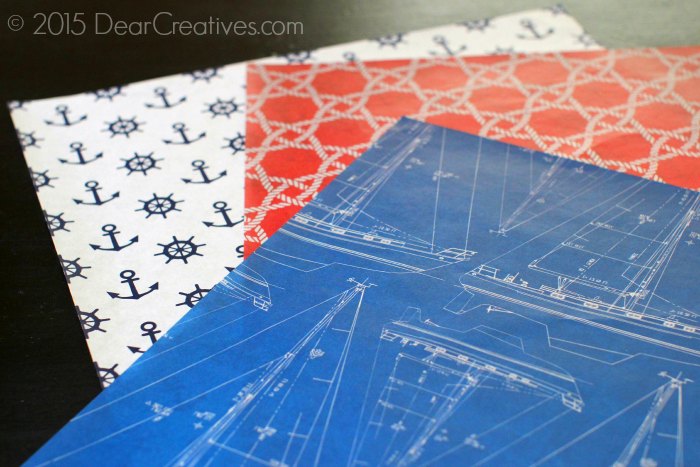
- Decoupage Papers
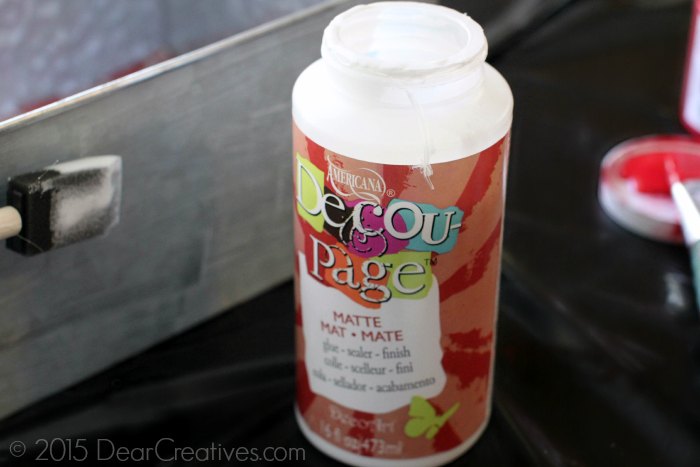
( nautical themed decoupage papers) (We used DECOU-PAGE™ PAPER – Ship To Shore)
- Deco Page
- Foam brush
- Paintbrush
( + foam brushes optional)
- Chalk Paint (optional)
- Ribbon
- Recollections Craft It Jute
- Galvanized Steel Box
or use a wood box
!
- 1 sheet of felt
- Hot glue gun
- Clear Glue (all-purpose)


 How-To Decoupage a Box
(Galvanized Steel Box or Wood)
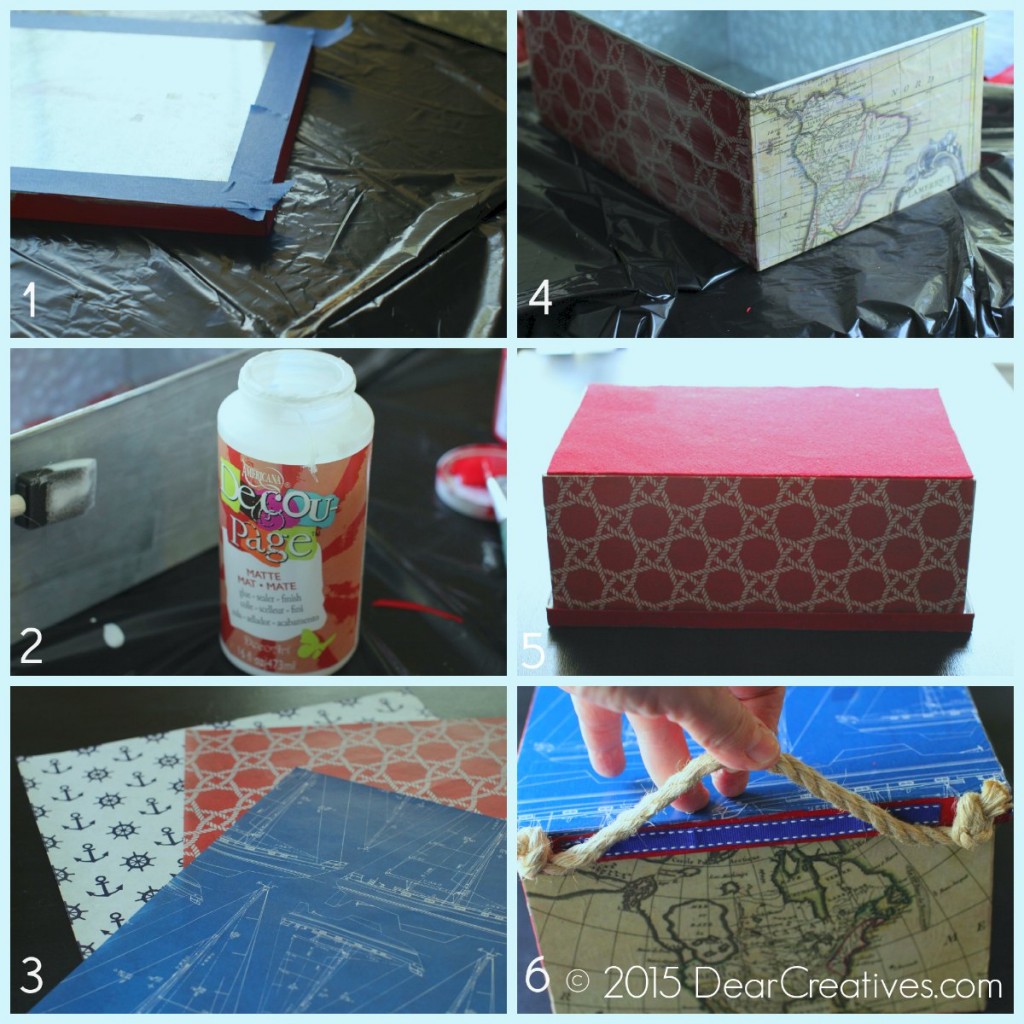
1st Steps:
- If painting box edges apply chalk paint
to edges.
- Let the paint dry completely.
2nd Steps:
- Layout your decoupage papers over the sections of the box, fold a crease for your cutting lines, or measure the dimensions. (You can grab various decoupage papers they don't have to be nautical! DecoArt has a big selection of papers )
- Cut out the decoupage papers.
- Glue the box with decoupage glue.
- Apply papers slowing from one side to the next, gently pushing out any air bubbles. (Be careful not to tear the paper, work slowly.)
- Move onto each section of the sides of the box that you are covering with the decoupage paper.
- Repeating the above steps until you are done covering the box.
3rd Steps:
- Lay your felt over the bottom or measure and cut to size.
- Glue to bottom of the box.
 Final Steps:
- Glue with all-purpose glue ribbon
entered on the box lid if you are adding ribbon.
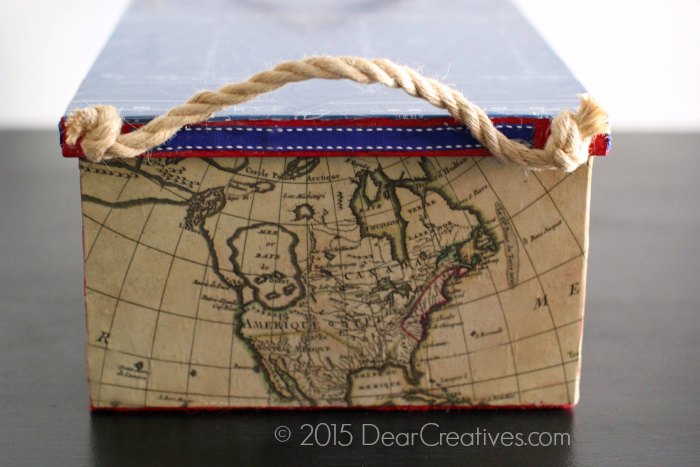
- Measure box plus add a little extra length for knotting jute at each end (this will vary based on the size of jute)
- Cut and knot jute ends.
- Hot Glue to each side of the end of the box lid
- When dry lift up handle and glue it slightly in the held-up position as shown in the image (Glue in place on the diagonal.)
TADA! The finished DIY Father's Day Gift
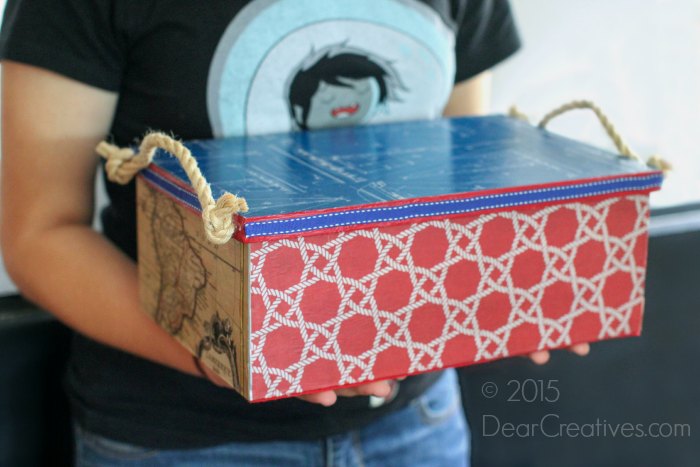
This is a really easy project. I went a step further having a piece of cork left from another project and placed the cut corkboard tiles to fit on the inside, fitting it in placing it onto the bottom. This way if he drops coins in it won’t make a lot of noise. You could use cork, felt, or not do it at all. It’s totally up to you!
I've really been enjoying using these decoupage papers I received from Deco Art for my #decoartprojects . I can’t wait to share my next project with you!
What crafts for dad will you be making?
- New here? Be sure to subscribe.
- Pin it for Later
- Follow us on Pinterest
- Crafts for Father's Day Pinterest
- Craft Ideas
Ready to try it out for yourself?
- DecorArt Decou-Page Paper is available in Home Depot, Hobby Lobby, Michaels, A.C. Moore, and other stores. Visit the DecoArt Decou-Page website for more decou-page ideas and inspiration.


Very cute! I love that idea and you can use that same technique to make Dad all kinds of nifty things!
Hi Shelly, Thanks! For sure. Easy to use and do. I have another project coming soon. Stay tuned.
This looks great! What a fun gift to make 🙂
Thanks Bev. Fun for us and great to get him some hidden storage.
This turned out great! I never even knew there was a product that could do this.. I am kind of craft clueless! 🙂
Hi Lauren, Yes and it’s so easy to do!! Use it on wood or other things too.
Dear Theresa,
Thanks so much for sharing this FABULOUS DIY project with us at Friendship Friday at Create With Joy and for being such a huge supporter of our blog for all of these years!
I’m a huge fan of yours too, and I’m delighted to share that you are “In The Spotlight” at this week’s Friendship Friday Party #175 – enjoy and have a FABULOUS weekend! 🙂
Thanks so much Ramona! Always great to share when I can! I’ll pop by to thank you on your blog. Thanks for stopping by to let me know!
Great gift idea for dad and an easy craft for the kids. Thanks for sharing on Small Victories Sunday link up.
Thanks for dropping by Rachel. And thanks for hosting.