Mason Jar Pin Cushion Tutorial
Do you want a cute way to store your sewing notions? Make a mason jar pin cushion for keeping your sewing essentials close at hand. From the first time I saw them on Pinterest, I knew I had to make a few. I just never found the tutorial to create my own. So, I decided to make my own pincushion. Today I am going to show you how to make a pincushion.
Looking for things to make? See all our mason jar crafts
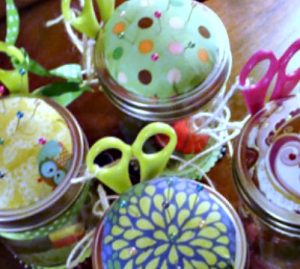
Mason Jar Pin Cushion
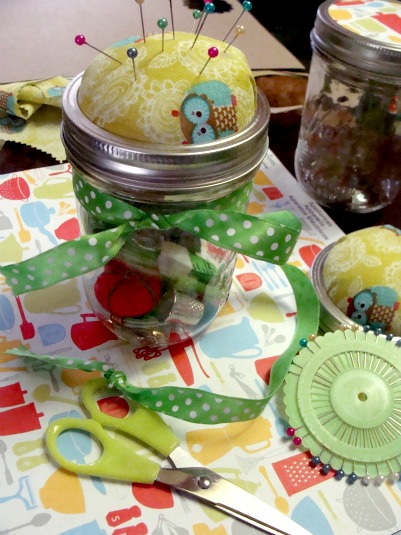
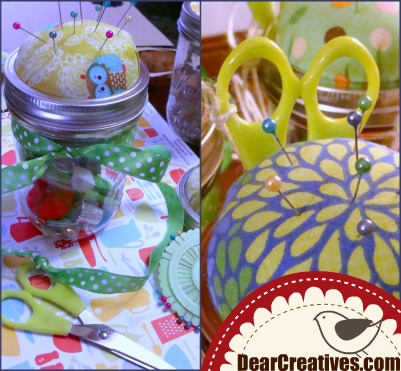
The image above is what your sewing jar – mason jar pin cushion will look like when complete. I hope to update the image soon, as I still have my pincushion. I made this mason jar idea way back when I first started my site and didn’t have a good camera at the time.
How to Make a Pincushion
Supplies
- Quart sized mason jars
, Quart sized wide mouth
or Pint size Mason Jars
- Mini Sewing Kit
- Mini Sewing Scissors
- Measuring Tape
- Polyfil
- Fat Quarter Fabrics, or scrap fabric or Shop for cotton fabrics
- Hot Glue Gun
- Wool Felt
(Like in video number one’s tutorial. Instead of using the paper punch and cardboard. )
- Paper punch with scallops
- Cardboard
(for optional steps covering the glued fabric)
How to make a mason jar pincushion
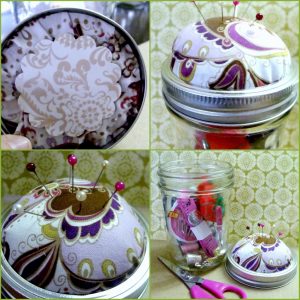
(pincushion with sewing kit)
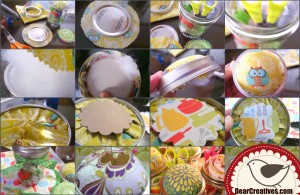
You can click on the image to see the image full size showing all the steps.
Pincushion Tutorial
- Measure your fabric larger than your lid plus, add several extra inches to the circumference.
- Cut out your fabric after marking a large circle (use pinking shears
or fabric scissors
)
- Add a mini sewing kit
to the inside of your jar
- Add Polyfil to the top of your lid
- Cover it with the fabric
- Pull the jar-ring over the lid pushing it into place
- Flip lid upside down and hot glue fabric so the Polyfil doesn’t show
- Create a cute bottom cover by using a paper punch with scallops (or) round design paper punch
- I used scrapbook cardstock paper
of different types (cardboard paper
) for step 8
- Place the punched cardstock paper over the glued fabric, add glue and glue cardstock it into place
- Press firmly
- Add the lid to the mason jar with the sewing supplies added into it
- I added ribbon
around the outside of the jar tied to a pair of small sewing scissors
- Then I add pretty sewing pins
with round ball heads inserted into the pincushion
DIY Sewing Kit
Need a video tutorial? This is just like my tutorial except I used Polyfil batting and then added the cute cover for the bottom of the jar lid.
Here’s a video tutorial for more ways to create pincushions with mason jars. The last two do have hand sewing. Mine is a no-sew technique using a hot glue gun.
- DIY Mason Jar Pin Cushion (like mine but, with a cut circle from wool felt to cover the jar where you hot glued it down on the lid vs. cardstock or cardboard paper)
- Pin Cushion Jar – Mason Jar Decor
- DIY Pin Cushion – Mason Jar Project
Another pincushion idea is; Tea Cup Pin Cushions to Make
Have you made a pin cushion in a jar yet? This sewing kit in a jar is super easy to make. You can store other items inside such as sewing buttons, bobbins with thread
, or collectibles.
I hope you get a chance to try making one! I made a bunch for Christmas and gave them to my family. Everyone needs to own a sewing kit and pincushion
. Before I made these I kept my pins on my magnetic pincushion
. But, I love having everything I need in one spot. Making it easy to grab for quick mending projects or sewing projects.
I wanted to tell you I finally made a new Facebook fan page
Related Posts

What a great tutorial! I think this might be the perfect foray into teaching my daughter how to sew. She’ll love making one of these- and it’s perfect for the pathetic attention span I have.
Glad you like it. It is a no sew project, but you can get the basic needs for sewing & she can get started with easy sewing projects. I had gotten my daughter an easy, fun learn to sew book. I’ll have to look for the post & let you know about it. She’d love it!
Wow! How fun is this!!!
All the jars are beautiful with their pretty fabric and trims.
Thank you so much for sharing this wonderful project with us. I will make one for sure. It is super handy.
Hugs,
Terri
I LOVE those fabrics!!!!
Most of these I think were from Joanns. They have some cute fat quarters. Thanks for stopping by.
I love this project I need to make one of these! Thanks for sharing and I’m featuring this tomorrow on scrappy saturdays. Thanks for you comment too and I’m excited you’re going to feature my gf muffin recipe! I’ve been barely keeping up around here lately! lol…I’ve got plently of things on my list and in the works but haven’t had time to execute or finish them! *sigh* I hope you are doing fantastic and I always love what I see on your blog!
Oh, thanks so much Candace! I know what you mean, we have been busy with school projects & trying to keep up on it all. Lots of ideas, plans in the works “agreed” I haven’t had time to execute or finish lots of mine either! Maybe this week…wishful thinking! xo