How To Make A Towel Rack
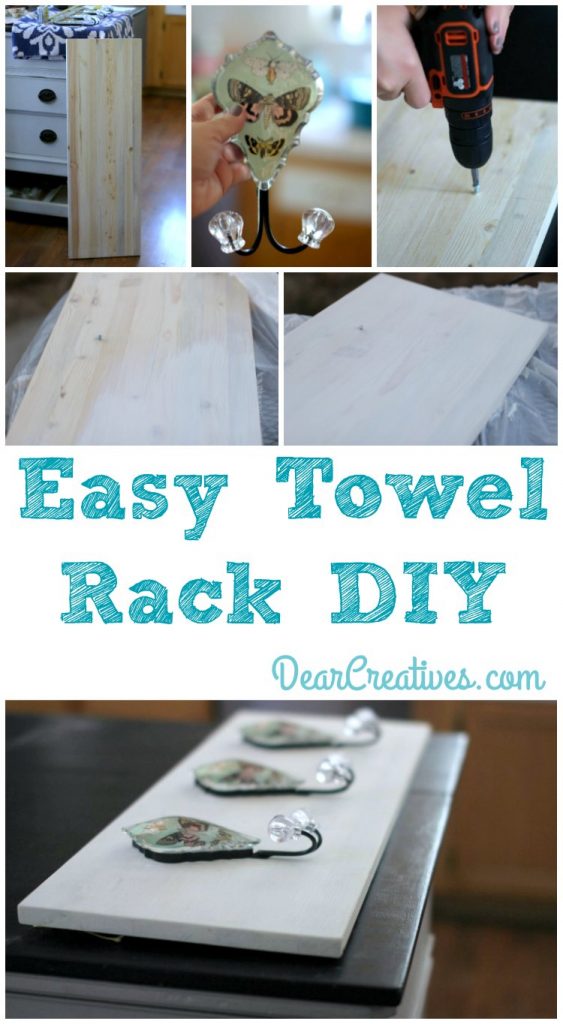
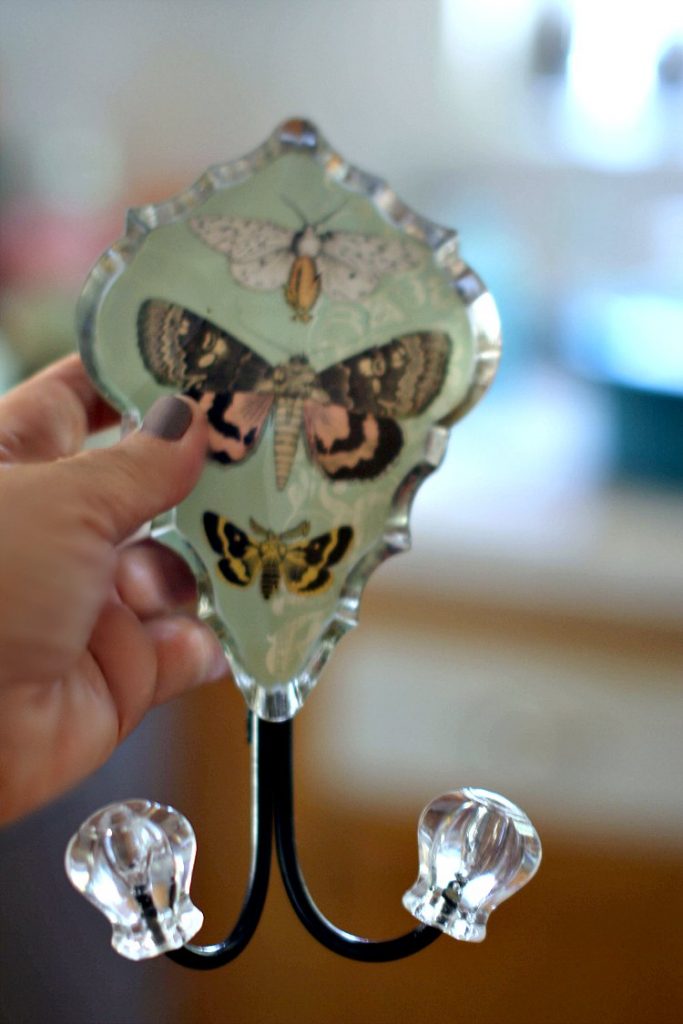
We love easy DIY improvement projects! Don’t you? I was strolling through a store and found 3 of the prettiest hooks a while back. I knew at some point I’d have the perfect project for them, so thinking ahead I swooped them up for later. I ended up making a DIY towel rack. Today’s I’m sharing how to make a towel rack.
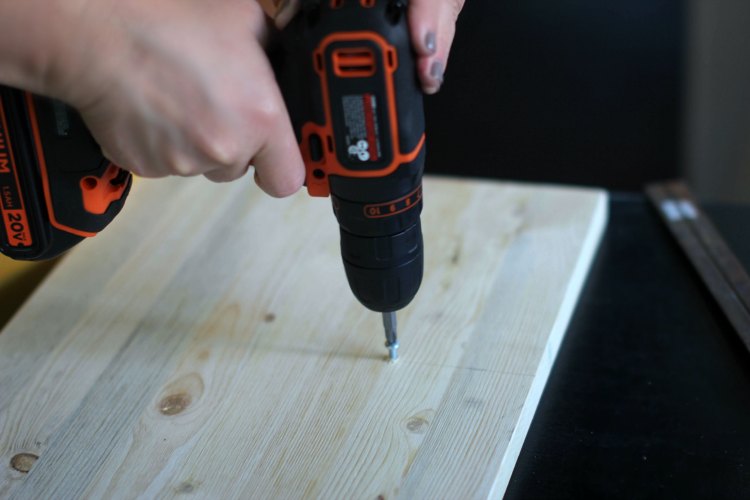
Recently I had the opportunity to try out a Black + Decker cordless drill/driver, which made making this towel rack come together easily. If I can do it so can you!
DIY Towel Rack
To be honest, I mostly have the hubby handle the power tools and I do the designing. But, I’ve been wanting to learn. I asked him to show me how to use this handy cordless drill/driver power tool.
If you are like me ladies, you might just get tired of waiting for someone else to get the job done. You know what I mean, right? Their honey-do list is long, and so are ours! This is one handy tool to own, let me just say! And light enough for us girls to use.
How to make a towel rack
- I claim to be no expert on power tools. I highly recommend having someone to help you when starting to learn. Always adhere to safety standards.
Supplies needed for this towel rack
Supplies
- 3 hooks
of some type.
- Screws to fit inside the back slot.
- We used Pan Phillips #8 3/4 inch metal screws for our hooks.
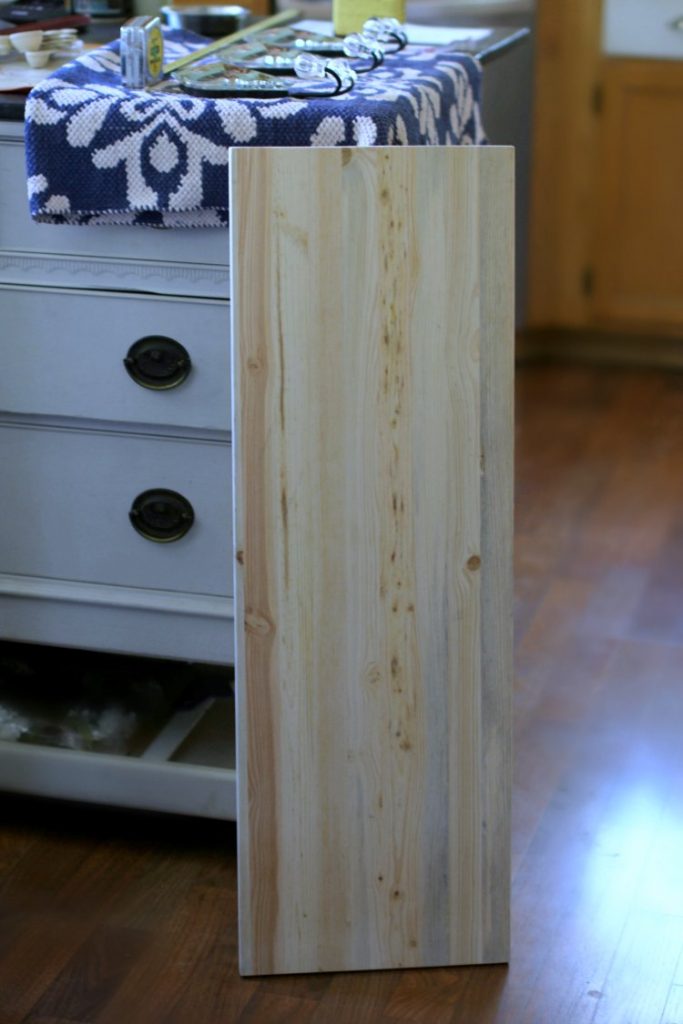
- A piece of wood cut to size. 36″ long x 12″ wide x 3/4″ thick (or another size)
- A small level
or T-square
- Tape measure
- Pencil
- Sandpaper
- Paintbrush
- Paint
or Stain
Instructions – Gather your supplies to get started making a towel rack
- We cut our pinewood about, 36″ long x 12″ wide x 3/4″ thick.
- Grab your Drill/Driver and other supplies such as a small water container and towel.
- If there are any dings/nicks on the board you will need wood putty
.
DIY Towel Rack Directions
- After cutting the board to size
- Sand the sides and face of the board.
- Next, with a slightly damp towel remove sawdust
- Putty any dings or nicks in the wood and let dry (use a light color if using light color paint)
Next
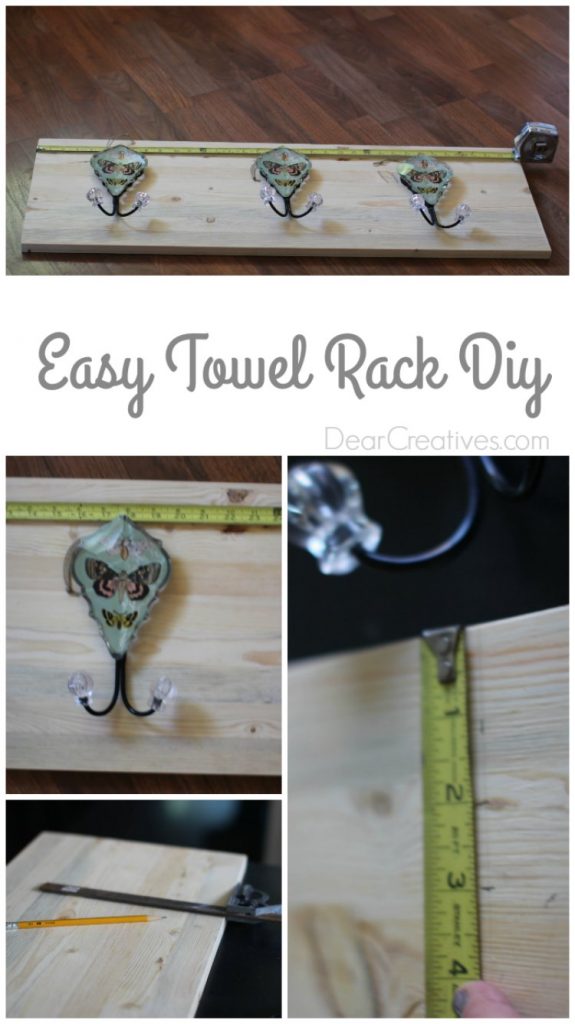
- Mark where you will attach your hooks.
- First by finding your center.
- Then I spaced each hook 10 inches apart from the center and leaving equal space from the ends of the board.
- Also, measure equal space from the top down with your T-square.
- This ensures the spacing is perfect.
- After the putty is dry and the board is marked place your screws into the wood.
- Next paint, stain, or whitewash your board.
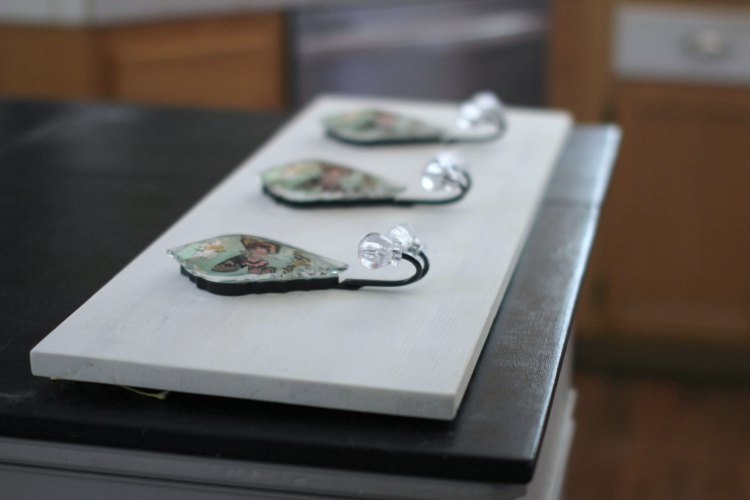
- After the paint is dry I attached my towel hangers
It’s easy to build your own towel rack! Let me know if you make your own. They are great for hanging towels in the bathroom or out by the pool or spa.
We are going to place this in our bathroom after we are finished remodeling it. But, for the summer I have hung it on the back fence! When it’s time to hang it in the bathroom we’ll find the studs and adhere it to the wall. Then touch up any screws with white. I promise to update the post when we do!
Are you new here? Be sure to subscribe.
DIY projects to try



I like that these tools are lightweight. I would make a bird feeder
The keyless chuck is a great feature, of course, makes changing out bits a breeze. I would make a wood toy box for the kids play things. Thanks for the chance to win 🙂
jslbrown2009 at aol dot com
I really like the compact design as sometimes it’s hard to fit those big drills into tight spaces.
I want to try to make a dog bed. The kind with the bunk on top, a few stairs on the side and food and water bowls underneath.
I like the compact design of the drill and that it can get into smaller places such as kitchen cabinets and under the sink. I also like its long running ion battery. I really like the circular saw has a powerful motor that can cut beveled pieces of wood very accurate, and there are different depth adjustments and an ergonomic handle! I would first make a new picnic table for the back yard. It would be fun to make with my husband!
I was just watching another video about drills and never understood the speeds and torque on them. Now that I get it all, I have been loving speed one. Keeps me feeling more in control and less like the projects will spit.
I am currently updating my late Grandmother’s garden table to be more functional for what we need and to be more appealing to the eye on our patio.
I love that the drill/driver is small/light because this girl can’t do big, heavy power tools lol. I’ve been wanting to put some shelves in my closet, so I would definitely do that for my first project!!
I’m loving that they have a LED light! That and they are light weight, but mostly the LED light! There is nothing worse than trying to juggle holding a flashlight while holding a drill/driver! I’ve been there! I have a bed frame that I want to make using pallets! Those tools would be very helpful!
I would like to build square shaped accent wall shelves and paint them a nice shade of green for my bedroom. I think they would look nice and would be great for displaying and storing items. I love that it is cordless!
Oooh I would love to win. I’d love to repurpose something into a towel rack. Yours turned out so cute! Pick meeeeeeeeeeee!
I love how light weight the drill is! That’s important to me. I would like to make a toy chest for the playroom and have my kids paint and decorate it.
I have a bunch of reclaimed wood I want to make a garbage bin holder with. I would work on that first if I won.
Oooooo, I could really step up my crafting game with the kids if I had my own power tools. But how would I keep the hubs from running off with it?!
Ergonomic design and light weight is what i like about these drills but of course the LED light,is a great feature.The 2-speed drill can take on tougher projects.
I will surely use these drills to build a gazebo and repair the fence around the house.
My dad was a builder and a carpenter, but I never got the abilities to create like he did. This inspires me to try to understand DIY better:)
This video had me at “easy to use”. I like the speed 1, but I love that they both have lights on the and that they are lighter. Most drills are so bulky.
Drilling through studs?! WHAT!! I didn’t even know you could do that! That’s the most annoying thing I run into when I am hanging something new! That’s so cool that the Lithium 2 speed does that! I’ve been wanting to make some bigger shelves for my office– sounds a bit daunting, but I know I can do it! #GIRLPOWER 😉
Hi Ashley, Yes but, you should consult an expert prior to doing so or have an expert do it for you! #1 make sure NO plumbing pipes & NO electrical are in your walls on/near your studs where your working #2 you need to make sure your screws are short enough. Good luck with your entry!
Your Towel Rack turned out awesome Theresa! I love it, great job!! I love the compact size of this set! I would do some easy repairs around the house first, then use up some scrap wood and make something, since it is taking over!
I like the keyless chuck allows for easy bit changes. I would add some shelves to our pantry.
I love the compact design and light weight. I’d make a dog house for our dogs.
I like the smaller and light weight features. I need to put up some shelves for canned goods. Found some great ideas, just need the supplies.
The features that I really include the drill being lightweight and compact. I also really like the 11 position clutch and LED light.
Oh I love your towel rack! We do not have one for our towels now…this would be so cute to make! My favorite feature is that it has the 11 position clutch helps prevent stripping screws! Oh I hate it when that happens to the screws. The first thing I would make is a raised garden bed! We container garden, but I would love them to have more room to grow in a raised bed.
I like the led light because then you can see what your working on easier! My project this summer is to make a storage bench to go on my back deck. I love the hangers on your towel rack btw!!
I can’t get that video to load. My favorite features are how light weight the tool is and how little space it takes.
Hi June, no worries. Thanks for your comment and good luck.