DIY Unicorn Decoration for a Bedroom
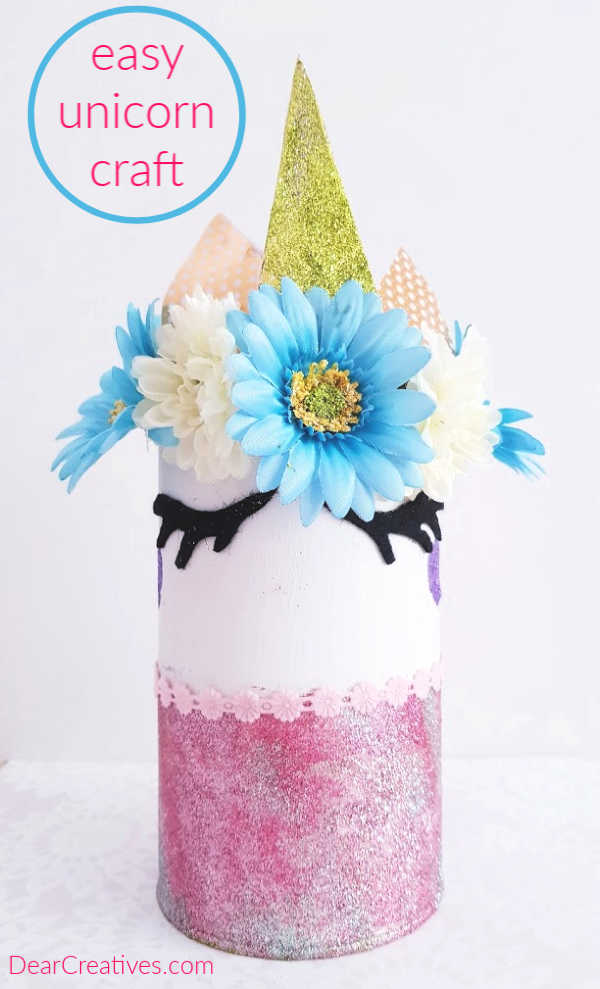
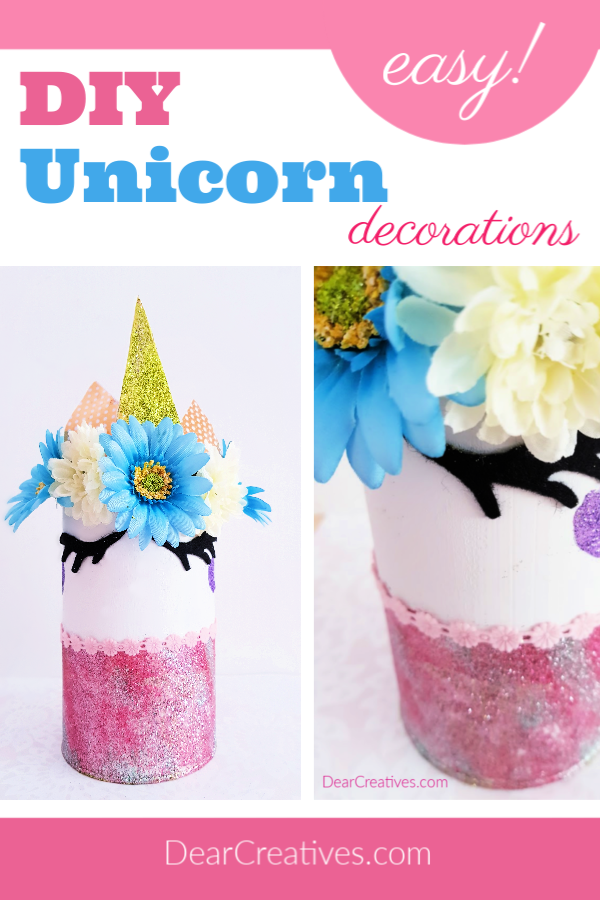
Today’s unicorn decoration is for a bedroom. But, has other uses too. It could be a party decoration or centerpiece for a baby shower. Or even made for a nursery. This fun craft was easy to make. I had my little granddaughter over for a week. She is over the moon about unicorns so I had an idea of upcycling a can with her to transform it into unicorn decor for her room.
Since she is only 4 years old I had her paint, glue, and shake the glitter. For the rest of this fun DIY, she had to watch the unicorn magic happen. If you have older kids or teens this is definitely a unicorn idea they can make with help. This is an easy unicorn to make and can be a teen craft or tween craft if they are old enough to use a hot glue gun by themselves.
Looking for other ideas? See all Unicorn DIYS.
Do you have a jar or can ready to be upcycled? Let’s get started making this fun idea, and unicorn decoration for a room.
Unicorn Decoration for a Bedroom
You can make a girly unicorn, or a magical one. It’s up to you. And would definitely look cute as nursery room decor if you were creating a unicorn theme.
Let’s make this DIY unicorn room decor
Supplies to make this unicorn craft
- A tall cookie can with a lid (empty, clean and dry)
- Chalk Paint I used (Dixie Bell – Fluff
). Or Chalk Paint (Folkart )
- Martha Stewart Glitter
(or other glitters) But, these are my favorite glitter for crafting!
- Mod Podge Glue
- Foam Brush’
- Card Stock Paper
– (gold glitter) OR Plain Card Stock
you glitter for ears and horn
- Faux Flowers
- Felt
for eyelids
- Trims (optional) Pom Pom Trims and Pink Mini Flowers
- Scissors
and Fabric scissors
- Pencil
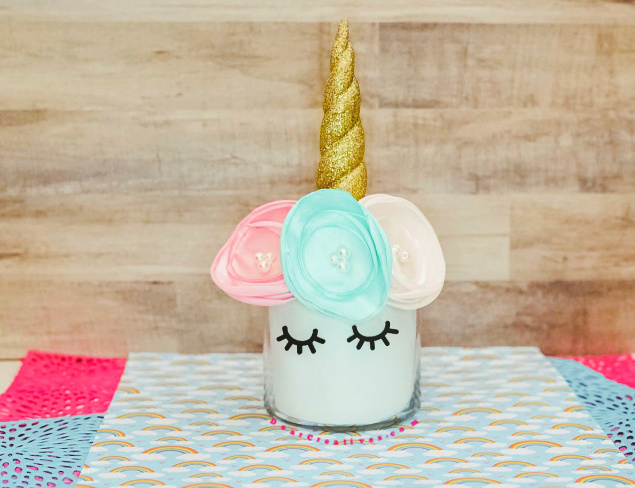
You might remember our other unicorn jar made from a jar? Unicorn Jar DIY
Instructions for how to make a unicorn jar from a can
Step 1.
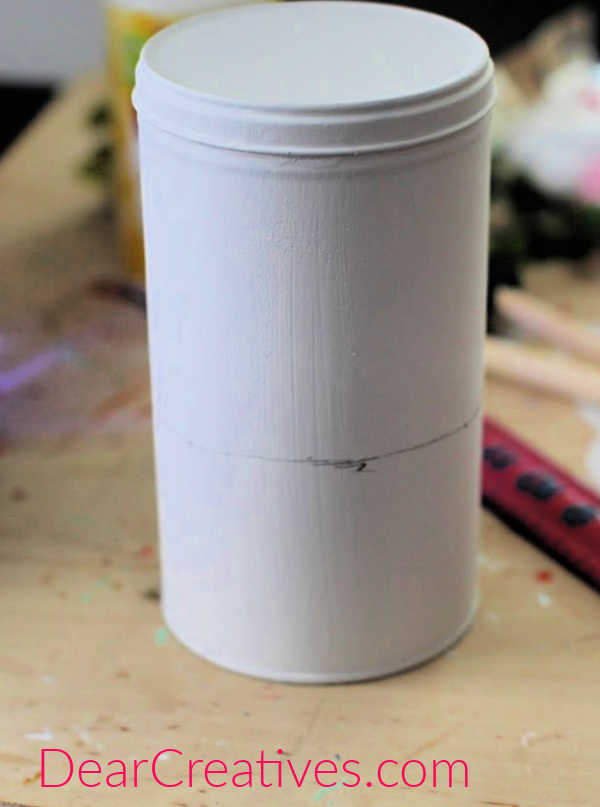
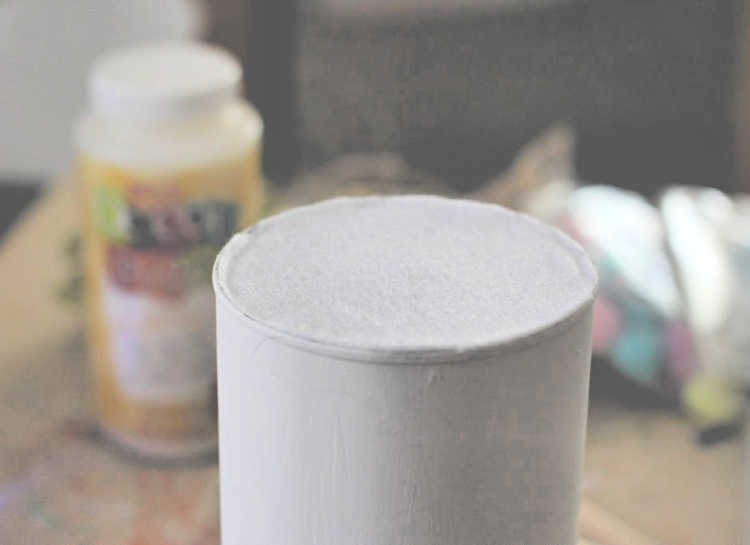
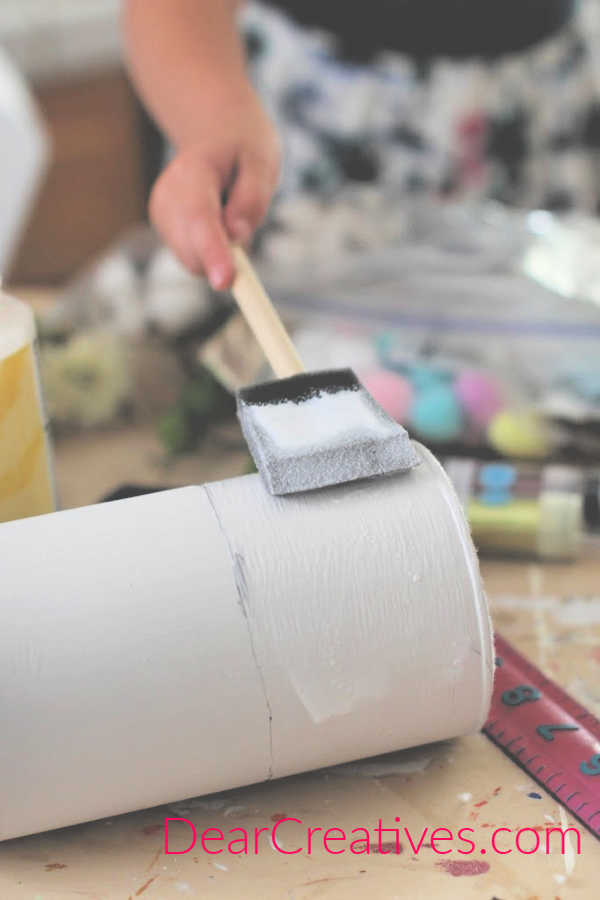
After cleaning the jar, make sure it’s dry. Then paint with chalk paint. (And mark with a line. See step 3)
NOTE: If you want the can to open and close paint the lid and bottom separately and only attach items to the top. You may need to sand a little if the lid sticks just where they line up. We are only using ours for display decor.
Step 2.
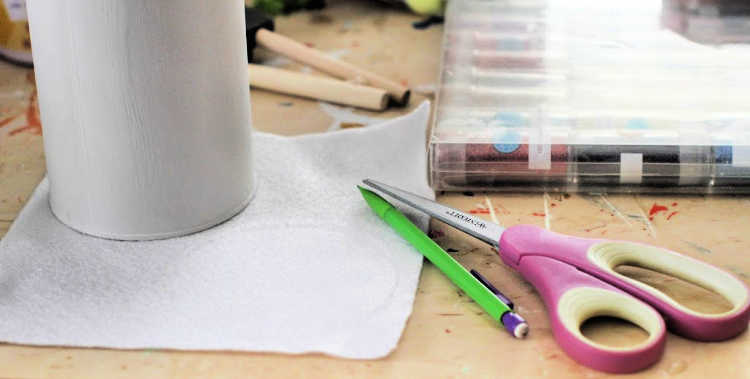
Trace a line around the bottom of the can, on the felt. Cut out a circle of felt and glue it to the bottom of the jar. (This will protect scratches on furniture) The project time will depend on the drying time of paint and glitter. Before you know it you will have this unicorn room idea finished and ready to display!
Step 3.
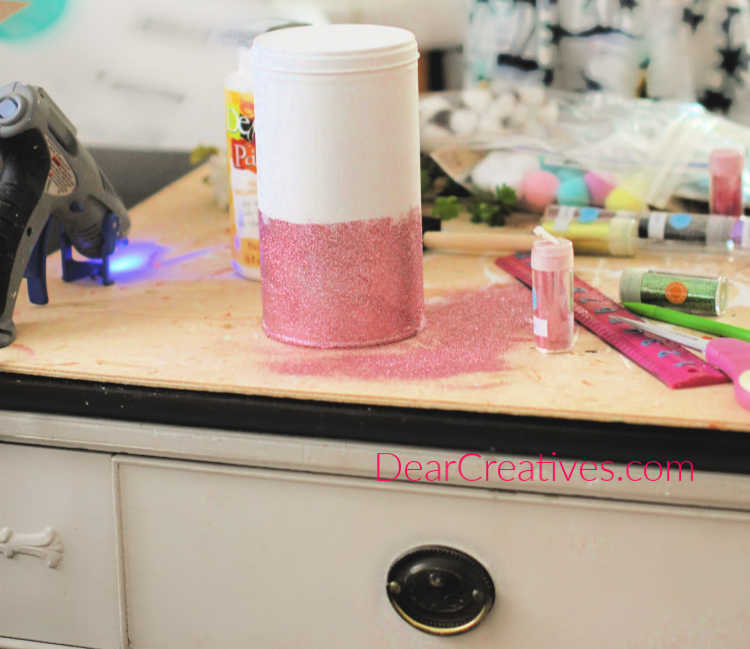
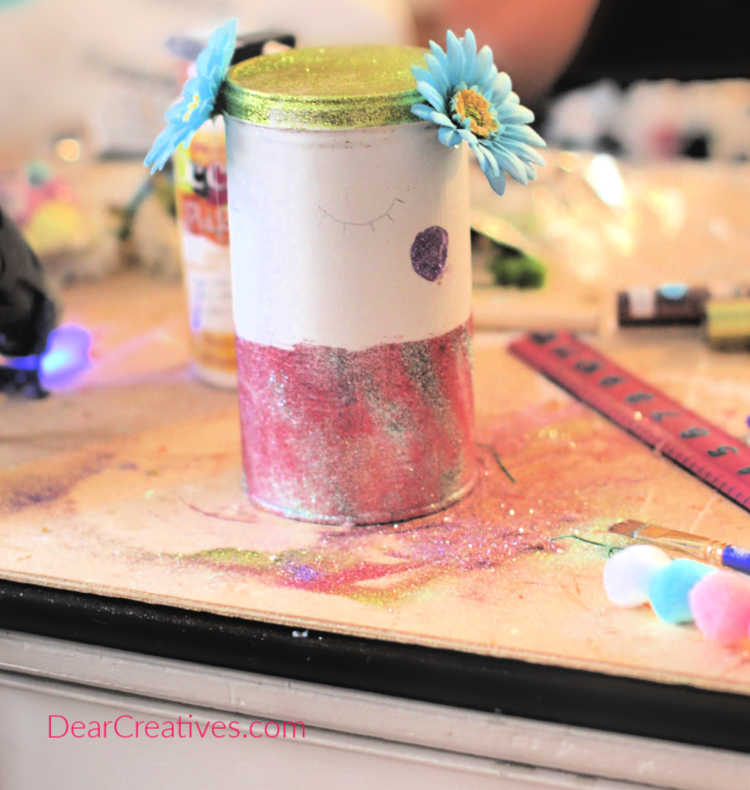
Mark a line around the can with a pencil. Or jar with an erasable marker. Mod Podge where you will apply glitter up to that line and to the bottom of the can or jar. This can easily be done by a child by using a foam brush dipped in the glue. Rotate can or stand it up to move glue around all sides.
Step 4.
Sprinkle your glitter on the can. Shake off excess glitter and let dry.
Step 5.
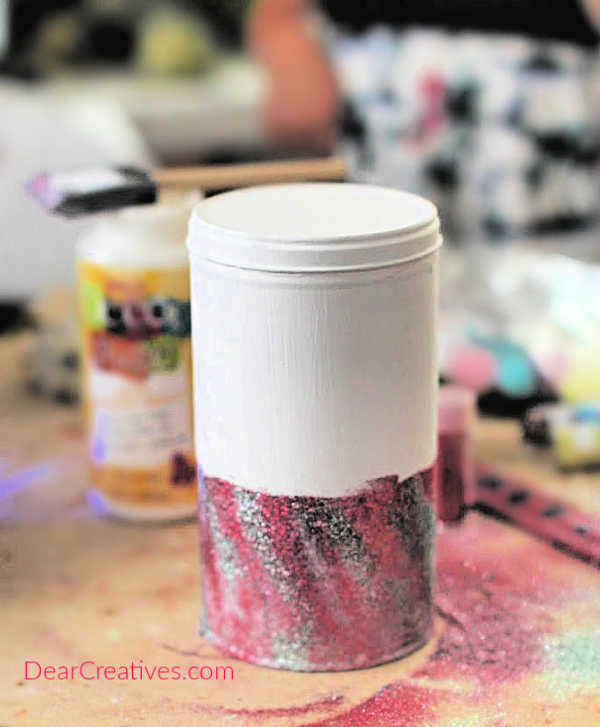
Add more Mod Podge and add a different color glitter. I sprinkled it on in a diagonal design, swirl or other design, or you can just sprinkle it on. It creates a rainbow, magical effect. Don’t worry if your glitter is a little off you can brush off (using a brush or damp paper towel) to even it out a little before it dries. When dried we adhere trims. Sprinkle glitter until you like the look. Shake off excess. (I save my excess glitter for kids crafts and brush it into a plastic bag.)
Step 6.
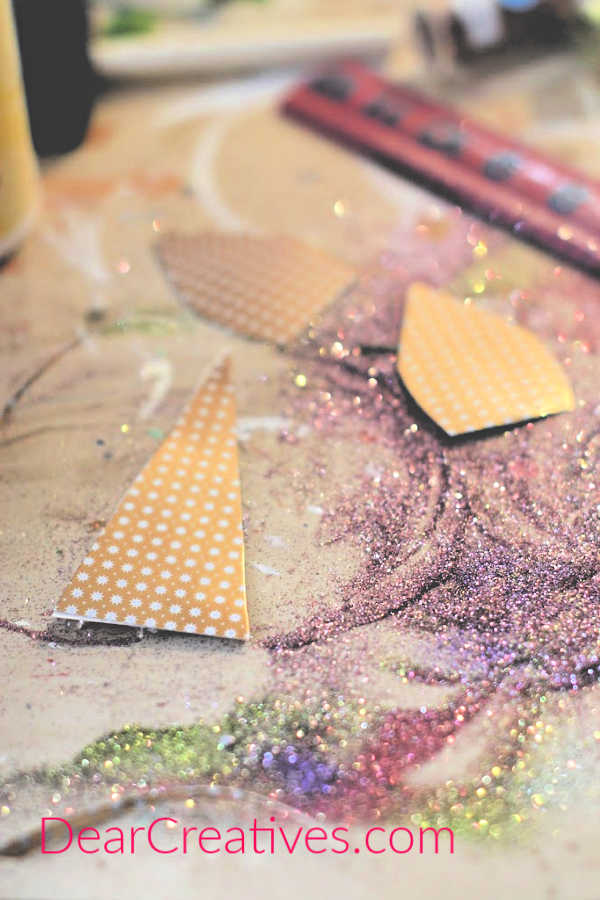
Cut out a unicorn horn and cut out unicorn ears. 2 of each cut, then glue them together. Glitter your horn (on both sides) if not using glitter card stock. I used this unicorn template for the horns and ears. I also used the template for the eyelids cut out in felt. I printed 2 one for my granddaughter to color and make. The template was a perfect size.
- Add any touch-up glitter if needed.
- Let dry a bit.
- Then Mod Podge over the all the glitter so it stays in place. DO NOT skip this step! It will keep the glitter from getting everywhere once done.
Step 7.
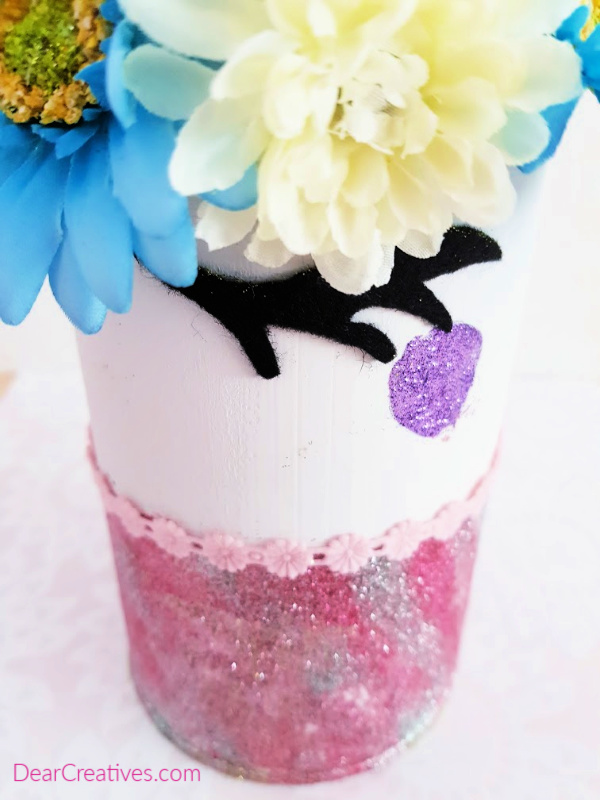
Heat up your glue gun if you haven’t already. It’s time to make the magical unicorn. Or should I say make the magic happen? If you want to add little circles of glitter for cheeks. My granddaughter wanted them purple. Who am I to question her unicorn choice? lol.
- Make a circle with glue and sprinkle onto cheeks.
- Mark with a pencil where you will place felt cut out unicorn eyelids.
- Begin to glue on faux flowers. Placing them around the top of the can lid. I marked and placed one flower halfway around to help with placement of the horn, and ears.
NOTE: Before you hot glue on all your faux flowers to the front of the can. Follow steps below.
Step 8.
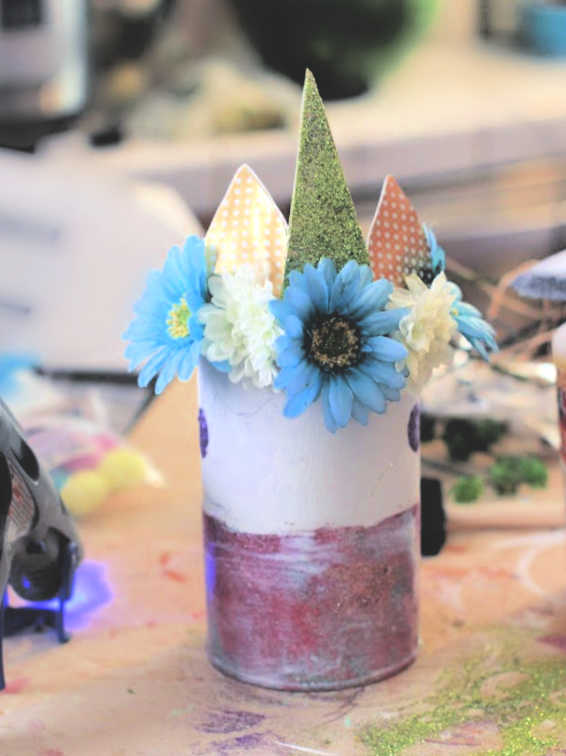
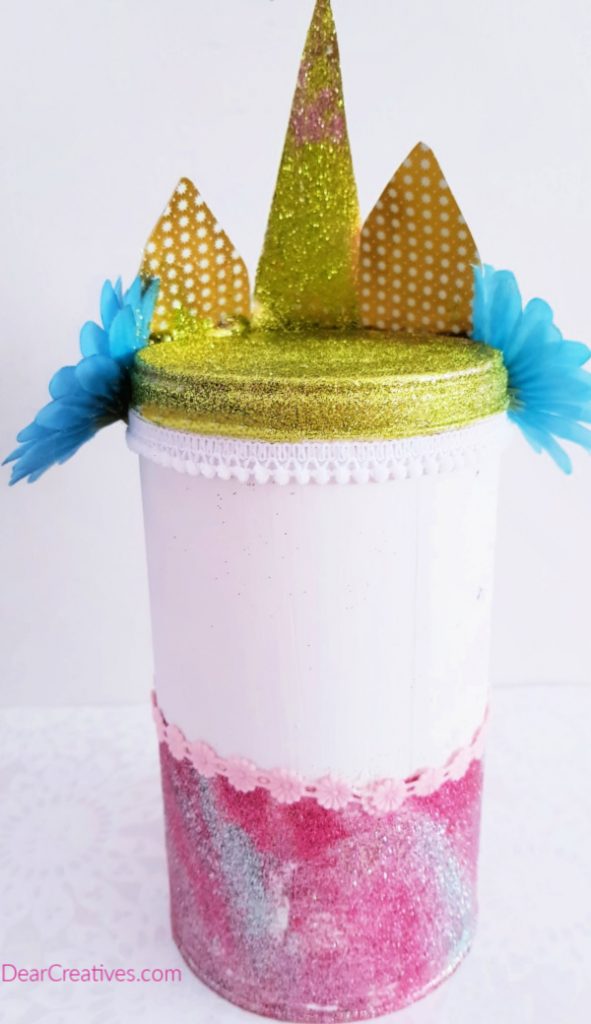
- Place and hot glue your unicorn horn to the center of the top of the can.
- Add the ears one to each side and glue on.
- Then hot glue on your faux flowers.
DIY unicorn room decor
Step 8.
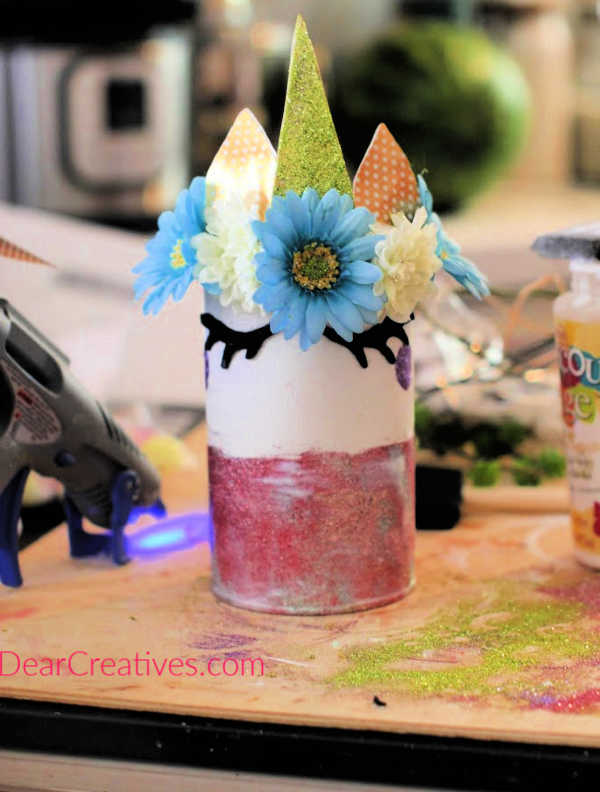
Cut out and glue on the felt unicorn eyelids. Then hot glue the trims in place.
Here are a few close-ups of the front and back of the unicorn decor with trims of Pom Pom Trims and Pink Mini Flowers
Use this for this project
- unicorn decorations for a bedroom
- unicorn party decorations
Tada! You are done with your unicorn decoration for a bedroom. Enjoy displaying your new unicorn!
- New here? Subscribe
- Pin it for later
- Follow us on Pinterest
- Unicorn Crafts and DIYs Pinterest
- Mason Jar Crafts Pinterest
- Unicorn DIYs
If you liked today’s idea then you might like this DIY
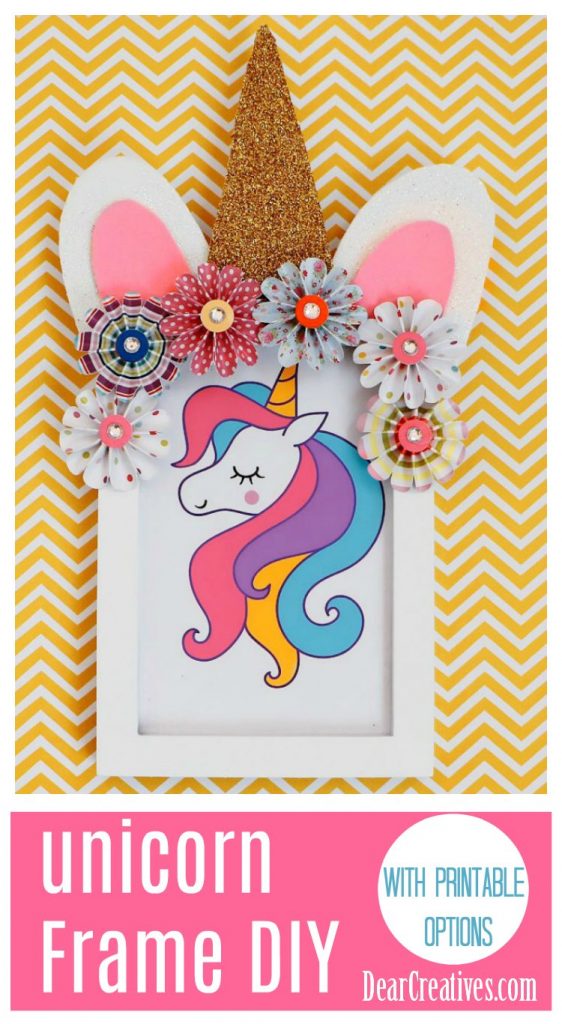
Unicorn Picture Frame
