DIY Craft Projects: Easy How to Decorate A Grapevine Wreath Tutorial
As most of you know that have been reading my blog for any time now I love fall. Which means I love fall craft ideas. Don’t you? Today’s project quick, and easy. Best part is you can save money making your own wreath or two vs buying one in a store or online. I’m not saying never buy one but, if you are looking for an inexpensive way to add tasteful home décor accents to your home then you’ll love this grapevine wreath ideas project.
You can decide on your color scheme prior to going to the store for supplies or wing it by picking out what colors you are wanting to incorporate into your décor at the store.
- When looking for specific colors you can take a photo of a few things in your home to have on your cell phone to reference or bring a swatch of fabric with you.
- If it’s made to be hanging on your exterior door it might not even matter. Just pick your fall favorites. I have included a supply list below to help you make this one or your own.
DIY Craft Projects
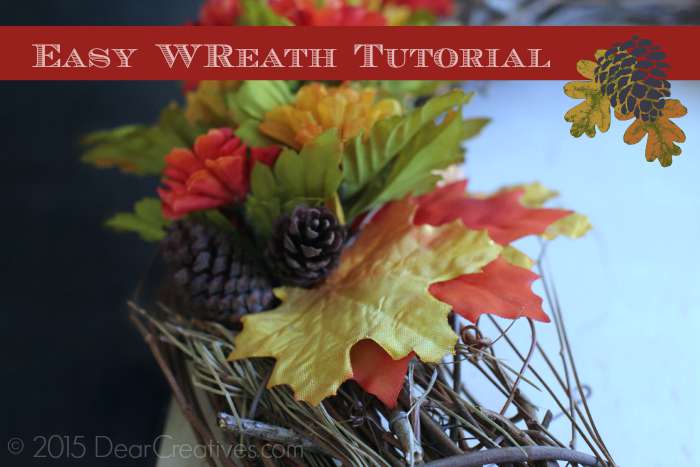
Easy Wreath Tutorial
This craft project is how to decorate a grapevine wreath but, if you want to start by making your own wreath first see this video tutorial: how to make your own grapevine wreath then follow the steps below. Or you can just pick one up at Michaels Crafts like I did. I purchased a 18″/20″ wreath for about $4.95-6.95 which was a great deal! They have many sizes to pick from. You can probably finish this diy craft project in about half an hour to one hour depending on your experience.
DIY Craft Projects
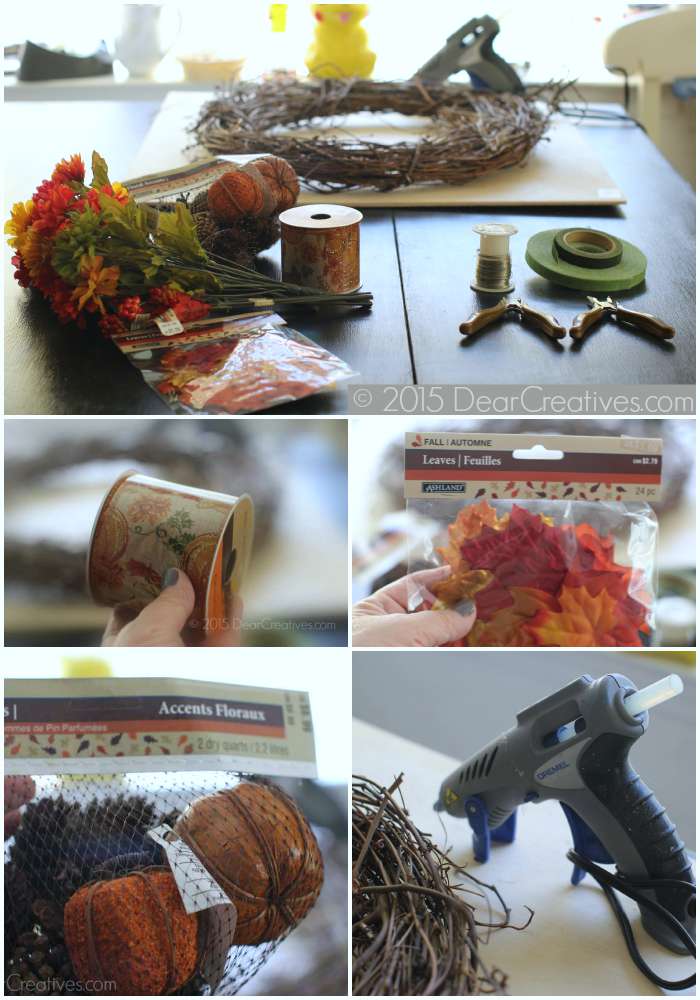
Gather your supplies for your wreath project
Supply List:
- Grapevine Wreath
- Hot glue gun
- Glue Sticks
- Tweezers (to use when hot gluing)
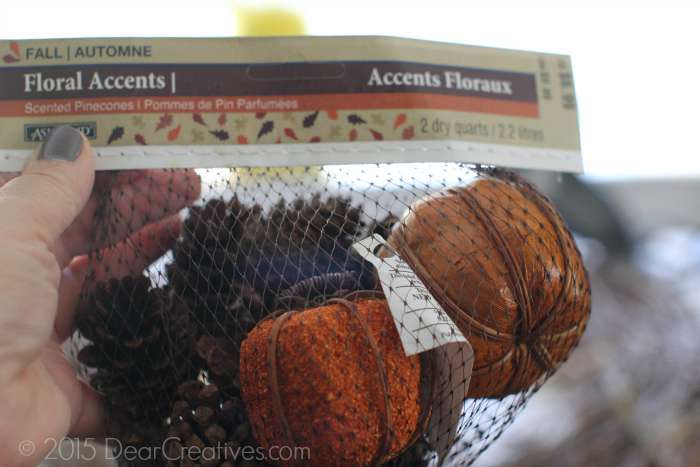
- Foral Accents
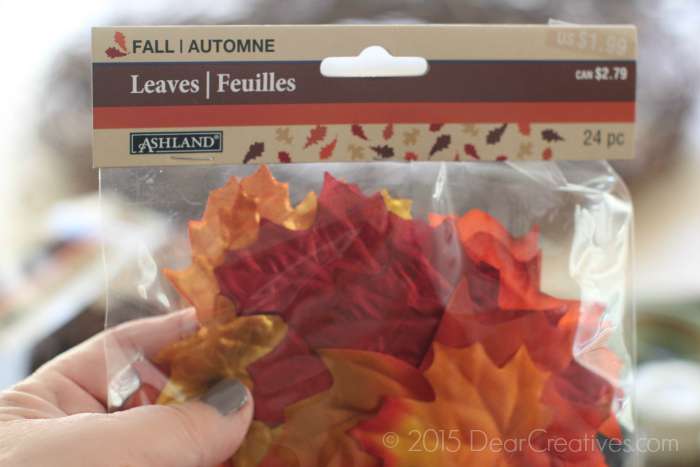
- Silk Fall Leaves
- Silk Flowers or Floral Picks
- Wide Ribbon *Wired
- Small Spool Wire
- Wire Cutters
- Pliers
- Floral Tape *optional
Cover your work area to protect your table top. Gather and layout your supplies. Tip: Before you start the floral steps. Take the thin SS wire; wrap a few strands of wire around the center *at the top in the back, create a loop and tie off for creating a loop hanger on the back side.
Next mark where is going to be the highest point for your floral accents.
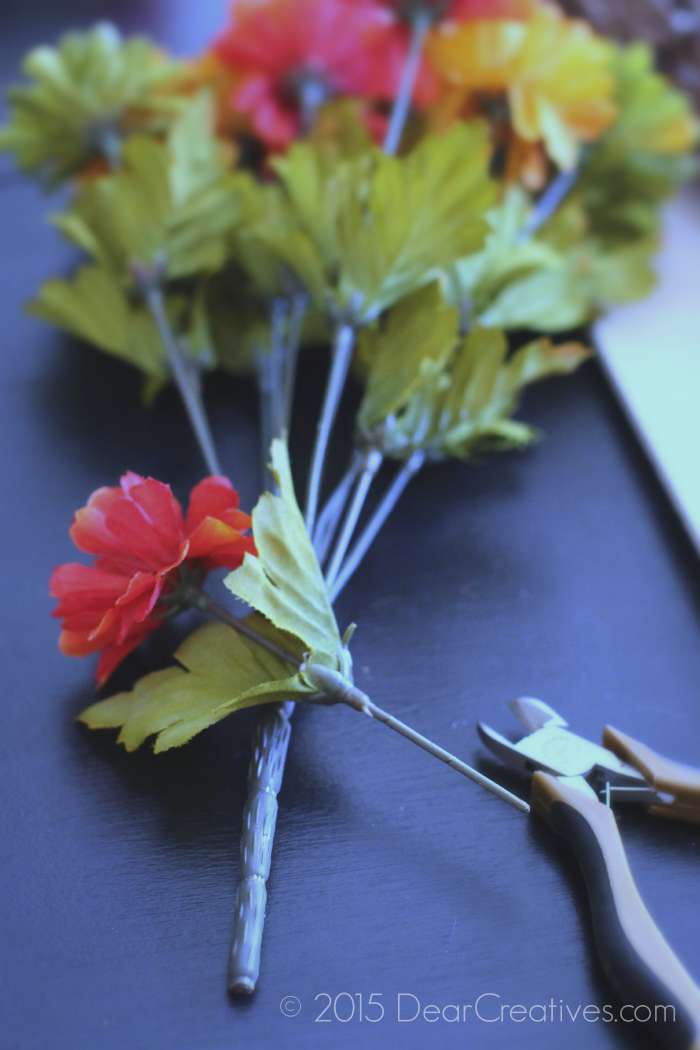
Use wire cutters to cut the flower off long stem leaving about 3″ on for sticking into your grapevine wreath. Then work your way down the wreath repeating the process.
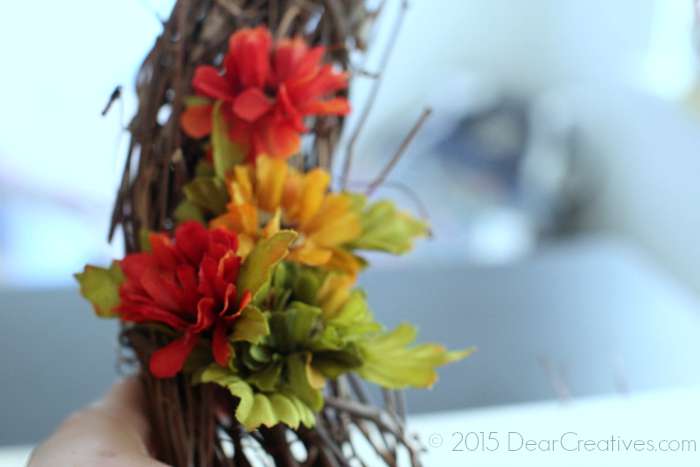
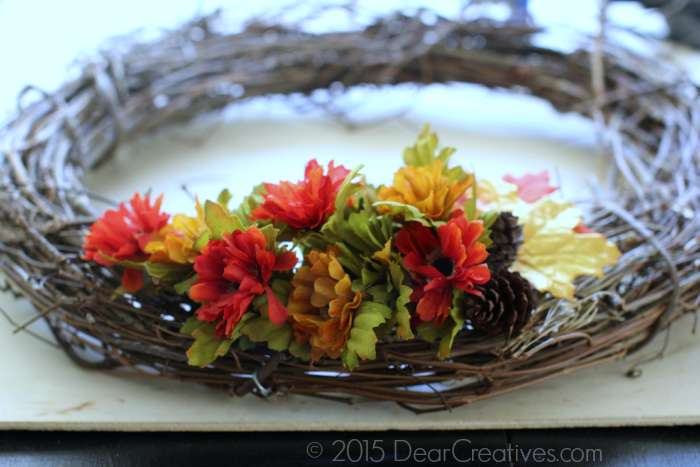
Here is an image showing all the flowers on the one side on. I didn’t add the pine cones until after the other side was made. This way the entire wreath was visually balanced. *No glue gun required if the flowers feel secure in the wreath.
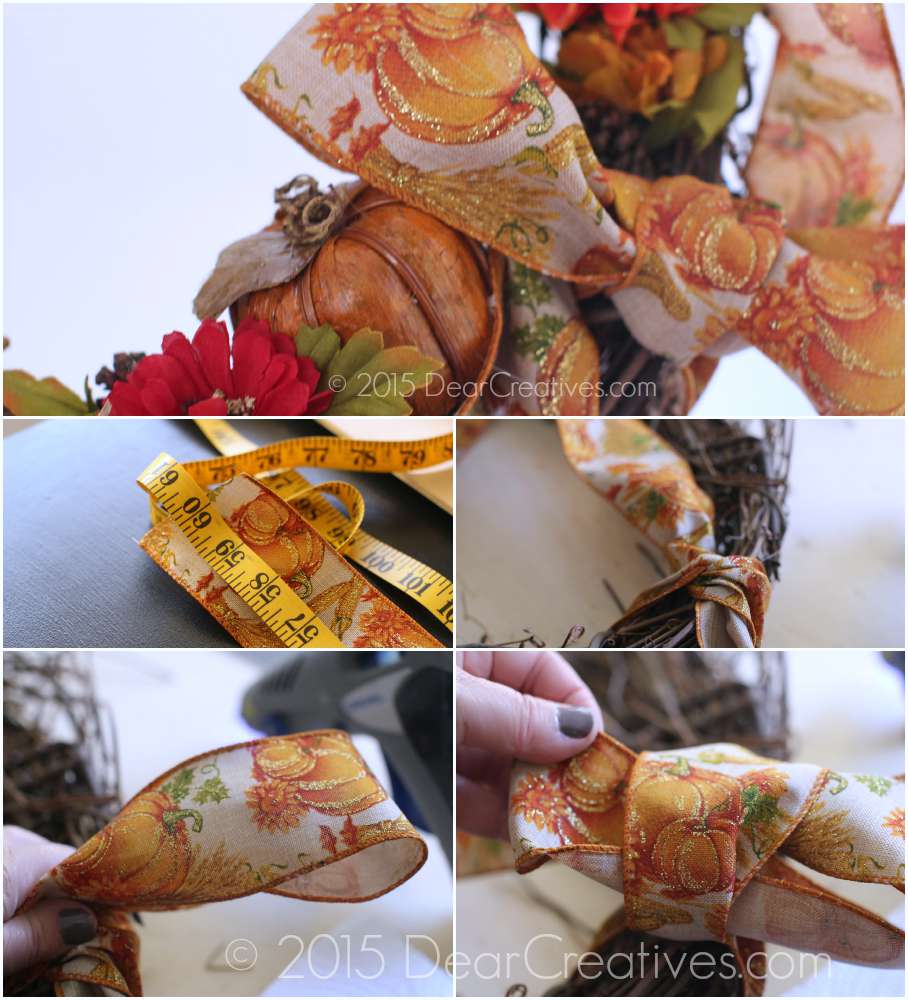
Next I knew I wanted a big bow stretching up and down the wreath. I grabbed the wire ribbon, cut at length 60 inches.
- First tie around the wreath
- Next make a loop creating first bow
- Holding bow with hands create a look coming over the top (just like tying your shoes)
- Lastly make sure your ribbon you push trough faces the correct way with fabric showing
- Adjust as needed
Here is where you have to decide where to bend and tuck your ribbon along your wreath. Sorry I didn’t get an image for you but, view final shots if you don’t understand. Once decided tuck into place. Do not glue until finished. This way if you need to adjust anything you can easily move it.
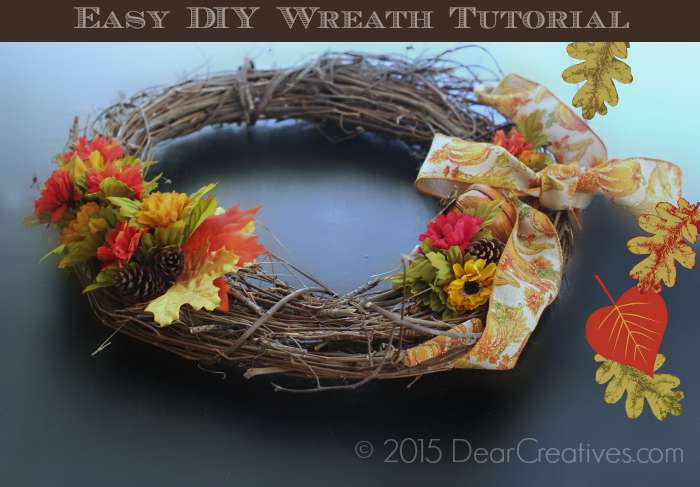
Next add your accent pieces. I added pine cones, pumpkins and cinnamon bark. I wish I could share the pretty smell! Gluing them into place when I liked how they looked.
Then I tucked in some pretty leaves to finish off the wreath.
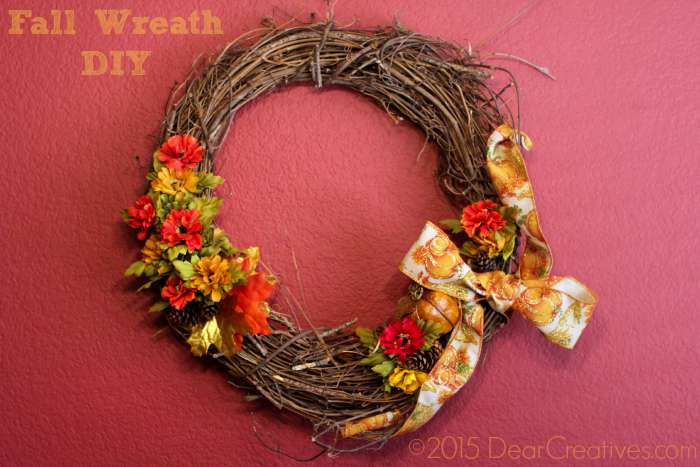
Now your diy craft wreath is ready to hang on a nail or wreath hanger. You can create any seasonal decorated grapevine wreath with these same steps just by changing out the color of flowers, ribbons and accent pieces.
- Carefully hot glue anything loose to wreath. Be sure to use tweezers for adjusting things so you don’t get burnt.
Sorry about this photo. It’s hard to get the lighting right in our living room. But, I wanted to show it to you hung up. when I get a better one I’ll update it. I hope you enjoy making your own diy craft projects of a wreath!
Don’t forget to subscribe to Dear Creatives for more craft projects, and other posts.
Do you enjoy making seasonal wreaths?


That’s adorable! I need to try the tweezer tip next time — never thought of that! 🙂
I’ve been thing about making or buying a Fall wreath. They look so pretty. Plus it just leads right into Christmas. Your instructions look easy enough. I just might do this!
Hi Stacie, I think you could make this easily. And if you wanted you can even have it more neutrals and switch out the ribbons for the holidays! Let me know if you make one! I’d love to see it too. Come back & share it at the weekly party.