Tales of Paris & Card Making How To / Supply List
Dear Creatives, I have been busy this past week with various projects not knowing what to share first. I decided to share this little card I made for my oldest daughter who lives in NYC. It has been 6 years since our visit to her, but she travels to visit us since we are a big family & the rest of the family only lives hours from each other, while Sammie 10 the only sibling at home.

(Sammie at age 4yr in NYC)
My oldest has worked hard to achieve her dreams. She took a leap of faith after college & moved to NYC, which has taken her on many job journey’s. I finally caught up with her recently by phone after she had trip to Paris. I can’t help be a little happy-jealous, lol. I have never been to Europe. I loved hearing her tales & experiences.
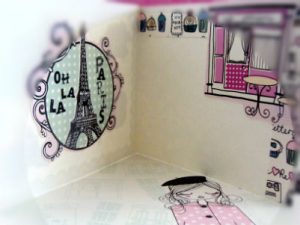
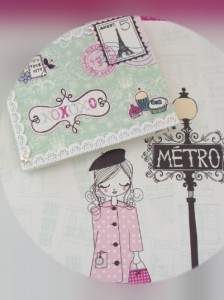
All of a sudden images of Paris, macaroons & little cafes came to mind. Stories of a food tour of the regions & wines of France…. I soaked it all in. Then I just happened to find some pretty scrapbook papers made by Recollections, My Favorite Things Paper-Pad. It is special full of cute images. All things Paris & even some with the cutest poodle. I love the illustrations on this scrapbook-paper.
-
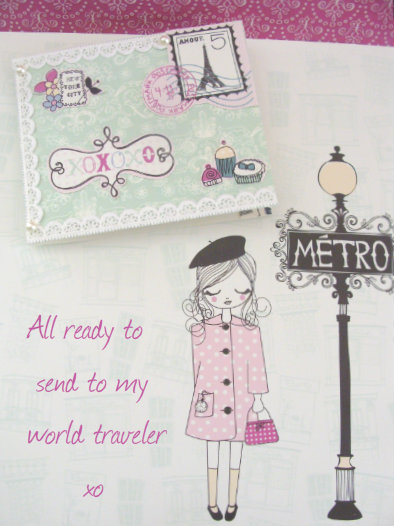
xo - I had to make her a card after our conversation & seeing this paper, it is becoming one of my favorite things that I would like to get better at.You can save money on cards with just a couple of pretty scrapbook paper sheets.
-
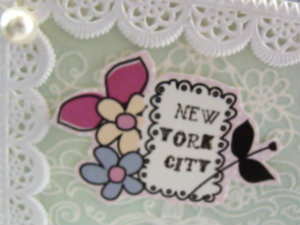
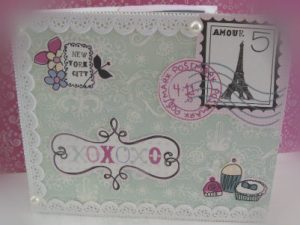
xo - I placed paper lace on edges. I cut out different images from a 12 x 12 sheet then I glued the cut outs on front & inside of card & a few pearl beads.
-
card - I used a scrapbook page that had many different elements to choose from & cut them out placing them on the card.
-
xo
These papers were perfect for making her a little welcome home card.
Here is how to make a card for yourself!
Items needed:
- Paper-cutter (but by using a ruler, marking line & cutting carefully you could make one)
- Bone folder
- Scrapbook paper
- Elmer’s Glue-stick
- Scissors
- Pearl beads
- Paper Lace
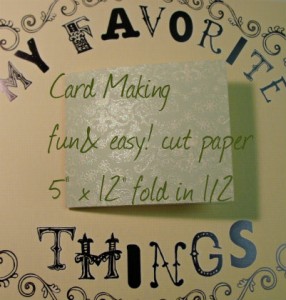
Measure card stock to size 5″ x 12″ or another size you’d like. Fold paper in half, use bone folder to crease down edges flat. Decide what pretty items to cut & glue down. You can always purchase scrapbook items, lace trims & other embellishments. Glue down only flat embellishments in the inside so the card will fold properly. Write your little note & send off in an envelope. Everyone likes a little snail mail now & then.
Here are a few items to make card making easier & more fun!
Glass Mat Cutting Surface with Photo Grid Lines- Bonus Blades
When is the last time you mailed off some snail mail? What style paper cutter do you use when crafting?
Don’t forget to enter the giveaway!

What a cute card! I love making cards … so much more personal than store-bought (and of course, cheaper, too!) I’m visiting from the Alexa Mania Monday hop – would love it if you could return the favor 🙂
I just recently have been making more cards. Sure will return the favor, I love meeting new bloggers! Thanks for taking the time to comment!
thanks so glad you dropped by i will pop over
I sent some snail mail Valentine’s cards out, but they were Shutterfly made. Your card was so cute and so thoughtful. My mom was always really good about sending me real mail when I lived away from home and I always appreciated that about her.
Hi Julia, I have never made some from Shutterfly. I might have to try that sometime. Thank you, I like getting mail once in a while & my mom did the same for us only more frequently.
Cute project. Visiting back from the Drop Hop and leaving a review.
Hey Karen, Thanks for dropping by!