Easy Sewing Project : Banner DIY# And Iron Review
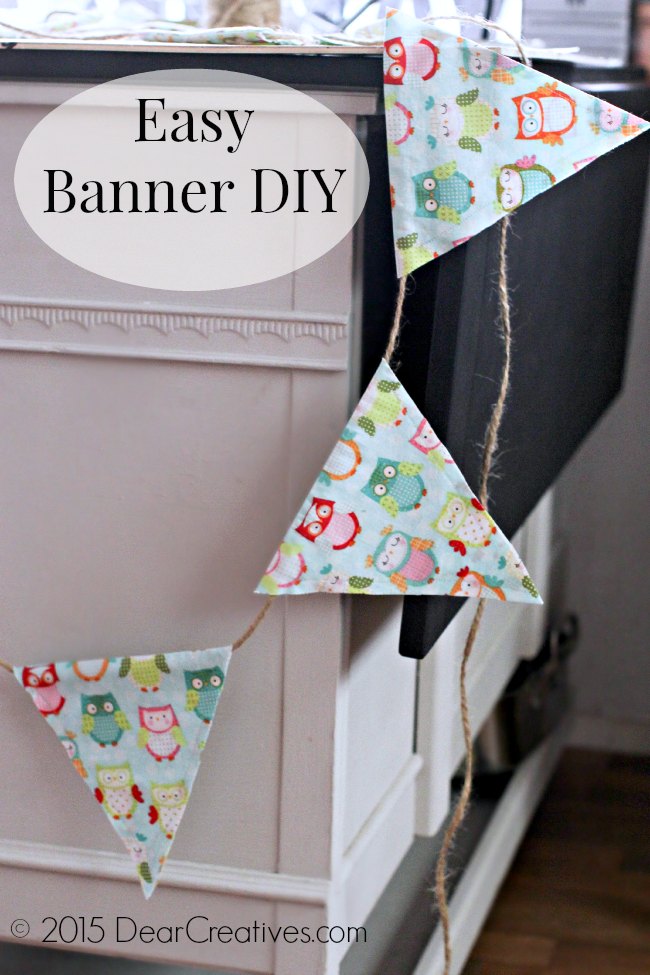
One thing I love to do is sew. With sewing comes a lot of ironing. You want to sew straight seams with no bulges, tucks and pleats when sewing. Your iron is a very important tool along with your sewing machine. Today’s easy sewing project doesn’t include fancy or complicated sewing. It’s a simple banner with straight sewing. Even for that ironing your fabric is the best way to get amazing results in your finished banners. I’ll show you how along with a review of an iron that I tried out when creating this easy sewing #diy project. Let’s get started.
When creating a banner you’ll have to decide how big you want it. I made mine bigger as I’m adding it to my next project, a tee pee. You can use a quarter yard to half a yard depending on the how many banner flags and the size of the banner flags. You can find templates for printing for free and I rounded up a few. I like to pre-wash and dry my cotton fabrics this way if I need to wash later them there won’t be shrinkage and ruin the sewn project.
Easy Sewing Project;
Supplies needed:
- cotton fabric Half a Yard (wash and pre shrink)
- sewing thread in matching color
- sewing scissors
- iron
- ironing board or protected surface to iron on
- sewing machine
- seam ripper (if your newer to sewing)
- string, rope or ribbon for the length of your banner plus hanging. (2 ft. – 3 ft.)
- print template for banner *see sewing board below if needed
- straight pins
- 1 large safety pin
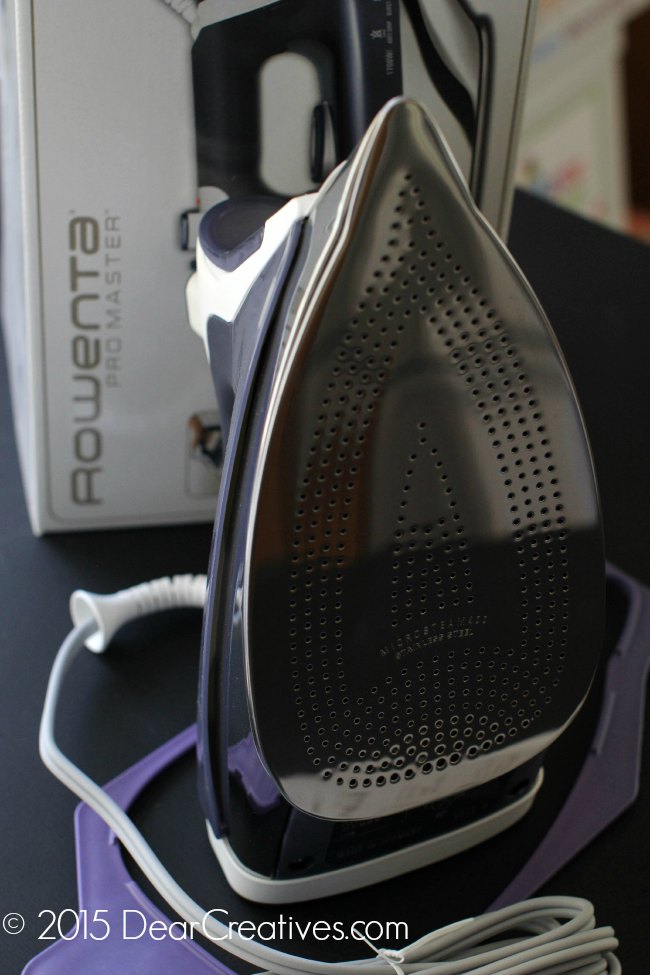
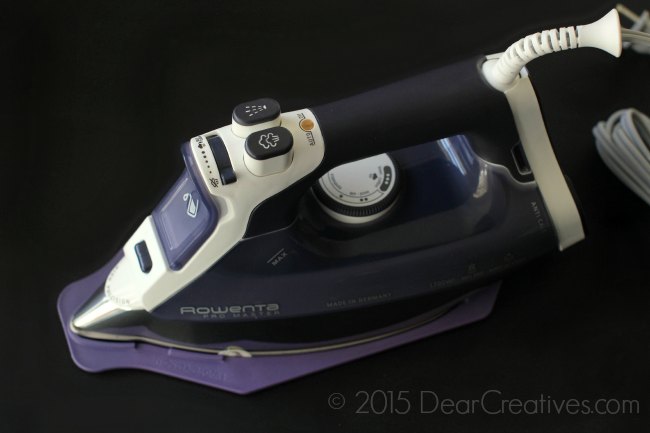
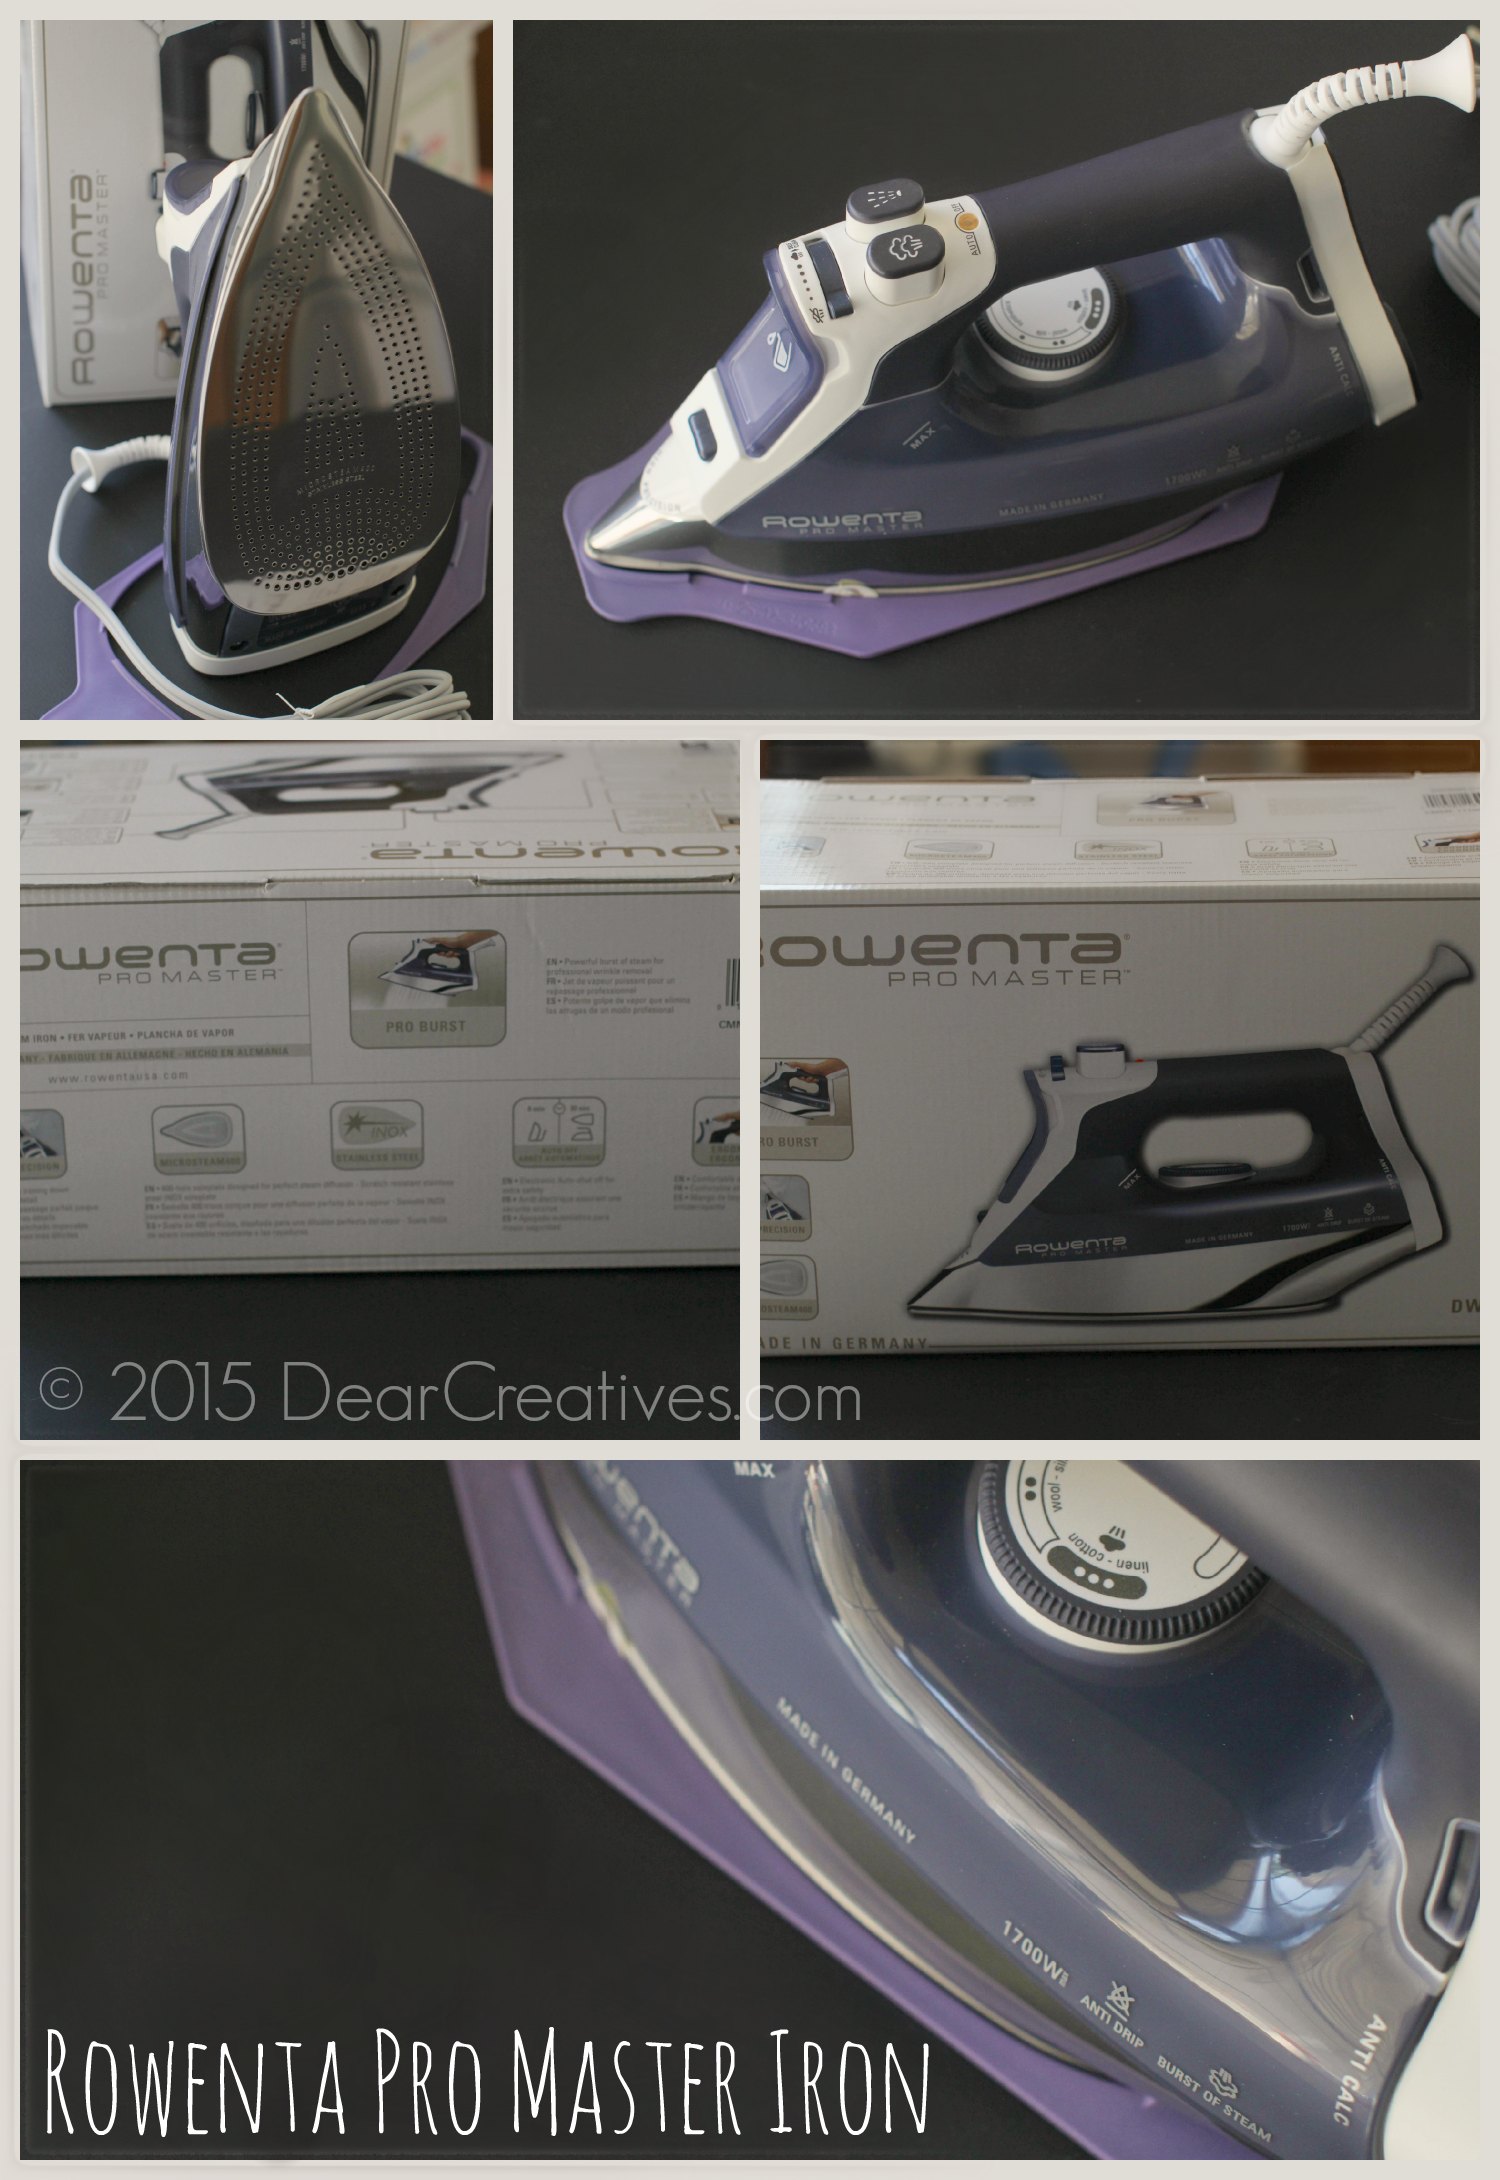
This is the Rowenta Pro Master Iron I used for the project! Isn’t it a beauty!! Let me tell you when I lifted it up it was heavier than the iron I’m was used to. (mine old iron wasn’t as good a quality) The Rowenta is not too heavy for ironing with, it makes it a breeze. It has a long cord, which I love! Perfect for reaching around your to your ironing board and projects. It has auto on-off. 400 Power holes! (the power steam feature is amazing!) Power steam, spray steam, anti drip, anti calc and all the settings you’d ever need. Plus 1700 W of power, precision tip and self cleaning! Can you hear the hear the sewing angels singing? Let’s continue onto the project.
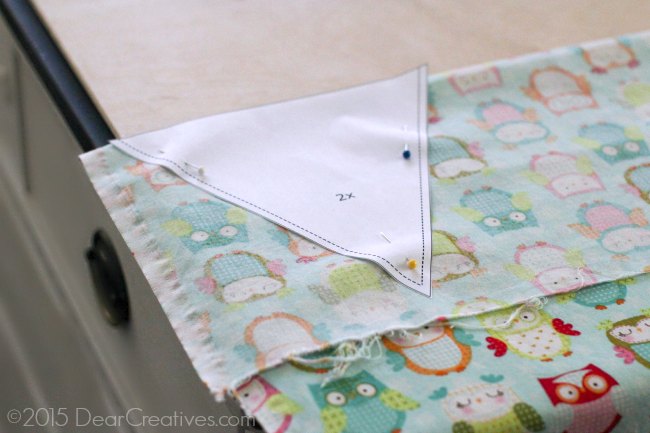
Please note for certain fabrics like this one where the fabric is all in one direction. Folding your fabric this way for cutting will create an upside down of the pattern on the opposite side. For one direction prints lay the banner pattern down without the folding the fabric! (Double check yourself prior to cutting!) This will cause an additional sewing step but, if you are hanging it outdoors from a tree you’ll want to follow to get the proper fabric direction.
Easy Sewing Project;
Steps For Making And Sewing The Banner:
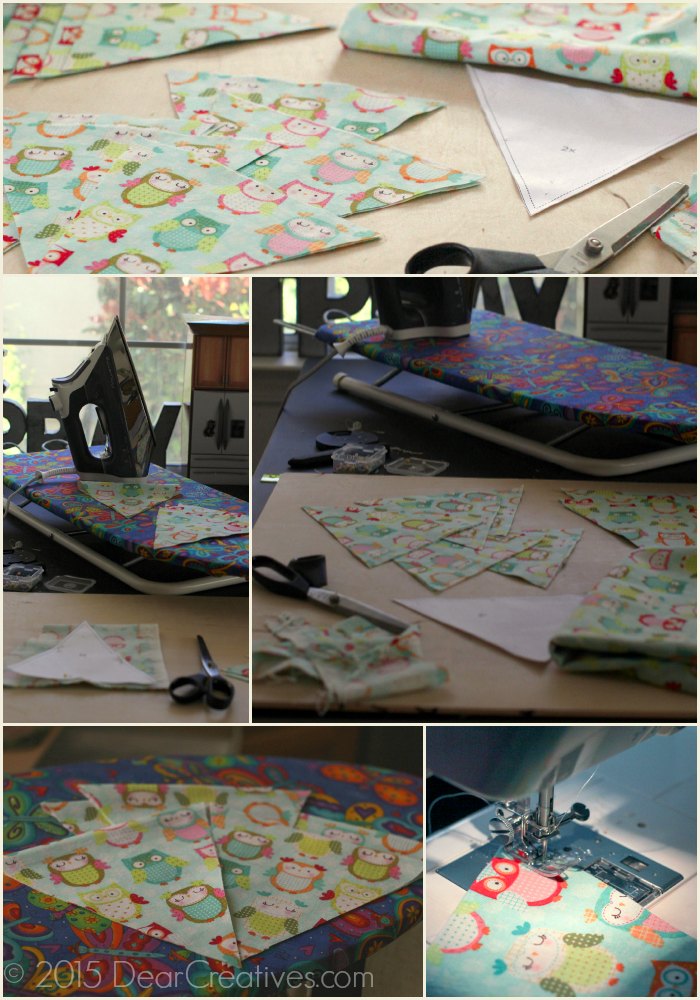
- Get out banner template (see sewing board at end of post) and pins
- Iron Your pre washed fabric
- Lay it flat on the table
- Cut out 6 – 12 banners
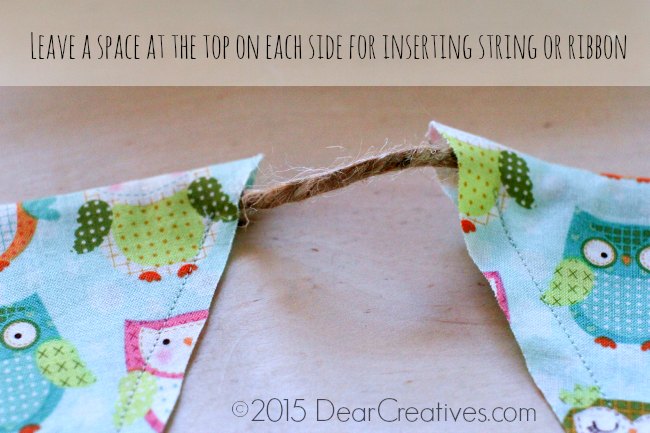
- Sew banners leaving an opening at the top of each side *go forward stop, then reverse to begin or end Note for our banner project leave a space prior to starting or stopping for the ribbon opening! (about 1/2″)
- Tip: 1. Start past opening for ribbon spot 2. Go down to the tip 3. Stop with needle down in fabric 4. Lift presser foot and pivot 5. now you will go on sewing up the other side stop early for the ribbon hole.
- String rope or ribbon through banner using a safety pin
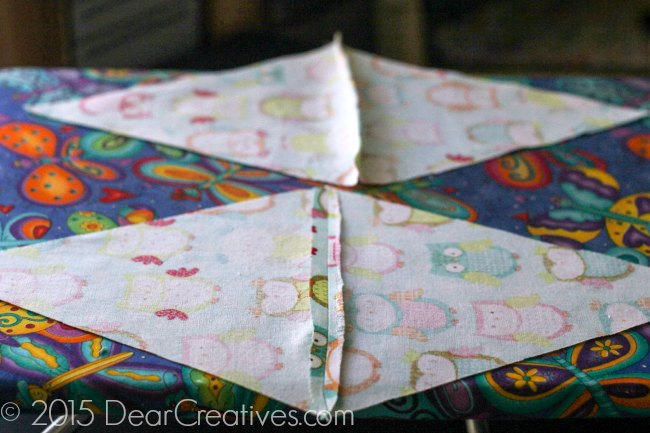
If you have cut two banners you need to join them. Meaning you did not cut your banner pattern on the fold. Follow these steps before you head over to the above Sew Banners!
- Sew fabric banners together at the top *with stop/start joining by sewing straight across with right sides together
- Iron open seams
- Next trim edges as needed
- You’ll see what needs trimming when you fold the banners closed and match them up
- Iron again so seam is flat!
- Then follow the directions above from Sew Banners
You can see where the fabric is not sewn at the top of each side of the banners for slipping the string or ribbon in. I hope this helps you get started on your own banner it’s a great beginner – easy sewing project!
I hope you get to make a banner soon! Banners are great for baby, kids rooms, showers and wedding parties. Be sure to ask any questions about the iron or banner instructions. I’m happy to help. If you need a banner template visit my sewing projects board to grab one! They’ll be easy to find on the board, along with other easy sewing projects.
Follow Theresa Huse’s board sewing on Pinterest.
- Today’s post was brought to you by Rowenta Pro Master. I highly recommend this iron for not only sewing but, if you have any type shirt, suit or dress pressing this is one iron you’ll love to use! This is my 100% honest opinion. With all the ironing for sewing and other things I do I can say that I highly recommend this iron. I hope you enjoy ironing with it as much I have if you decide to try purchasing one!
- Professional-grade 1700-watt steam iron with 3-way automatic shut-off, 400 Steam holes!
- Variable steam, burst of steam, vertical steam, and cool mist spray options; anti-drip and anti-calc systems; self cleaning
- Highly polished stainless-steel soleplate with high-precision tip; full metal shield; ergonomic covered handle
- Soft touch handle provides comfort and a non-slip grip
- Soft touch buttons offer superior control
- Vertical steam allows iron to be used in the upright position for drapes and hanging garments
- Variable steam settings offer flexibility when ironing a variety of fabrics and thick layers at seams and waist bands
- Anti-slip frame provides extra stability when iron is on its heel
- Anti-drip system prevents spitting and leaking when the thermostat is on a low temperature setting
- 3-way auto shut-off feature turns the iron off in 8 minutes if vertical, 30 seconds if horizontal or tipped over
- Iron self cleans, removing loose mineral deposits and impurities to be flushed out
- Made in Germany; 1-year warranty
- Want a closer look? Or consider purchasing? Rowenta Pro Master Iron
Have you ever sewing a bunting or banner before? How long have you been sewing?
This is a very cute project! I have a sewing machine that I haven’t used in years. I think I could handle sewing a banner for Eve’s room, though!
Thanks Bev! It’s easy all straight stitching. You can cut them out while watching tv or Eve playing then sew up when shes napping. it’s super quick to do. I need to edit a picture of Sammie holding it so you can see the full banner. I’ll update it or share on FB soon! Thanks for popping in!
This is an easy way to add to any theme for a party since all you need to do is find a coordinating fabric. I need to sew more. I don’t iron much…whoops.
Hi Nessa, Yes, It is an easy way for themed parties, nurseries or kids rooms. I mostly iron for sewing or if I have a shirt or skirt to iron for a special occasion.
This looks like it’s easy enough for even a beginning sewer like me to do. I bought a machine off of Amazon and it’s been sitting in my entryway for almost two months. I finally got it unpacked and completed 3 panels of the curtains I’ve been trying to create. These banners are cute, I could probably use some of my leftover fabric for them.
I’m sure you could Adrian. That’s great you pulled it out. I hope you share them on your blog sometime I’d love to see how they turned out. Sewing can be such a great skill to have. I’ve been sewing more lately. The best part is the more you sew the better you get.