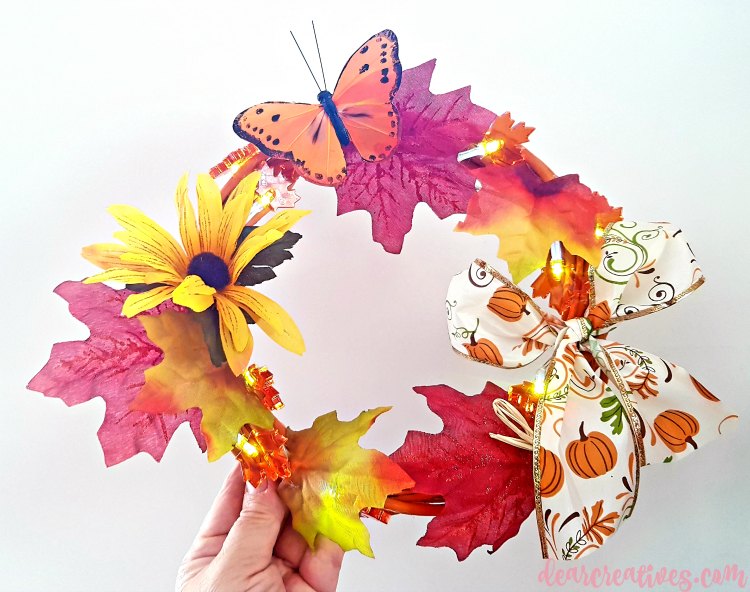
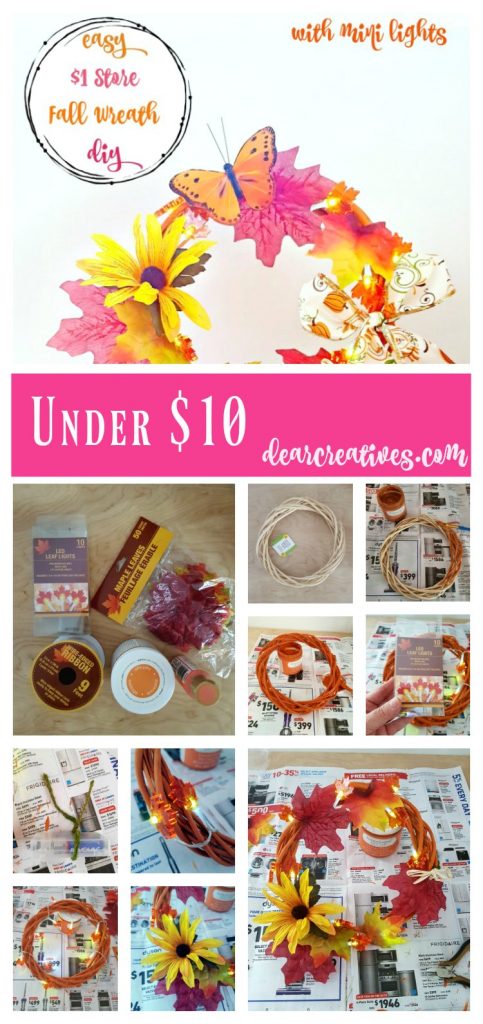
Make it Now! Inexpensive, Easy Fall Dollar Store Wreath With Lights
You know how I love making wreaths. This year I've decided to make a few different grapevine wreath ideas to show you various ways you make your own. You don't have to break the bank to get a pretty wreath either. If you are looking for an inexpensive way to decorate a grapevine wreath you'll love this inexpensive, and Easy Fall Dollar Store Wreath with Lights. Bonus, it doesn't look cheap when you are done!
Budget-Friendly Fall Wreath

Fall Dollar Store Wreath (With Lights)
You can grab craft supplies you spot in unexpected places to make your wreaths. Checking the Dollar Store, Target dollar section, and online at various places. You can make this wreath with or without lights. Do you ever go on the hunt or come across deals on seasonal items, like craft supplies in unexpected places? You can make an affordable, and pretty seasonal wreath if you look around.
How easy is this wreath to make? Super easy!!
How to make a fall wreath
You'll only need a few supplies to make this DIY craft wreath project:
- 9-inch willow wreath or 12-inch wreath
- a few flower picks and satin flowers
- seasonal mini lights
- wire cutters (and floral wire)
- a glue gun
- twisty wire or floral wire
- orange chalk paint or orange craft paint
- paintbrush
- butterflies (optional)
I grabbed my supplies at the Dollar Store for this craft project. But, I'm sourcing a few things in case you don't live near one or they are sold out. That would look pretty on a wreath for fall. Above are also a few basic supplies needed for decorating wreaths.
- Set of 6 Maple Pumpkin Berry Picks
- Small Daisy Flowers in various colors.
- Set of 6 Fall Leaves and Pumpkin Picks
- More floral supplies
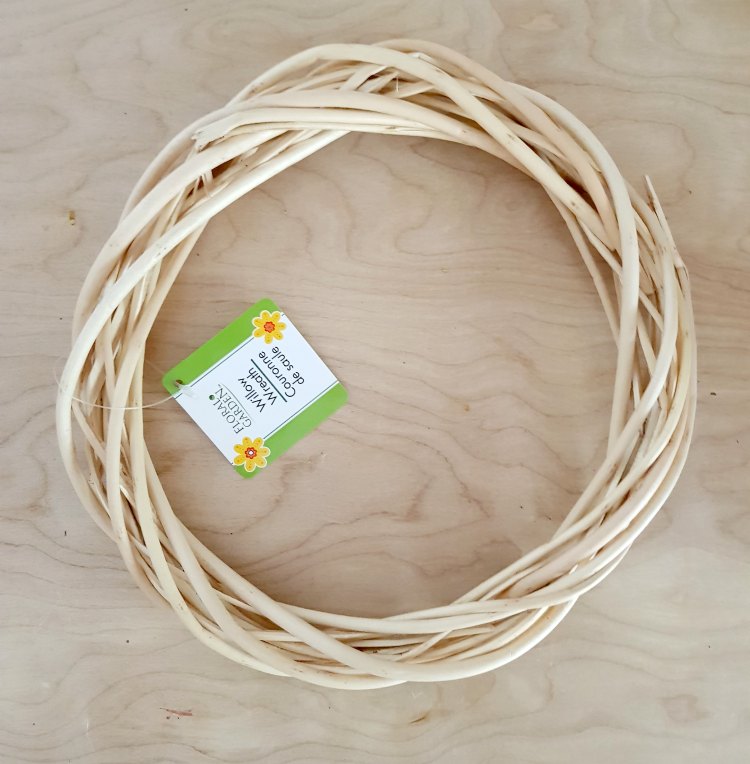
For today's craft project I used a 9-inch willow wreath. This is just like a grapevine wreath but, made with willow.
Here's are the steps to making your own wreath with lights
- Paint the wreath: I had some leftover chalk paint but, you can use craft paint too. It may take more than one coat if using craft paint. Let coats of paint dry between coats.
- Let the wreath dry completely.
- String your lights around your wreath and tie battery box onto the wreath securely. Tie battery box with floral wire to the back of wreath (where you'll put your bow on the front of the wreath), and use that as the starting point.
- Glue the box carefully if needed but, not on the cover side area.
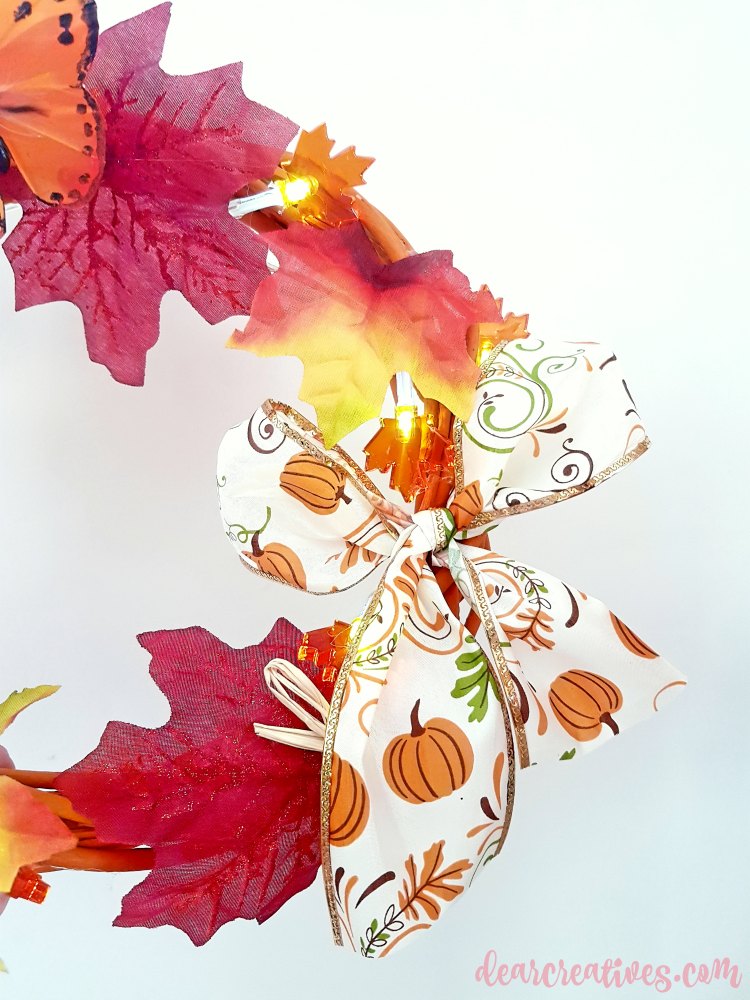
- On the front tie your bow, and hide your battery box.
- Glue the tips of light leaves where you want them next to the wreath (do not touch wires when gluing)
- Next decorate your wreath with flowers, leaves, and embellishments. Glue into place when you are happy with the arrangement.
How to decorate a fall wreath
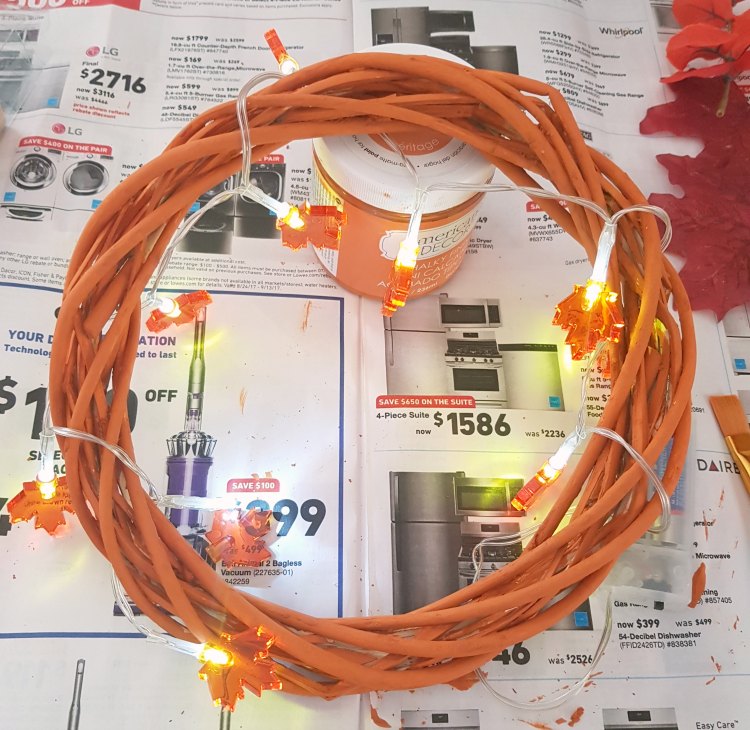
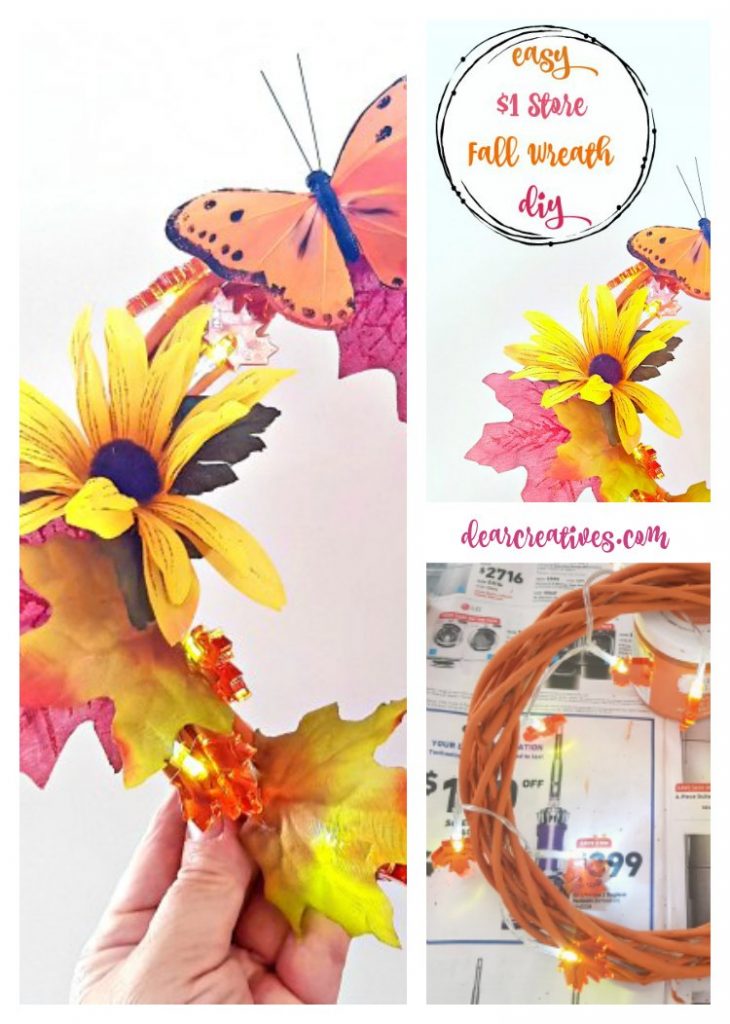
Paint your wreath. I used my leftover Americana Décor Chalky Finish Heritage paint for painting the wreath orange. Let it dry! Then secure your lights onto the wreath. I used wire to tie on the battery box, and then hot glued the light leaves at various points. Be sure to NOT touch the cord! Next, make your bow.
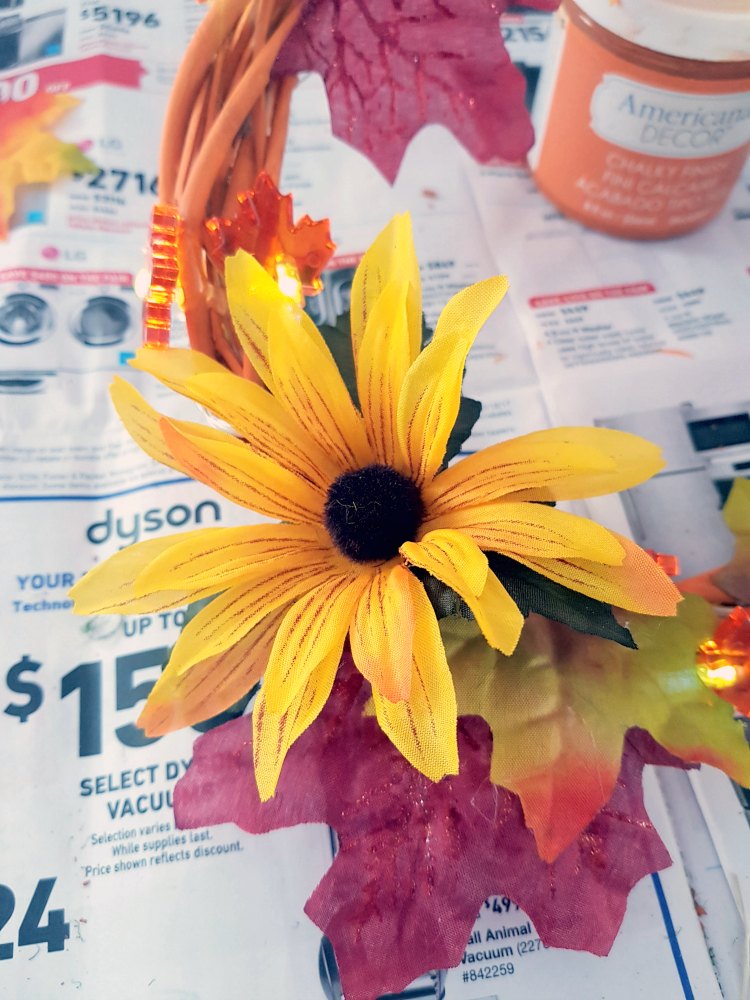
Then start adding on your floral leaves, flowers, and butterflies. Hot glue them down where you like them.
You'll have this wreath done in no time flat, if you head to the dollar sections of the stores! Assuming you already have and, own your glue gun. Make your bow simple or try this styled wreath bow tutorial.
 It's nice to know you can find supplies that are affordable, and still make something pretty.
Pin this photo for when you are ready to make yours. You can use this tutorial for all your seasonal wreaths by varying your supplies and colors to match the season.
- New here? Don't forget to subscribe.
- Check out our other grapevine wreath ideas.
- You might enjoy all our fall craft ideas too.
What other types of seasonal crafts would you like to see? Do you enjoy decorating wreaths?