This post contains links to affiliate websites, such as Amazon, and other affiliates. We receive an affiliate commission for any qualifying purchases made by you using these links. This is at no additional cost to you. We appreciate your support!
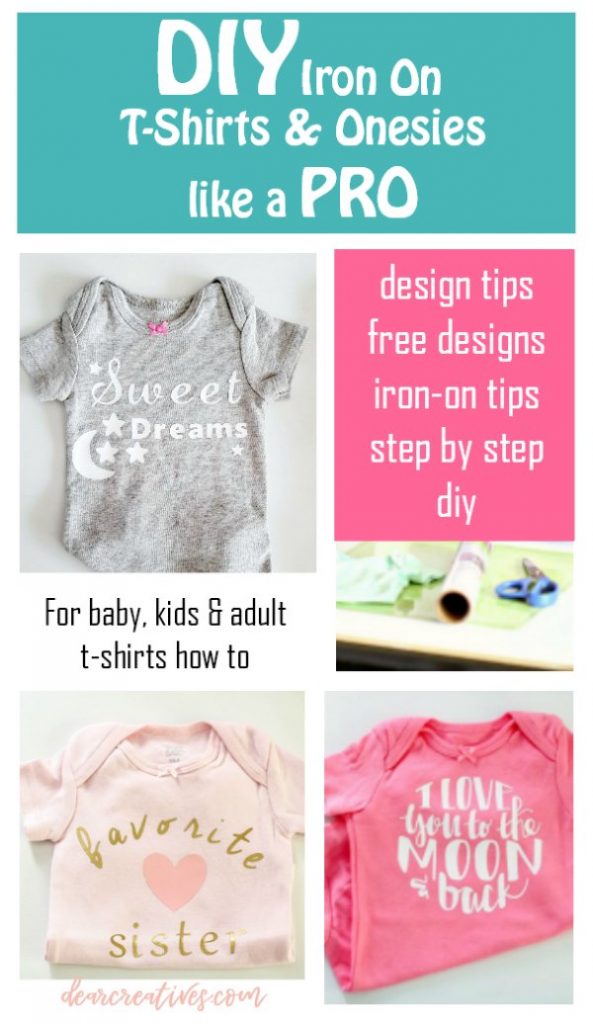
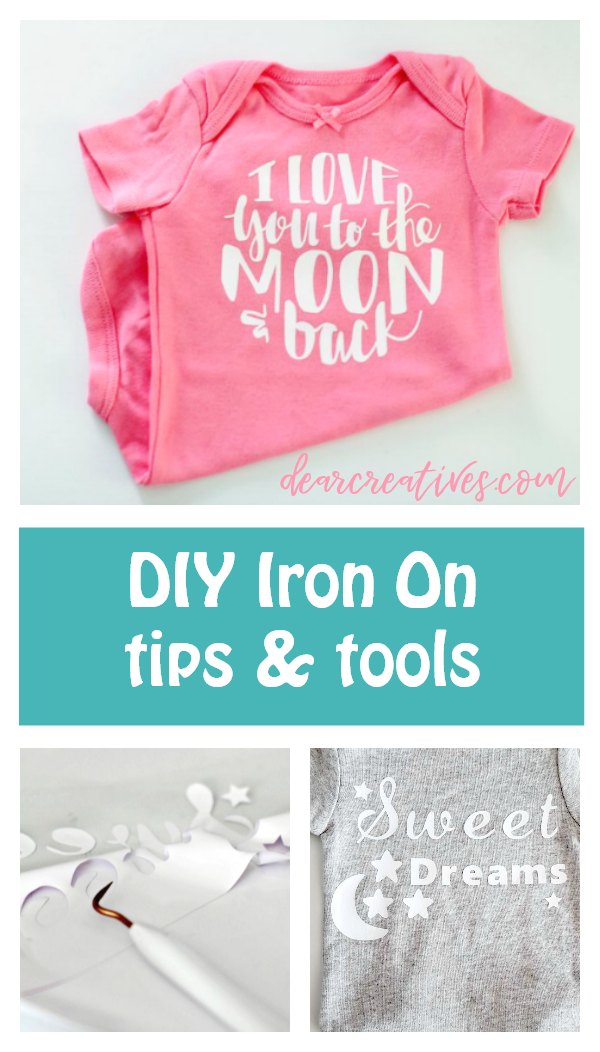
Making DIY iron-on T-shirts and onesies is one of the most fun and rewarding ways to use your digital cutting machine! Whether you are making a personalized baby shower gift or a custom graphic tee for yourself, this Cricut iron-on tutorial will walk you through the entire process. Using heat transfer vinyl (HTV) might seem intimidating, but these simple tips help you create professional-looking clothes in no time. If you love this project, be sure to explore our otherCricut Craft Ideas!
New to Cricut? Or considering getting one? See some of our favorite projects. Start here: Cricut Crafts.
Why You'll Love Making DIY Iron-On T-Shirts and Onesies
Make Your Own Custom T-Shirts and Onesies, it's easier than you think once you learn how.
DIY Iron-On T-Shirts are great for gifts, occasions such as bridal showers, baby showers, birthdays, holidays, or…
DIY Iron-On Shirts are the Best Handmade Gifts
Save Money and Get Creative with DIY Graphic Tees
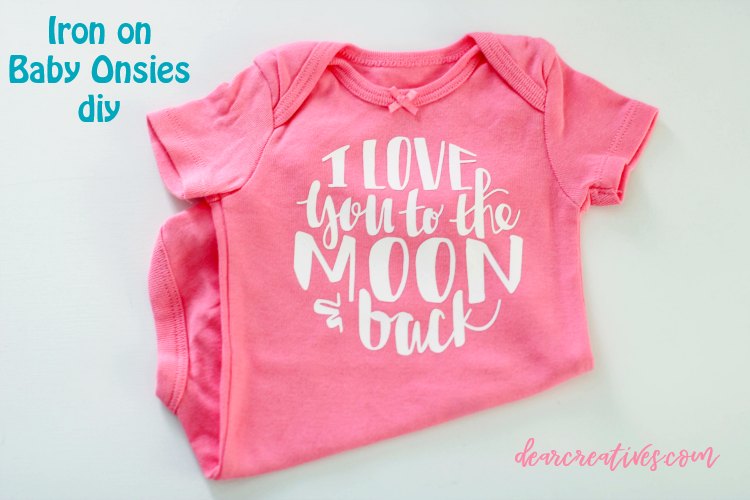
Maybe you remember mentioning that my oldest daughter is having a baby? She is due in late October. I thought I'd better make her a few homemade baby shower gifts. She lives across the other side of the country from me. Insert sad face. I'll send her the shower gifts, but I get to fly out to help her when she has her baby girl. Insert happy face.
She already has two little boys and can use an extra hand. You might remember that a long time ago, I made several designs for Christmas iron-on onesies for iron-on Christmas gifts. I feel like it's been forever since I shared any Cricut crafts. I'm making up for it today!
Let's get started with today's Cricut craft project and handy tips for making them!
Supplies for Custom Cricut Shirts & Baby Onesies
I go into detail below if you are new to doing Cricut projects like this. These are the basic supplies needed for making iron-on T-shirts and baby onesies.
Shop Cricut to get anything you need! I like getting my T-shirts and Onesies on Amazon and listed my favorites above.
How to Make DIY Iron-On T-Shirts: Step-by-Step
Start by creating the design or get an SVG file…
Start by creating the design or purchasing apre-made design. (I've done both)
If you make your own design, you can use fonts and images you have on your computer or from the design program at Cricut in Design Space. (Cut your images for free (basic and vector). Images can be .jpg, .gif, .png, .bmp, .svg, or .dxf files
Looking for detailed tutorials? You can go toCricut.comscroll down to the bottom to the section that shows Learn Now, click on it, and search for any of their tutorials
You will have access to upload your image files or fonts, and have access to any files you want to purchase. Or use previously owned cartridges if you are already a Cricut cartridge owner. (There are so many design files to pick from!)
If you want Cricut Access to use any of their files at any time, they have plans. I tried it once, but it wasn't using it enough to warrant a subscription for me. I defaulted to purchasing only the file I needed .99 (or whatever price I paid under 1.50) right now. The design I purchased this time is in the image above. ” I love you to the moon and back.”
Since this post, I started making more things, and got the subscription again. I just wanted you to know that it's there if you are looking for fun designs and fonts to add to your t-shirts, iron-on, or vinyl designs on a pay-one-price deal.
Remember, if you are purchasing files to make them compatible with the program you are using for design, and or cutting.
Where to purchase design files for Cricut crafts and iron-on projects
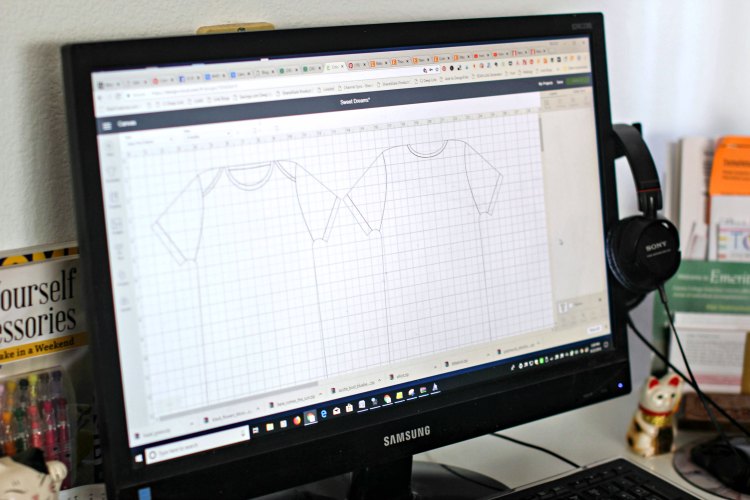
Once you have your design, you can add it to different-sized templates (I picked the size of my baby onesie). Then, arrange or make the design as you like it on the mockup tee shirt template. (Like a true blogger, I have way too many tabs open. I shut them down before continuing to work on my T-shirt designs. You don't want to crash your computer before you save your work. Wink, wink!
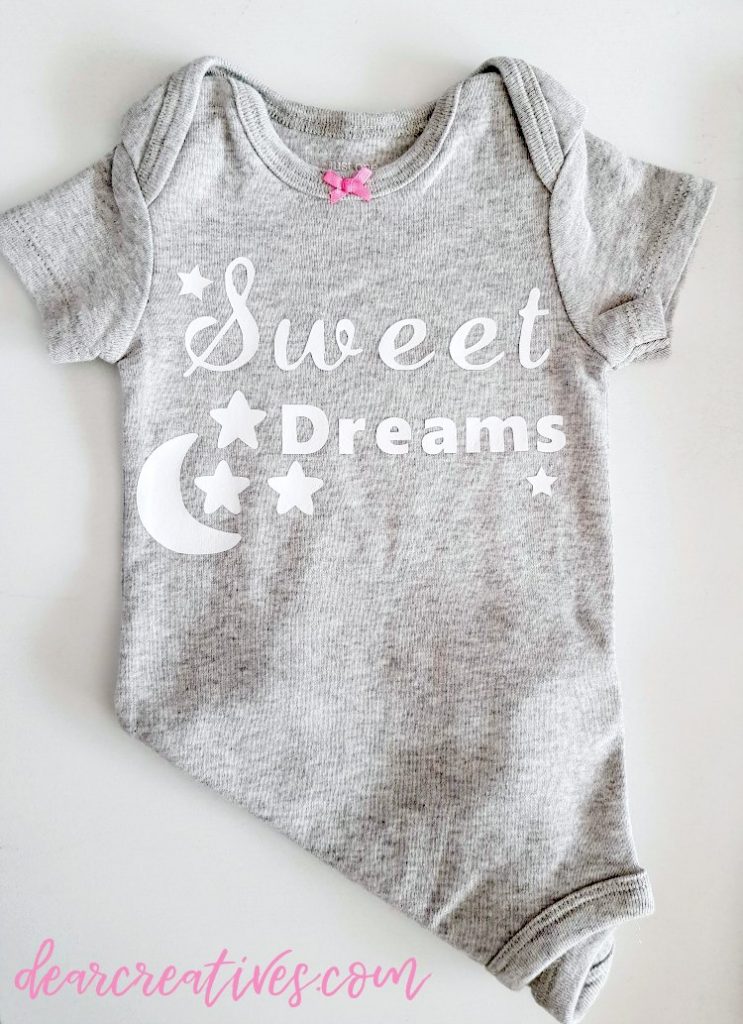
Inside the Cricut Design Space: I used the basic design of a Star (#M36989A) and Moon and Stars (#M39889) that I purchased.
After signing in, you can go here and click to make it. Use my design for free (Note you will have to purchase the star, and or moon and stars to use the design just as shown, fonts and all. Unless you have aDesign SpacePlan). I think the images were .99 or close to it.
How do you use Cricut Design Space? Or Design Images for iron-on?
You will have access to upload your files, and have access to any files you want to purchase. Or use previously owned cartridges. (There are so many design files to pick from!)
If you want access to use any of the files at any time, they have plans. I tried it once, but it wasn't using it enough to warrant a subscription. I defaulted to purchasing only the file I needed .99 (or whatever price I paid under 1.50) right now. Since this post, I am getting the subscription again. See what works best for you. I just wanted you to know that it's there if you are looking for fun designs and fonts to add to your t-shirts, iron-on, or vinyl designs.
Iron-onProtective Sheet (Helps protect your T-shirt and iron on when ironing onto the fabric). I highly recommend using this! Protect your iron-on projects from damaging heat and distribute heat evenly for secure adhesion.
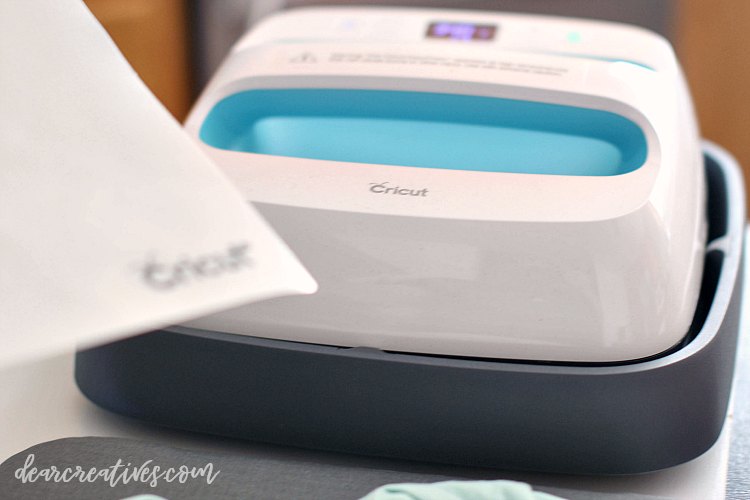
Cricut EasyPress (or) Iron (What is an EasyPress? It's a Heat Press for transferring iron on to tee shirts. It has settings for various fabrics.
A Pressing Mat (They come in two sizes. If you don't have one, try using a folded towel)
A weeding tool (This is what peels the unwanted iron-on from the sheet that you lay your design on the T-shirt. See image below). If you are serious about Cricut crafts, just invest in a toolset vs. the one weeding tool; it has the scraper and other tools you need for creating and making iron-on or other projects.
T-shirts or baby onesies in the sizes and colors you need (I love100% cotton tee shirts or 100% onesie. NOTE: I pre-wash them to get the sizing out of the fabric and pre-shrink, assuming they might shrink by just a little.
Steps for how to make iron-on tee shirts
First pre wash your tee shirt or onesie. Make sure it's dry and pre press the fabric to ensure it has no wrinkles where you will put the iron on design. Gather your supplies and add them to a clean surface. (the process is the same for either!)
Mirror Your Image for T-shirts
Tips for Cutting and Weeding Iron-On Vinyl
IMPORTANT!! Before cutting your design, remember to MIRROR YOUR DESIGN IMAGE. Your image and iron-on letters will be in the wrong direction if you forget!! It won't look correct or readable on your tee shirts or onesies. In Design Spacethat is easy to do with the click of a button, with a reminder just before printing.
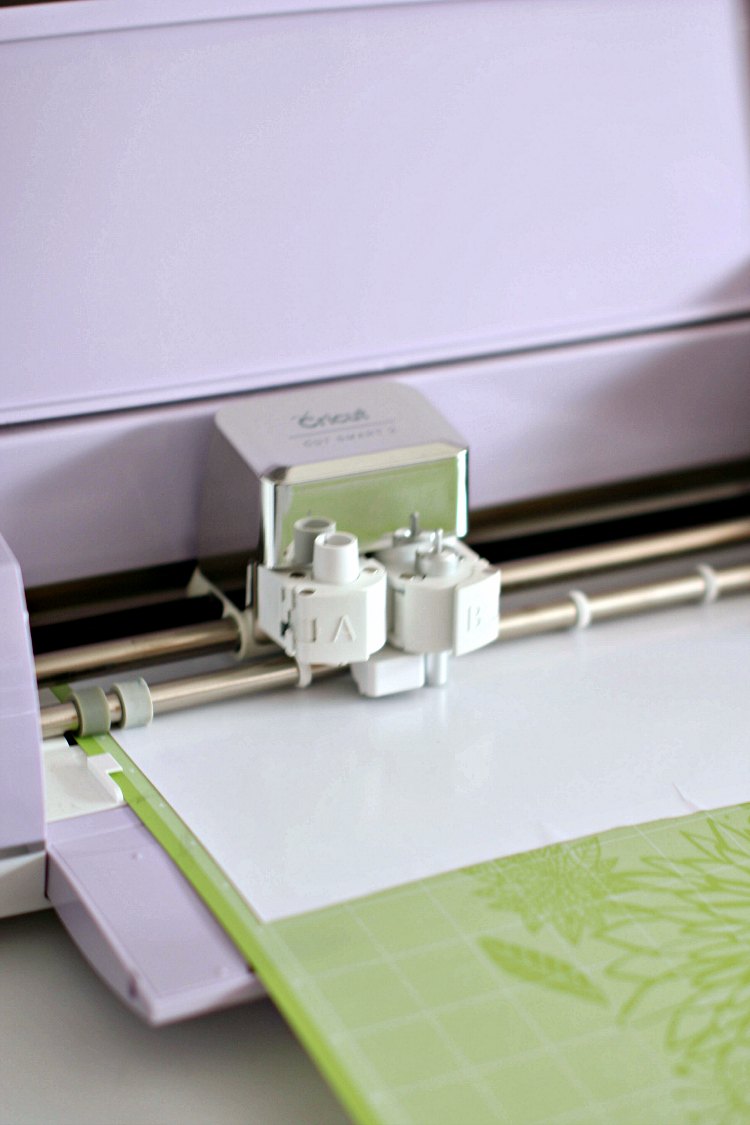
Cut out your iron-on design using your cutting machine. NOTE: Before you cut your design, make sure you use the scraper tool to get out any/all the air bubbles and have laid the iron on completely flat and adhered to your cutting mat. You can see an air bubble at the edge in the image. This was nowhere near the design I was cutting.
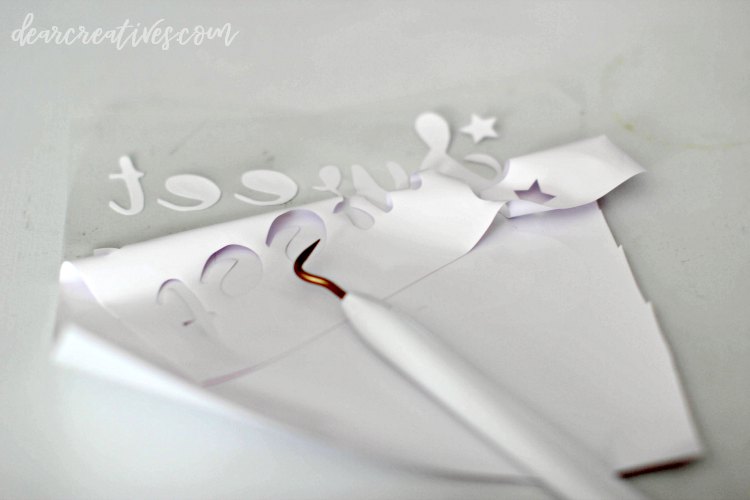
Weed Your Tee Shirt Design
When your design is cut. Use the weeding tool to separate the design from unwanted iron-on material.
When the design is weeded, you can carefully pull off the rest of the unwanted material from your design.
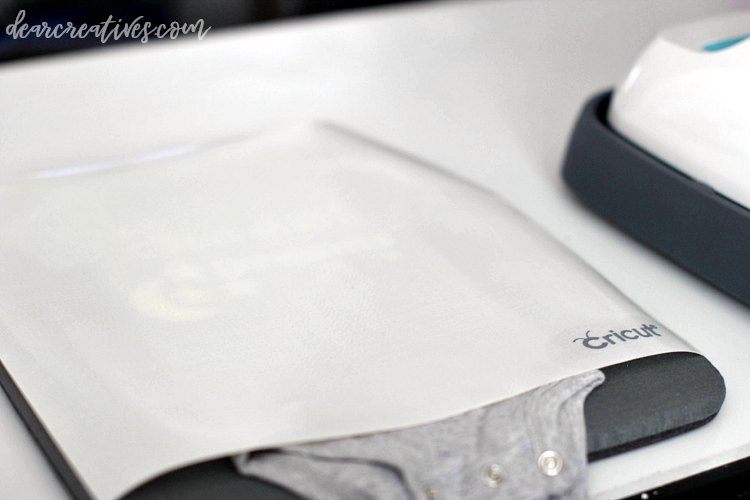
Now your design is ready to be ironed on your T-shirt or onesie. Heat your EasyPress if you didn't iron out wrinkles. Remember to do it before you iron on your design. Pull out your protective sheet to place over your onesie (or tee-shirt).
How to add iron-on to your T-shirts
Your surface needs to be flat and protected. Note: Use an ironing mat or folded towel under your T-shirt or baby onesie
You might need to add a towel or wash rag inside the onesie to make the tee-shirt the same level as the sleeve seams (and ensure the design and heat press meet the material evenly)
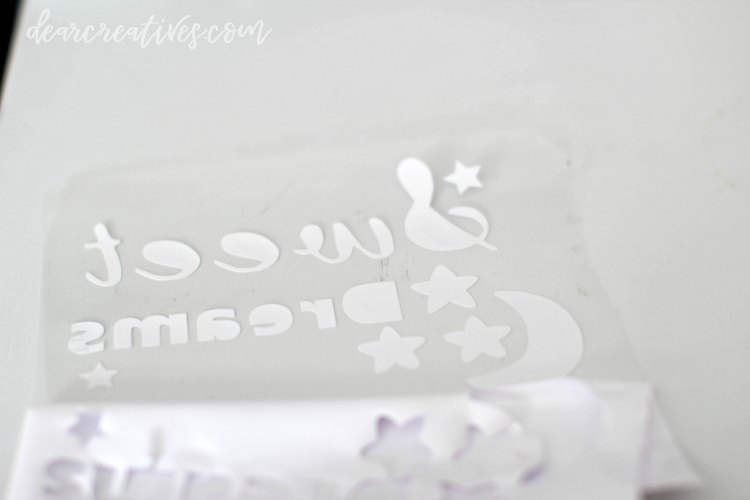
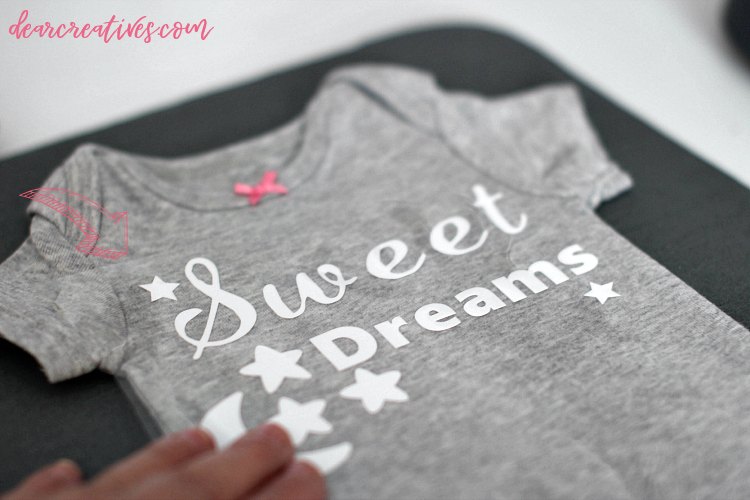
Use an acrylic rulerto make sure your design is as straight as possible, lay the design the way you will read it (see image below), make adjustments before ironing on (with a heat press or iron)
Follow your heat-press directions (It will vary by materials used (standard iron-on, metallic, glitter… and whether you are using a pressing mat or towel)
For setting recommendations, go to Cricut.com, scroll down to the bottom of the section that shows Learn Now, click on it, then click on Cricut EasyPress interactive reference guide. It will show you temps and times. Put in your materials, and it will give you temperatures for heat pressing.
For mine used as shown above, I preheated for 5 seconds, then applied heat for 30 seconds, and post-heat the back (leaving the liner on!) for 15 sec. Let it cool almost all the way, and peel off the liner from the design. (100% cotton material, pressing mat, protective liner)
How to remove the film and leave the design on the T-shirt or onesie
When just about all the way cool or cooled completely, remove the liner from the tee shirt design. PRO TIP: If it's still too warm, it will peel the design right off the T-shirt. If you make a t-shirt, tag me on social media @DearCreatives or pop by our Facebook page and share a photo of your project with us!
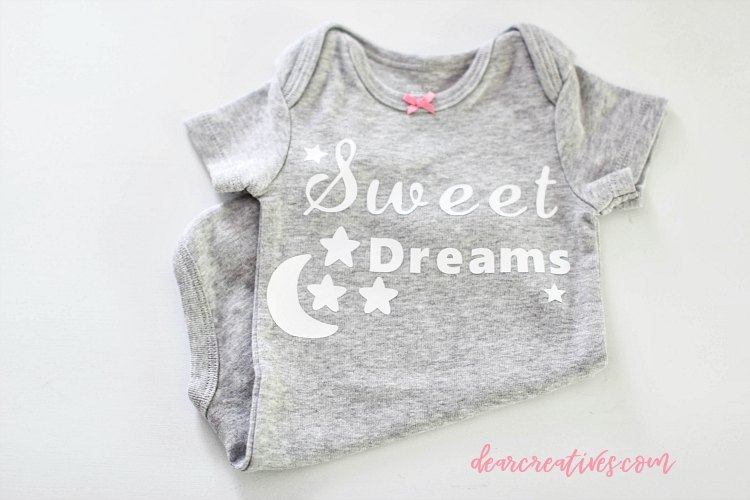
Gift it, make a bunch of DIY Iron-On T-Shirts or onesies for a baby shower. Just insert baby!
How to Care for Your DIY Graphic Tees and Onesies
Wash the iron-on projects inside out.
You can wash and dry the t-shirts and onesies. I like using cold or warm water and low/warm dryer heat.
To extend the life of the design, I like to use cold water (with the design inside out) and hang dry. Or dry the t-shirt or onesie on low.
We hope this helps you get started making iron-on tee shirts and lots of onesies! This tutorial can be used for making any type of tee shirt, even for adults. Just pick the size tee shirt template you need in Design Space and follow these same directions and tips.
DIY Iron-On Tee Shirts and Onesies
Just getting started making DIY Iron-On T-Shirts? Or looking for gifts for the holidays?
or 100% onesie.