This post contains links to affiliate websites, such as Amazon, and other affiliates. We receive an affiliate commission for any qualifying purchases made by you using these links. This is at no additional cost to you. We appreciate your support!
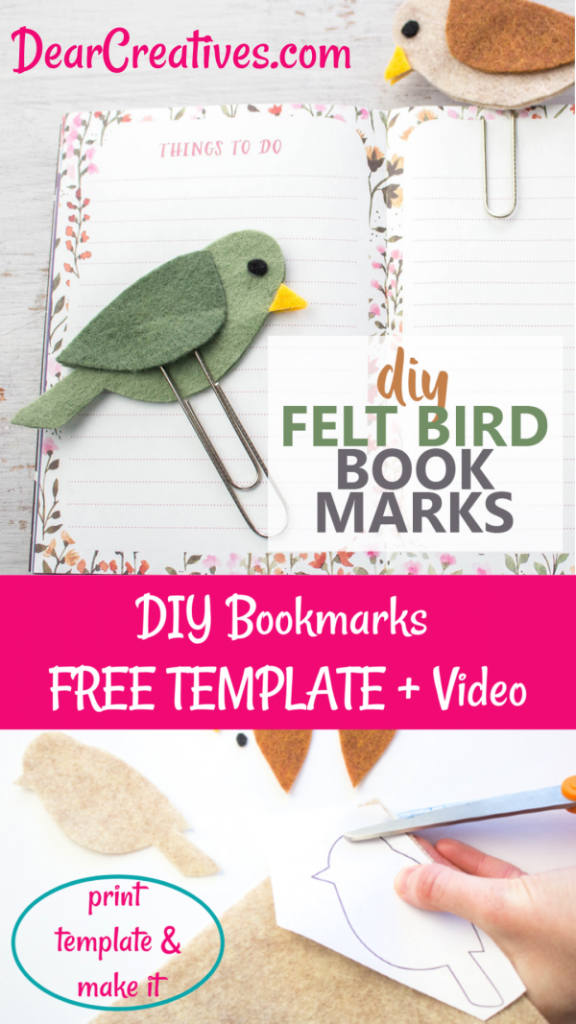
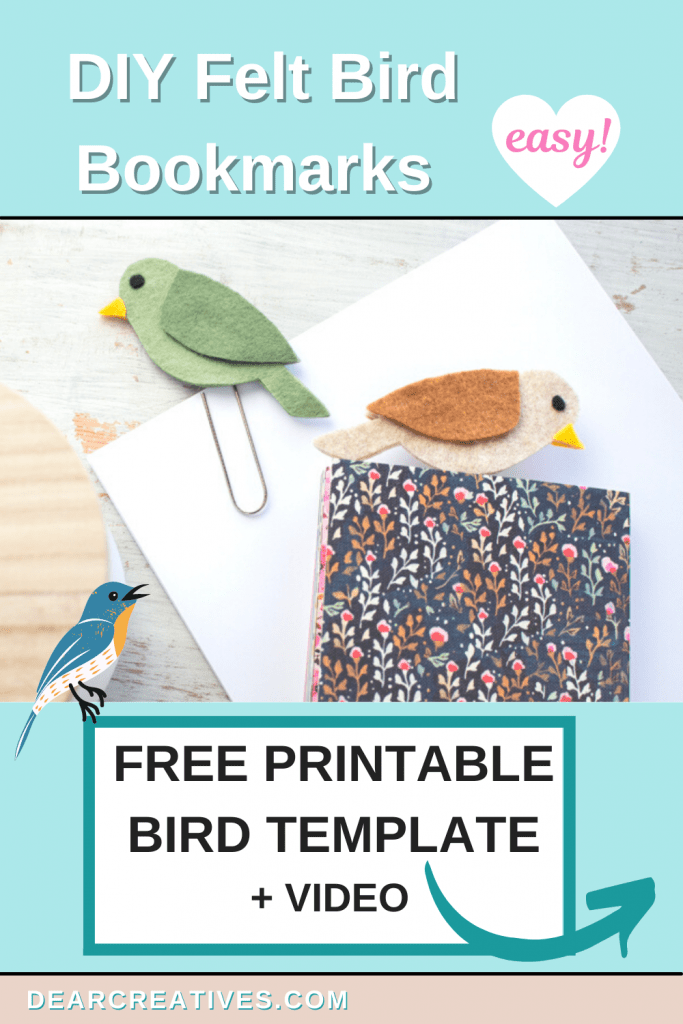
Looking for a quick, charming craft project? This DIY Felt Bird Bookmark is exactly what you need! This project is beginner-friendly and features a clever design where the felt bird is mounted on a large paper clip, making it super easy to slide over the pages of your favorite book.
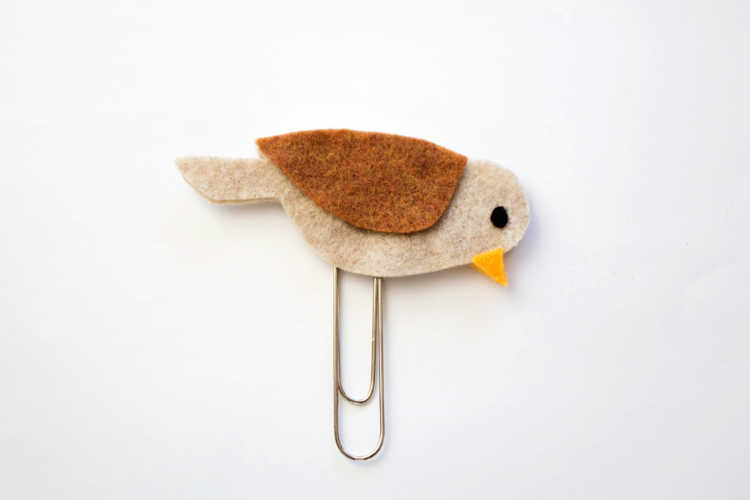
This felt bird paper clip bookmark is a simple DIY craft you can make with felt scraps and a free printable bird template.
We've made this felt craft even simpler by including a Free Printable Bird Template and a full video tutorial. Grab your felt scraps and a paper clip—this little bird will be ready to mark your page in no time!
It's a fun and easy felt craft project. Have you ever asked, “How to make a bookmark?” Now you can make your own. You can make these felt bird bookmarks for your journals, book page markers, and even homemade gifts. Pair this homemade bookmark with a book you are reading or a journal you are working on. Or use the template for a bird to make a handmade gift for someone.
I haven't made a new bookmark in a long time. With all the books I have been reading, I was ready to make a new one. As a mom and grandma, I always have to set my book down and then pick up where I left off. I don't like trying to remember where I left off. So having a cute bookmark is always handy!
You can make these for
Handmade Mother's Day or Father's Day gift (mom, dad, grandparents)
A teacher's gift
Summer project with tweens
Teen Craft
Make them for your kids and grab our summer reading log or booklist. Find them here (DIY Summer Camp) (Daily Planner)
Are you giving the bookmark as a gift? Do you need suggestions to go with the bookmarks?
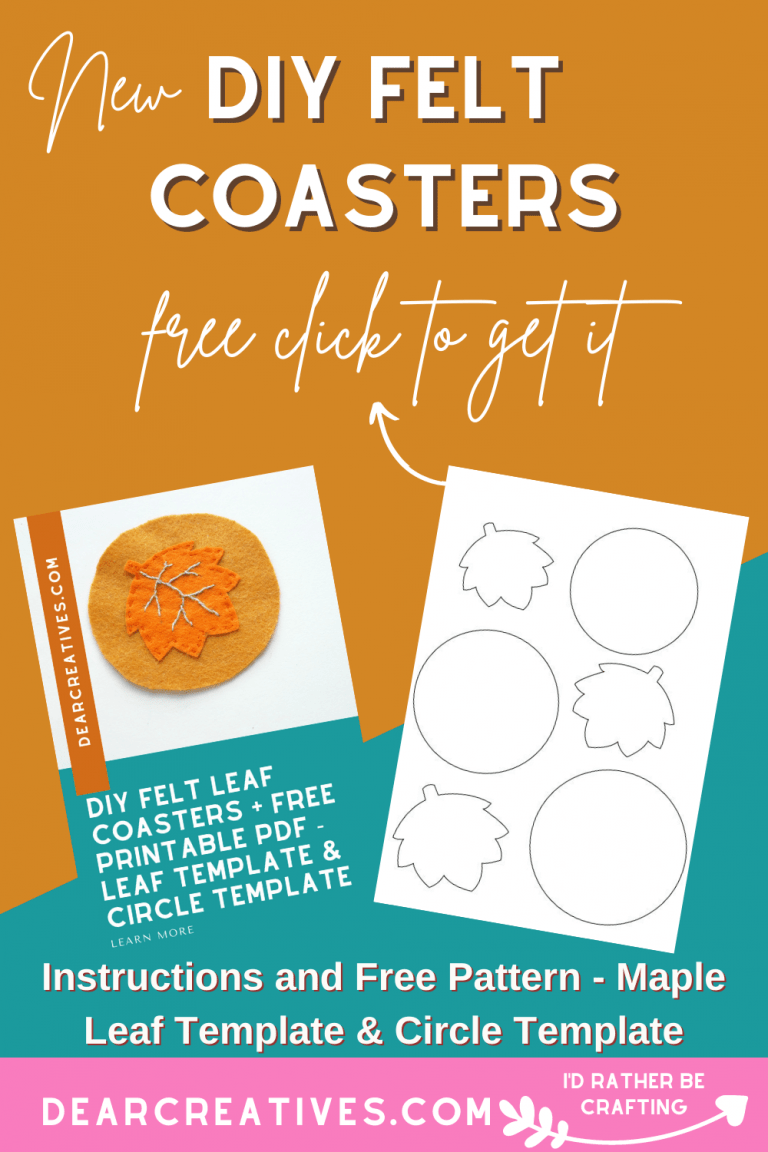
Get the free template to download and print after the instructions.
Tips for Making Felt Paperclip Bookmarks
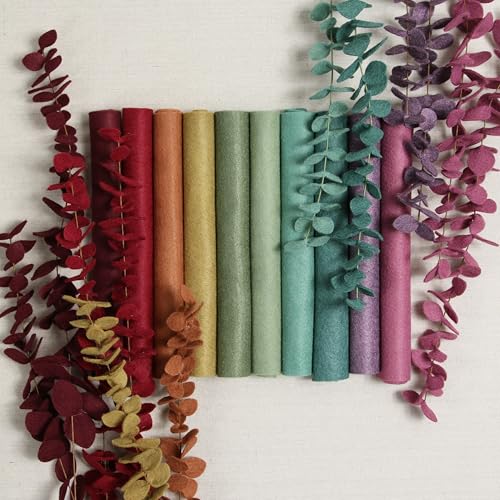
Use stiff felt or double layers of felt so the bookmark keeps its shape. If giving as gifts or classroom crafts, you can glue the felt instead of sewing for a faster project.
Step-by-Step Felt Bird Bookmark Instructions
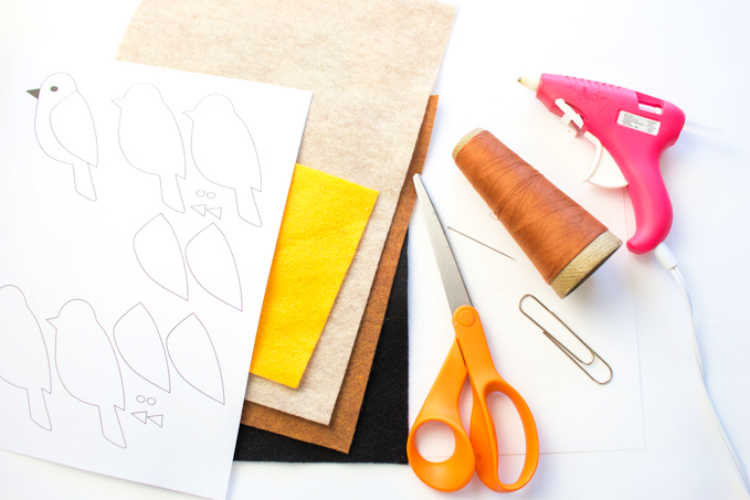
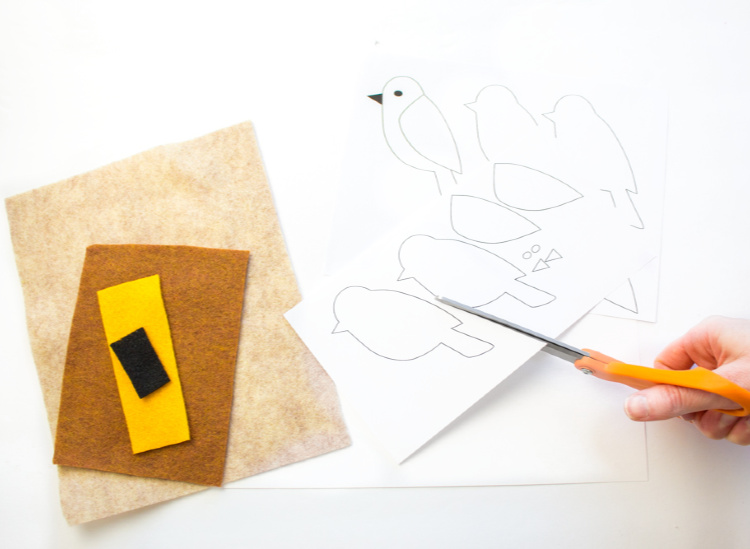
Step 1: Prep and Cut the Bird Pieces
Print off Bird Template – Pattern (at the end of this tutorial)
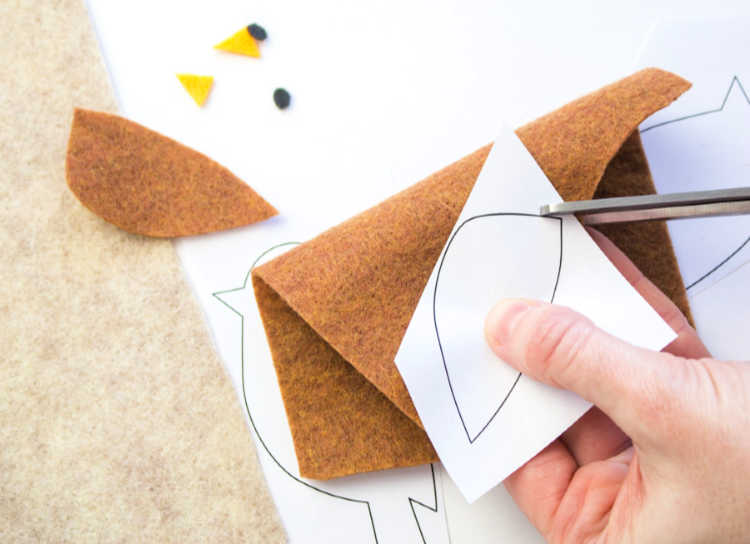
When cutting felt, use your fabric scissors. Use craft or paper-cutting scissors for the pattern pieces in the template. I use my craft-sewing scissorsPro Tip: Reserve your bestsewing scissors for ONLY Fabric! Cutting paper dulls the blades.
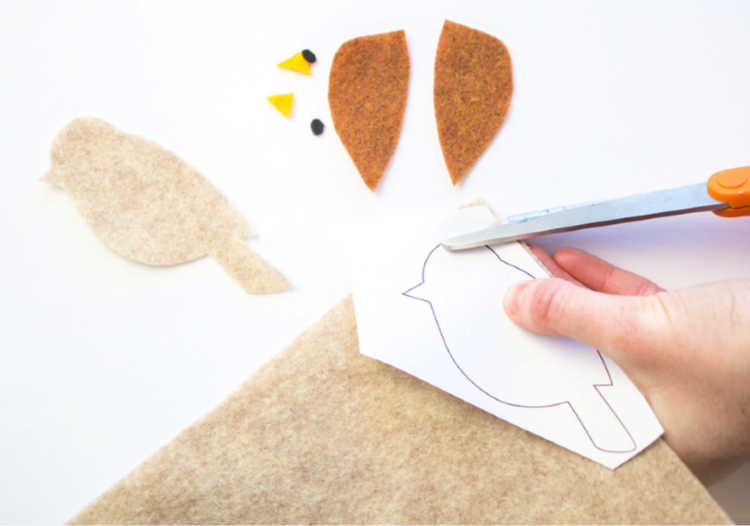
Cut 2 pieces of the small circular eyes from black felt.
Next, cut 2 pieces of the triangular beak in the orange felt color.
Then, cut 2 pieces of the wing pattern in a coordinating tonal felt color (for the ones above, I used brown felt).
Cut 2 pieces of the large bird pattern in the main felt color.
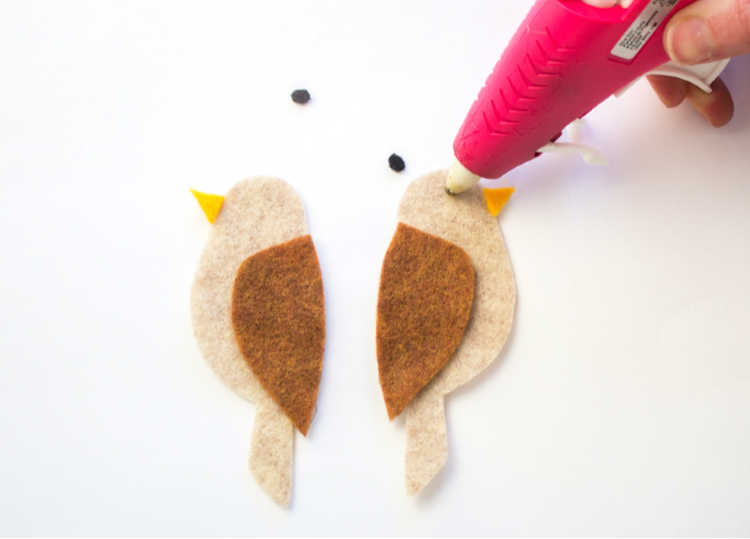
Preheat the hot glue gun.
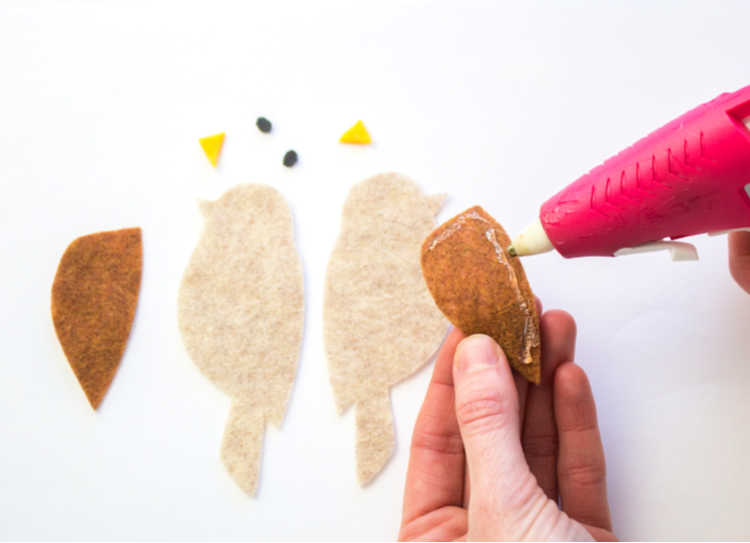
Position both sides of the bird pattern facing opposite directions.
Step 2: Add Detail and Attach Wings
Add glue to the backside of the wing just along the top and outer edges as shown, and press in place onto the bird. Repeat on the reverse side.
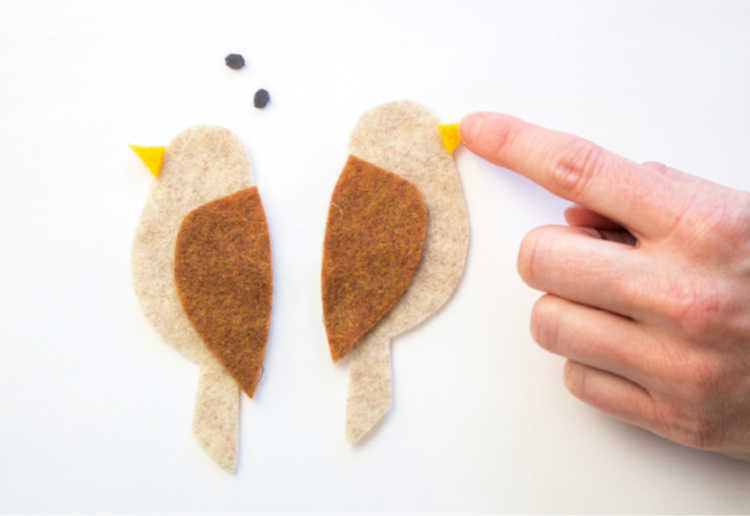
Next, add glue to the backside of the beak and press it in place. Repeat on the reverse side.
Step 3: Assemble and Finish the Bookmark
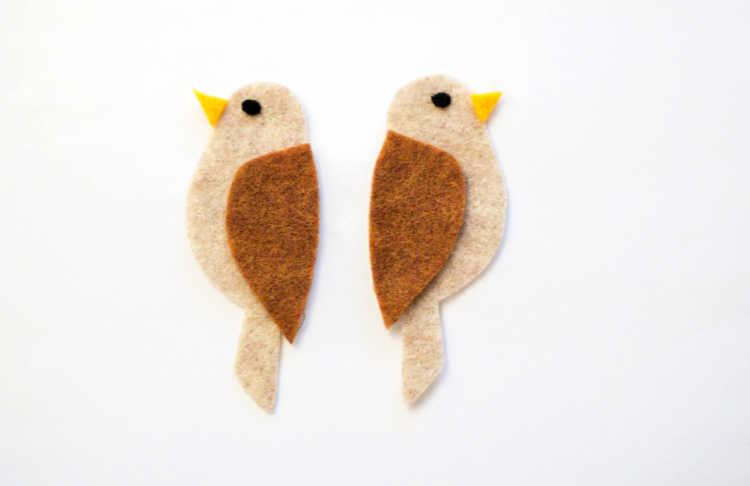
Then add glue to the backside of the eye and press it in place.
Repeat on the reverse side.
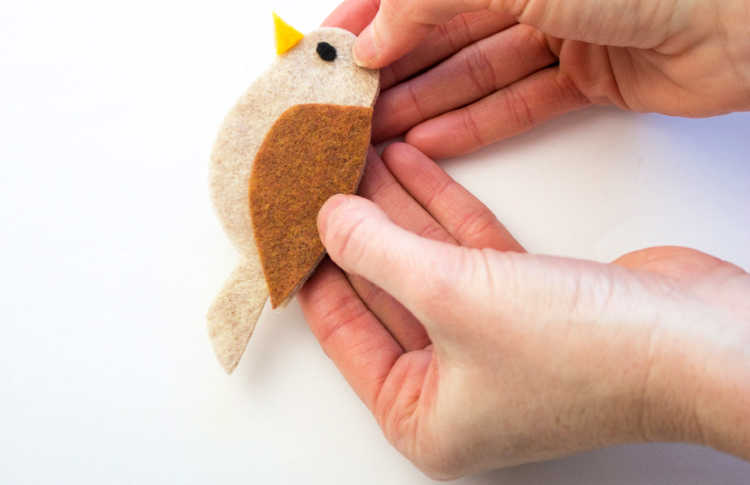
Flip the birds so the wrong sides are facing up and glue the main bird pieces together.
Trim any excess felt edges that are misaligned.
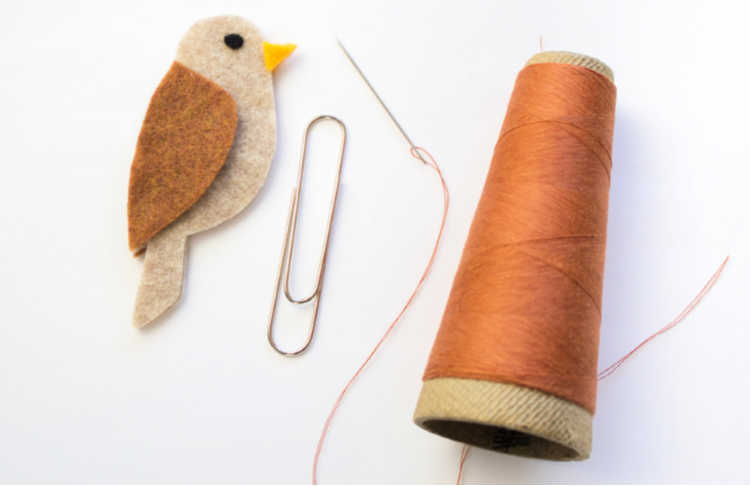
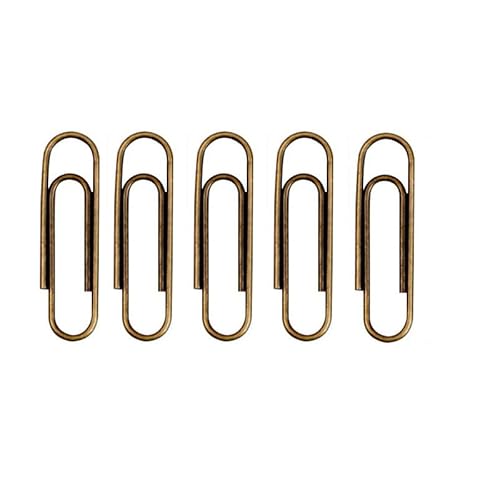
How to add the paperclip to the bookmark
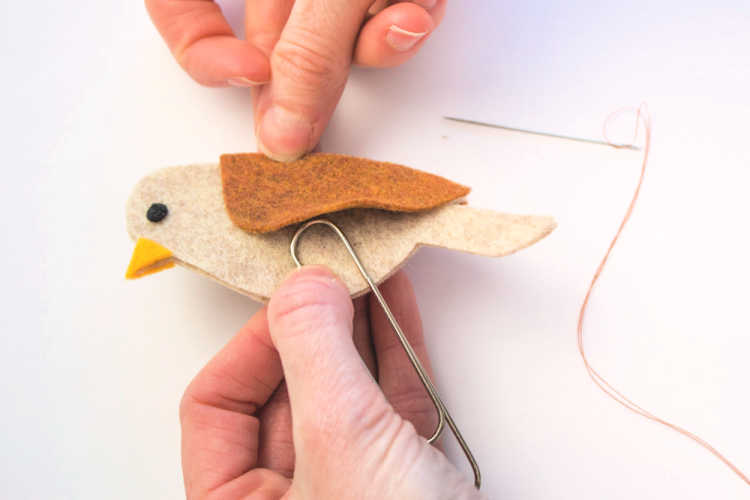
Choose a backside since both sides of the bird are the same. Position the jumbo paper clip on the backside of the felt bird underneath the wing.
Using a matching thread color and sewing needle, attach the top section of the paper clip to the felt, taking care not to stitch through to the other side. The stitching should not be visible on either side. Secure in place. (See how to in the video DIY Bird Bookmark instructions. This is a very simple hand sewing anyone can do.)
When stitched, the bird will swivel up and down with ease.


Pro Tip: Reserve your best sewing scissors