DIY Iron-On Tote Bag – Cricut Iron On Tote Bag DIY
Today's craft project is a DIY Iron-On Tote Bag. Have you ever wanted to add HTV (heat transfer vinyl), iron-on, to a canvas tote bag? Or cotton tote bag? Today, I'm sharing my Cricut Iron-On Tote Bag DIY. It's an easy, beginner-friendly project.
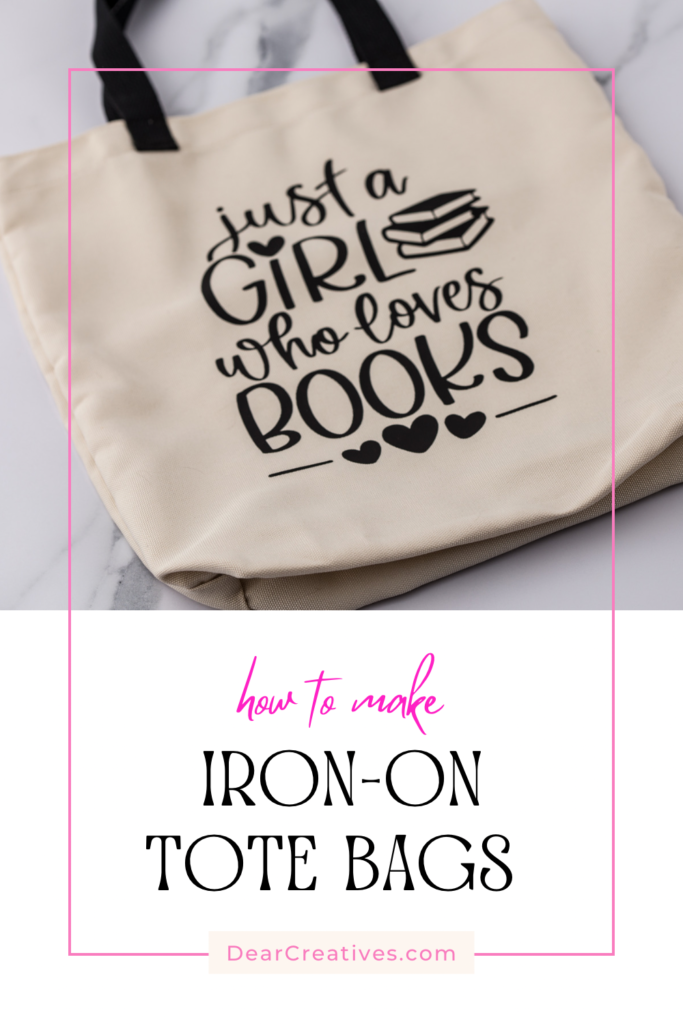
For my latest Cricut project, I put iron-on vinyl on a tote bag. I chose a design that says, Just a Girl Who Loves Books. You can pick any design you like and add it to a plain tote bag. These are fun to customize for yourself, to give as gifts, or even to sell. If you plan to sell them, make sure to use commercial files instead of personal-use ones.
Are you looking for something else to make? See our latest Cricut Craft Ideas here. New to crafting with a Cricut? Or still considering if you want to buy one? Start here: Cricut crafts. I have resources to help you, along with some of my favorite projects.
Just a Girl Who Loves Books
This idea turned out really cute and makes a great book bag for trips to the library. If you’re in a book club or just love reading, it’s a perfect fit for you, too.
But, if reading isn’t your thing, there are so many cute SVG and PNG designs to use to add to your tote bag!
For a spring Easter tote bag, use a design like this Bunny Silhouette. Who doesn’t love a cute tote bag, even for groceries or organizing things in the car? For kids’ dance or sport bags…
DIY Iron-On Tote Bag

Where To Get SVG Files, SVGs or PNGs, and Design Files
- Book Lovers SVG Design Bundle
- Reading SVG Bundle
- Etsy is a great place to find cute SVG files for crafts like this.
- CreativeFabrica is also great for SVG files, Commercial SVG files, and craft files.
Find POD files, with affordable Subscription plans, Fonts, and free files too. - Access Membership has many files and fonts for a low price, too. You can read about their angel policy on their site. This is where I got the file I used for this project. But, listed a few options for you above. All are my favorite places to get design files for crafting!
The steps are so simple to add designs to your own tote bag.
Materials Needed For This Cricut Craft Project
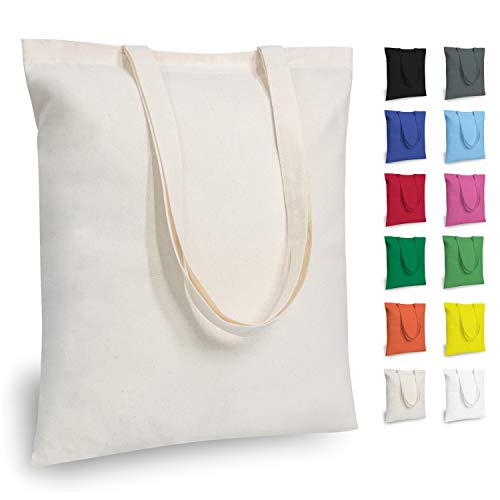
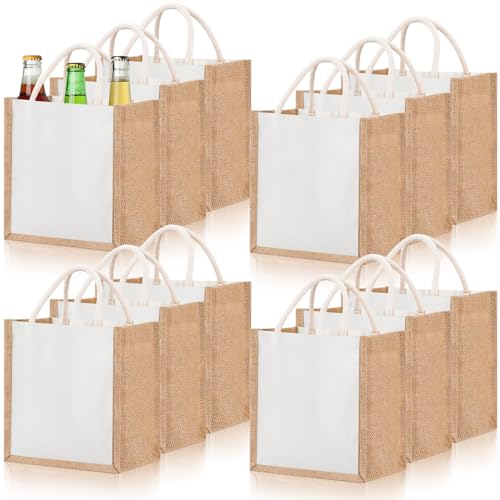
- Canvas Tote Bags like this (reusable bags that can be used for grocery bags, beach bags, or totes. Or like these Cricut Canvas Tote Blanks (The one I used on my project, and these will work with infusible ink projects too).
- I used this HTV (heat transfer vinyl/iron-on vinyl)
- Teflon ProtectiveSheets (I use protective sheets like this over the design I am pressing)
- Cricut HeatPress
- SVG designs (The design I used was from Access. It was free to use and included with the subscription.)
- Cricut Machine
- Cricut Design Space


Instructions
How To Use Iron-On Vinyl on a Tote Bag, Canvas Bag, or Tote Bag Blank
- Get all your materials assembled and preheat the HeatPress.
- Prep your clean tote bag by ironing it smooth using the heated HeatPress. I like using the EasyPress Mat when ironing.
- If the design is not from Design Space (or with the Access for all their exclusive images & perks) Upload your design or purchased design. Then, lay out the design.
- Pick out the iron-on material you are using in the settings.
- FIRST- (Do Not Forget To Mirror the Design) Then, cut out the SVG design, using the prompts.
- Weed The Design.
- Add the canvas bag to the Easy Press Heat Mat. Lay out the design on the tote bag. I like to use a protective cover over the vinyl or parchment paper to cover the design.
- Follow the heat guidelines (the link is below in craft notes) using the HeatPress on canvas material.
- Remove the film, and you are done. Using the HeatPress instructions that go with the material the tote bag is made of ( canvas, cotton, cotton/poly…).
- Tada! Your Cricut Craft is done! And you can enjoy using your canvas tote with a cute design!
If you need helpful step-by-step images, see #3 in Project Notes.
What design will you add to your project? If you like to sew, you might like this project where I sewed a kids' mini tote bag. You could sew one and add a customized iron-on design using cotton or muslin on plain fabric, and add iron-on vinyl.
Cricut Craft Project Notes:
- If for any reason when removing the design it doesn’t stay stuck to the canvas – iron it with the HeatPress for a short amount of time, let it cool slightly and remove the HTV film cover.
- Over-pressing iron on the material can cause wrinkles and damage the HTV. It’s a good idea to follow the HeatPress Guidelines for securing your iron-on to canvas, cotton, and various materials.
- In this post I have the steps with images to help you. Read the post, see the images with steps, and then do this project.
Happy Cricut Crafting. Be sure to subscribe below for more crafts and fun stuff to make. Not making this project now? Pin it for later!

- New here? Be sure to Subscribe.
- Pin it for Later
- Follow us on Pinterest
- Shop our favorites on Amazon