This post contains links to affiliate websites, such as Amazon, and other affiliates. We receive an affiliate commission for any qualifying purchases made by you using these links. This is at no additional cost to you. We appreciate your support!
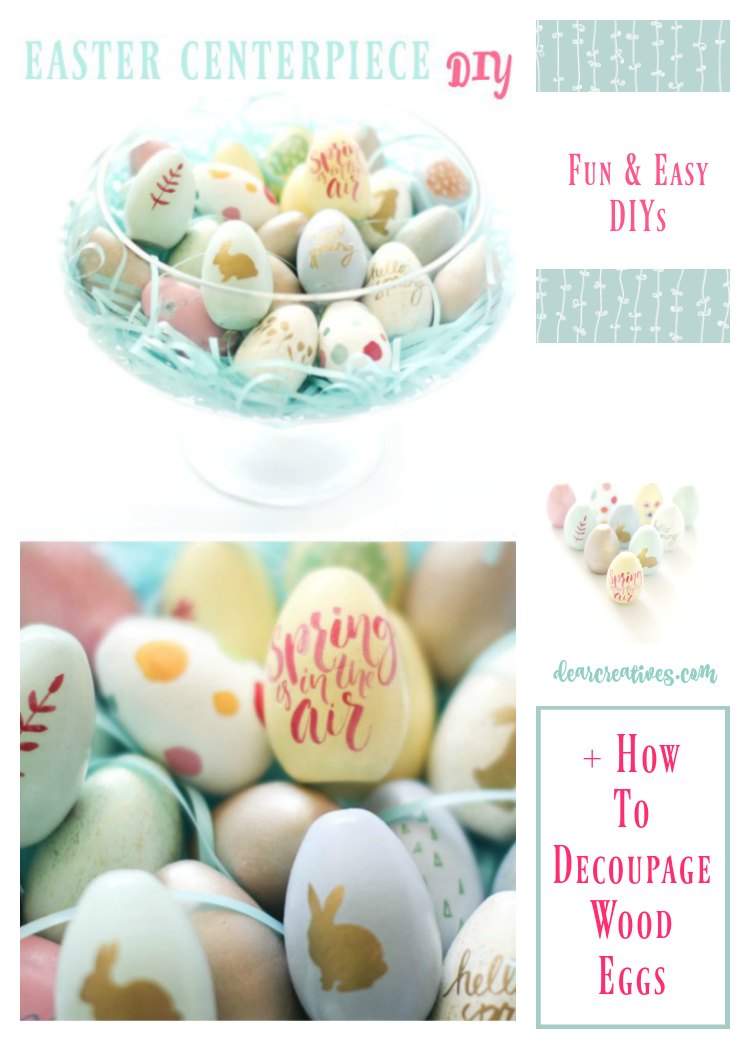
Ready to make a cute spring centerpiece? In this spring craft tutorial, you'll see just how easy it is to create a beautiful display using wooden eggs decorated for spring and Easter. This is one of those spring craft ideas we are always adding to, and I can't wait for you to try it!
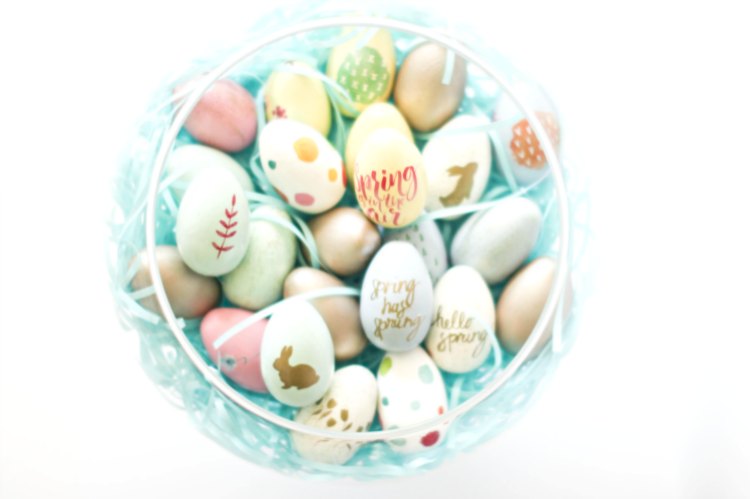
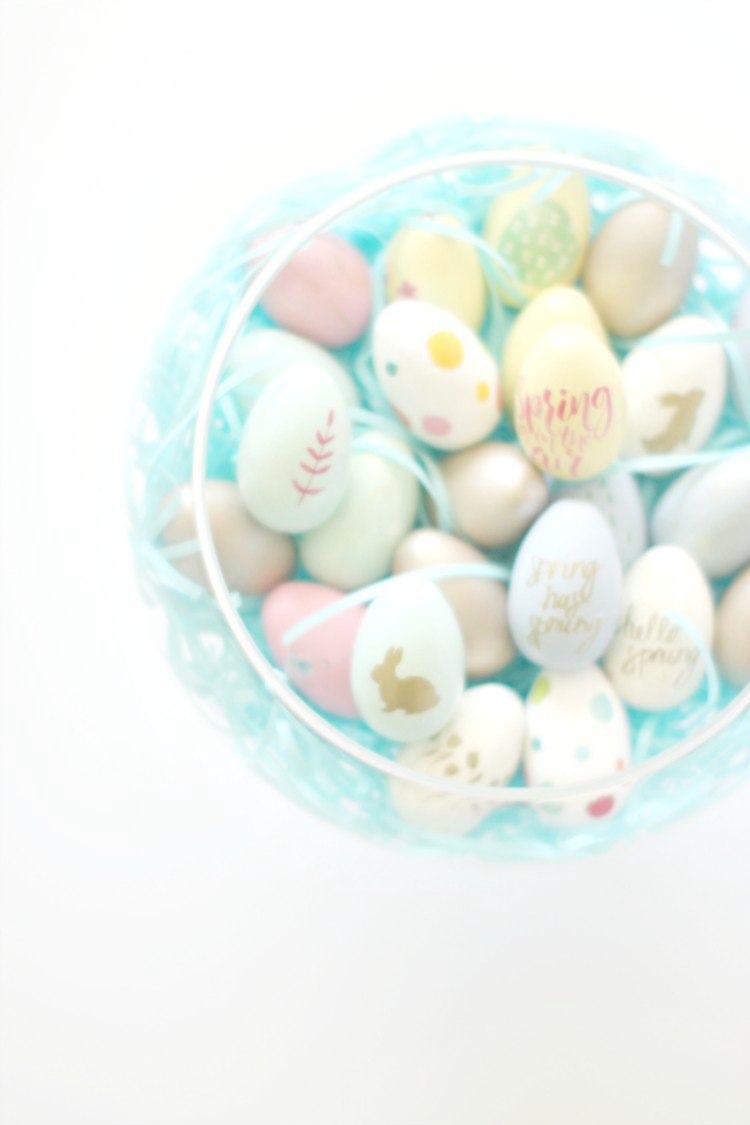
With just a few simple craft supplies, you can bring this DIY to life. First, we’ll decorate the eggs. Once your wooden eggs are looking pretty, we’ll assemble the table centerpiece. I love using Easter grass or moss tucked into a clear glass bowl—it's such an easy way to create home decor for your tables.
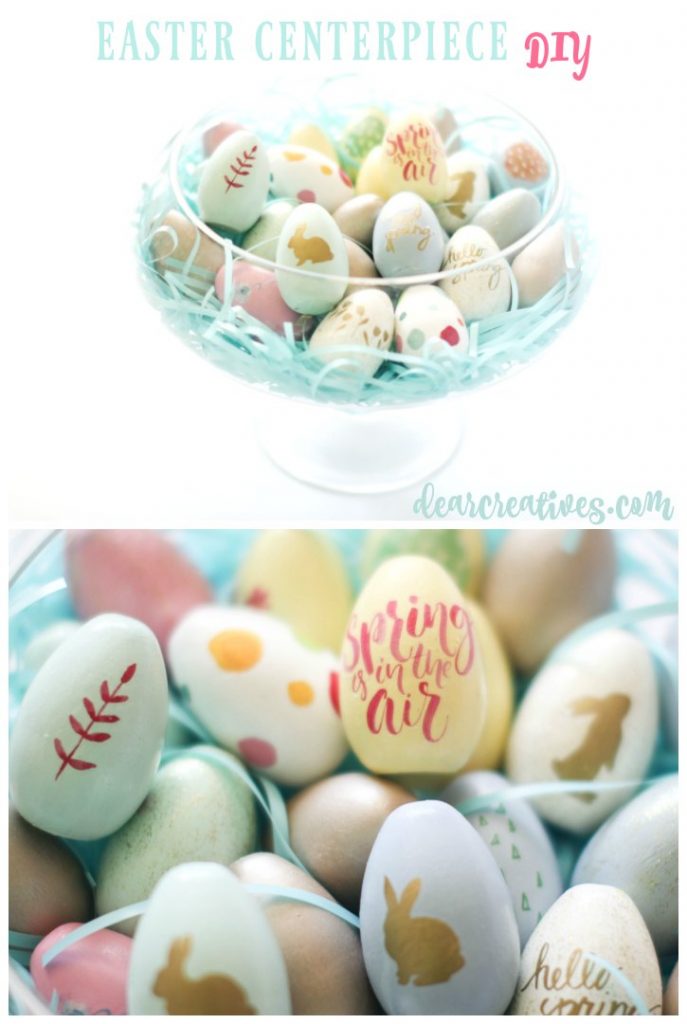
The best part? You can use these decoupaged eggs in any type of spring centerpiece, from casual table decorations to more elaborate tablescapes.
Timing Tip: Depending on how many wooden eggs you decorate, this can be a quick 30-minute craft. Or, you can go all out and decoupage 30 eggs like I did! That will take a few hours total, including dry time (pro-tip: if your house is warm, that paint dries much faster!).
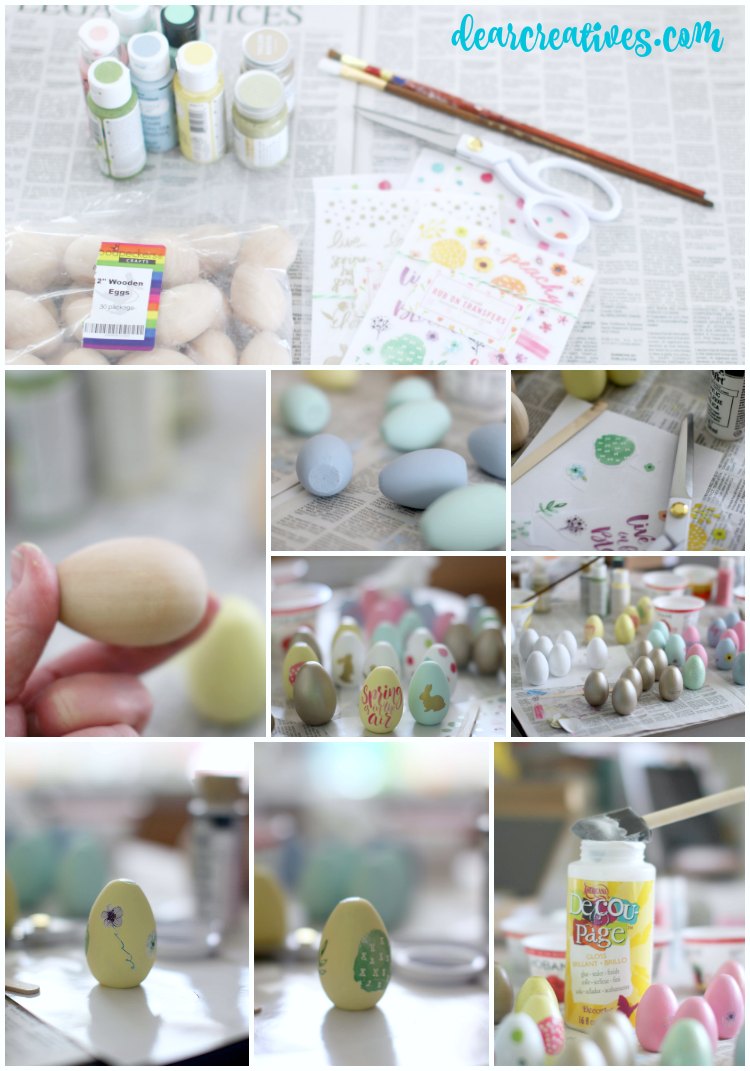
Let me share how easy and fun this spring craft idea is. You just need some wooden eggs, paints, rub ons and decoupage glue. The decoupage glue will seal the rub ons and make your eggs look a little bit glossy. But, you can purchase a matte finish if you prefer.
With the exception of the exact glass bowl and Easter grass being exact matches, I did find a few similar.
I like that this is an inexpensive centerpiece. Especially if you own the vase already!
How to Decoupage on Wood (and Wooden Eggs)
Gather all your crafts supplies and spring colored acrylic paints. I used recycled yogurt containers for the paint.
NOTE: Rinse and dry paintbrush slightly between colors
Hold your eggs end to end and paint them. Next set them on their bottoms. I carefully, paint the top of the egg and let them dry completely before I paint the bottoms.
Once they are all dried I turn them on their sides and paint the bottoms. Let them dry completely.
Note: You may have to repeat the process for some colors giving them two coats of paint if so repeat steps 1-4.
Grab your rub-on transfers and carefully rub your designs on each egg you want to add them to.
Once you are done use Decou-Page to cover all your eggs. This will give them a nice slightly glossy finish and seal on your rub-ons.
Let everything dry and clean up.
How to Create the Spring Centerpiece
Use Easter grass (for Easter) or moss (for spring) and insert them into a pretty clear glass bowl. When this is done you can set it on the table as is or decorate around it for more elaborate tablescapes to add to your spring or Easter celebrations!
You know, I really love the idea of this because my gbaby can’t have eggs. She allergic so she misses out on dying eggs every year. This way she can participate in all the Easter fun. Thanks for sharing this idea!
This is brilliant!! I’m on the hunt for wooden eggs!! I know my kiddos would enjoy doing this with me. We love to paint.
Thanks for sharing.
XO
-Dean