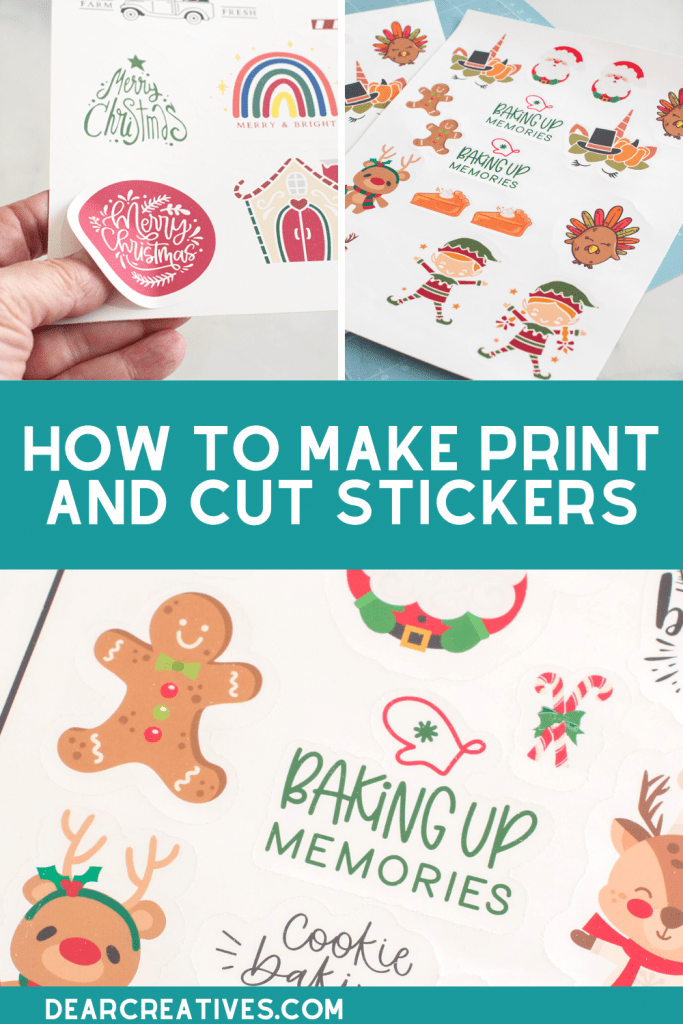
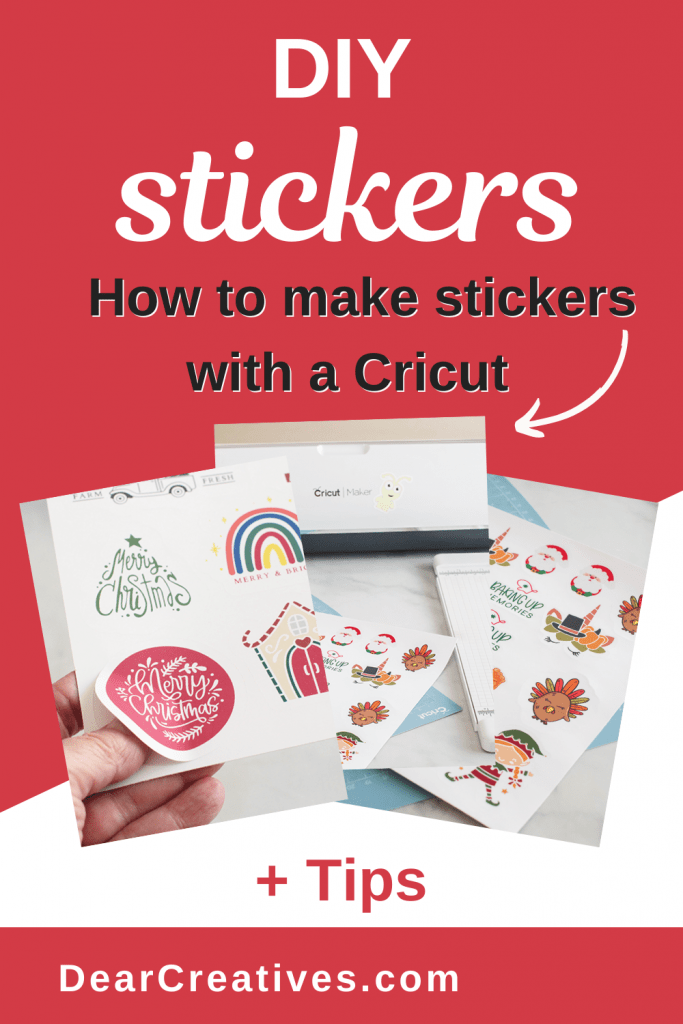
How To Print And Cut Stickers On A Cricut (Step-By-Step Guide)
How To Print And Cut Stickers On a Cricut — I have been obsessed with making my own stickers lately! It is such an easy and versatile project, and honestly, making them is just plain fun. Today I'm sharing exactly how to print and cut stickers using a Cricut! Have you ever tried to make your own custom sticker sheets?
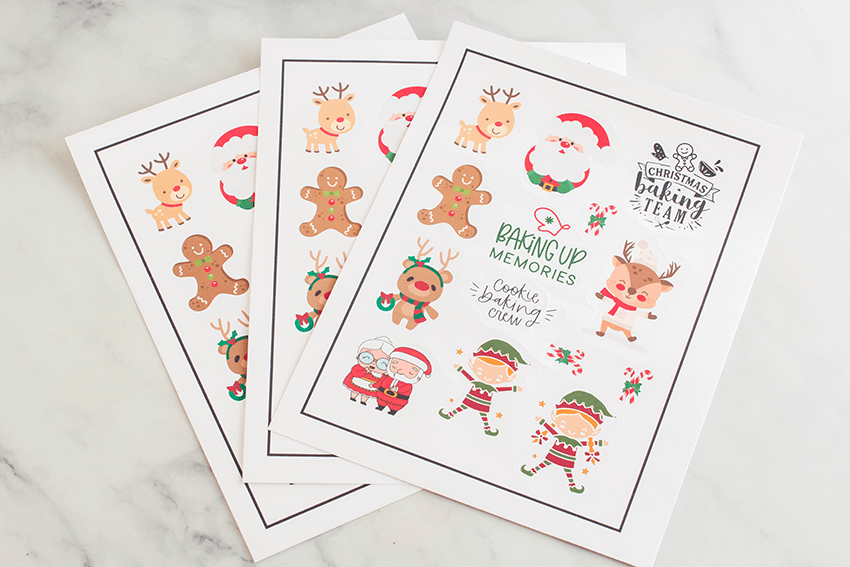
They are perfect for gifting, labeling packages, or even making your own journal stickers. I recently made a big batch of these as a fun Cricut Christmas craft to give out during the holidays, and they were a huge hit (for the grandkids)! If you’re looking for more creative ways to use your machine or want to make your own custom labels and decals, you can find all my latest Cricut Craft Ideas here. Whether you're a seasoned pro or a beginner Cricut crafter, this guide will show you my favorite tips for using the print and cut feature to get professional results using your Cricut.
New to crafting with a Cricut? Or considering getting one? Be sure to check out our resource hub: Cricut Crafts here for everything you need to get started!
How To Print And Cut Stickers On a Cricut
Why You’ll Love Making Custom Cricut Stickers
- Easy to Make: Design them for holidays, design projects, home organization, and labeling.
- Complete Creative Control: You can design anything from personalized planner stickers to custom product labels that match your brand or style perfectly.
- Budget-Friendly DIY: Buying professional sticker packs adds up. Making your own is a cost-effective way to decorate your journals, water bottles, and gifts.
- Professional Results at Home: With the Print and Cut feature, you get high-quality, precision-cut decals that look like they were bought from a store.
- The Perfect Gift Add-on: Custom stickers make amazing personalized “extras” for birthday cards, party favors, or “You've Been Pinched” holiday treats.
This easy Cricut Craft project will help you DIY Print and Cut Stickers with Cricut. Let's get started!
Note this is a three-step process. First, you lay out the sticker designs (the max size is listed below). Next, print the stickers with a printer, and then have the Cricut cut around the designs to make the stickers.
I didn't think making stickers would be easy! I think it is. With a few supplies like vinyl sticker paper, using Design Space (signup is free), a Printer, and a Cricut (digital cutting machine), you can make printable stickers! The possibilities are endless! I love sending happy mail with stickers I've made. I think you will love making them too!
Supplies Needed For Print and Cut Stickers
- Printer
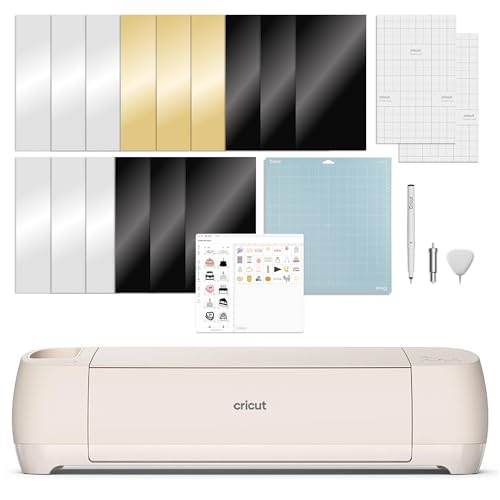
- Cricut I used my Cricut Maker (You can use any Cricut)
- Cricut Mat
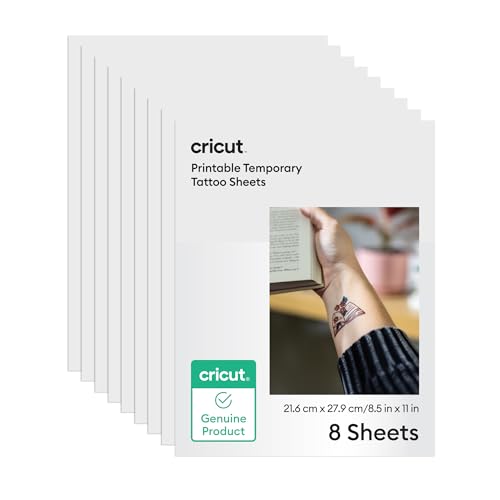
- Vinyl Sticker Paper
- Cricut Essentials Tools
- Cricut Paper Cutter
- Optional, but it is a helpful tool to own for projects: a brayer
- Sticker Designs – SVG files, PNG files: see below for where to find them.
Where To Find Sticker Designs To Print and Cut?
- Sticker Images and Design Files -Use Cricut Designs in Design Space App, Cricut Access, or purchase files for your stickers.
- You can find design files for stickers here – (Design Space) (Cricut Access View Cricut Access Membership and plan options)
- Also, find Design Files at TheHungryJPEG.com or grab their sticker designs and images here)
- Grab SVG and sticker files at Etsy – Print and Cut Sticker Files
- Find Free Images
Do you need a die-cutting machine? (Compare and Shop for a Cricut Cutting Machine)
How to Use the Print and Cut Feature in Design Space

How to make stickers and cut them with a Cricut
These are the written instructions, and there is a video below that goes through the process for making print and cut stickers using the Cricut.
Step-by-Step: Printing and Cutting Your Stickers
- First, grab design files from Cricut Design Space or upload them to Design Space.
- Next, arrange the files in the Design Space's workspace.
- Note the biggest size you can make print and cut stickers on the sheet is 9.75 x 6.75 (max size of sheet). There will be a black border around the design. This is how the Cricut can read and cut the stickers after you print the stickers on vinyl sticker paper.
- For each sticker design you upload and use, you need to add an offset border. You can change the color to white (or any color). It is the sticker border for cutting out the design. Adjust sizing if needed and apply an offset.
- Highlight and flatten to make the design with an offset border in one layer.
- Hide contours if needed.
- Repeat the process for each sticker design.
- Next, arrange the stickers. Layout the stickers into the 9.75 x 6.75 space (or less). To do this, I pick a square, choose a color, and resize the square into the dimensions (9.75 x 6.75). Then hide the colored image, prior to cutting out the design! This ensures the layout is correct.
- Highlight the entire layout with your designs and group it.
- Save your design with a name!
- Go to, make it. First, you are just previewing the design. If it looks good. Go ahead; if not, go back and adjust the sticker designs page.
- Adjust and save as needed.
- Go to make the design (After previewing! See step 11).
- Turn on your Cricut machine.
- Follow the prompts. First to print. Send To Printer Turn – Make sure the bleed is on! And the System Dialog button is on! (for best results).
- Choose your printer and set it to photo paper and best print (in your printer settings page pop-up).
- Print the design.
- Get the printed sticker sheet from the printer.
How To Cut The Stickers With a Cricut: After Printing Them On The Sticker Paper
- Place it (the sticker sheet) onto a Cricut Cutting mat.
- Follow the prompts to insert the cutting mat with the stickers.
- The Cricut will read all the black lines. After this process it will, the Cricut will begin to cut around the stickers.
- Unload the cut design and hit finish!
- This is important! If you are cutting multiple pages, be sure to clean your blade off in between cuts. Vinyl will sometimes stick to the blade.
- Cut off the black guidelines from the sticker sheet. Do this using the paper cutter or scissors.
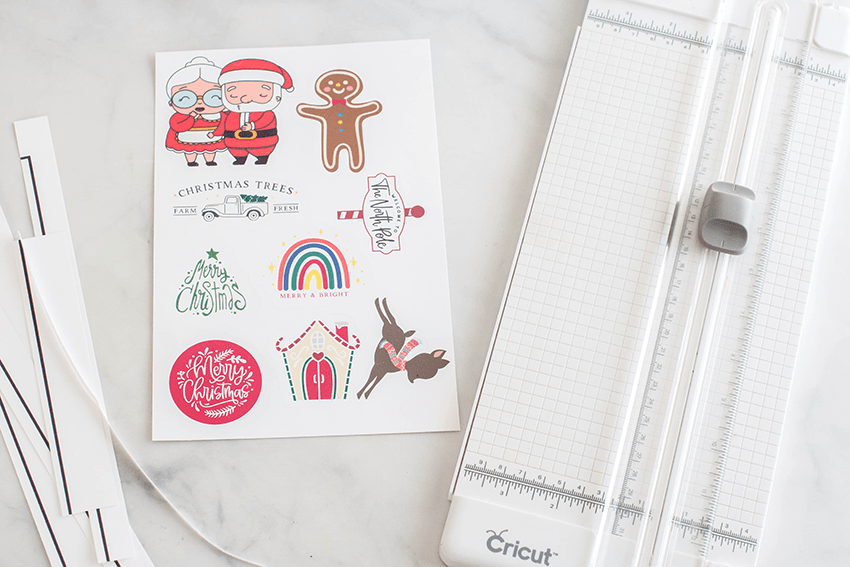
- Or cut out the stickers individually to use on packing, gifts, as rewards, or as journal stickers!
Pro Tips for Perfect Sticker Alignment and Quality
- Calibrate Your Machine: If your cuts are off-center, always run the “Calibration” process in Design Space settings. This is the number #1 fix for alignment issues!
- Use the “Bleed” Feature: Always keep the “Bleed” toggle ON when printing. This adds a tiny extra bit of color around the edges so you don't end up with unwanted white slivers if the cut is slightly off.
- Lighting Matters: Ensure your craft room has good lighting, but avoid direct glares on the sensor marks. Glossy sticker paper can sometimes “blind” the Cricut sensor; if this happens, try placing matte scotch tape over the black registration lines.
- High-Quality Print Settings: When sending to the printer, toggle the “Use System Dialog” option. This allows you to select “Best” or “High Quality” in your printer settings for vibrant, professional-looking colors.
- Matte vs. Glossy Paper: Beginners should start with matte paper; it’s easier for the sensor to read and less likely to smudge.
- Sticky Mat Maintenance: Use a clean LightGrip (blue) mat. Any slipping during the cut will ruin the alignment.
Ideas For How To Use Print and Cut Stickers
The most recent printable sticker sheets that I made were sticker sheets for Christmas gifts for my grandkids. I love sending them stickers along with little gifts to let them know I love them. You can make stickers to be on sheets, to go on water bottles, for journals, and to package gifts with. How will you use the stickers you make?
There are many ways to use and enjoy stickers. I remember rewarding my kids with cute stickers. Use stickers as rewards for potty training… Or you can give out stickers as a reward for being good! Or doing great with homework, or as a reading reward. Now, I like using them for happy mail with my Christmas gifts.
Enjoy! Happy Sticker Making!
Video Tutorial For How To Make Stickers With a Cricut
- New here? Be sure to Subscribe.
- Pin it for Later
- Follow us on Pinterest
- Shop our favorites on Amazon
Related Posts
- Love a tidy home? Pop over to see this tutorial for making your own DIY Spray Bottle Labels!
- For your Pantry Labels Post: Mastering organization? DIY Cricut Pantry Labels
- You can find more Cricut Craft Ideas here.
Happy Cricut crafting and sticker making! Have you ever tried to print and cut vinyl stickers?


Pin it for later!