Quick and Easy Salt Dough Valentines Day DIY Craft
Make fun and easy salt dough Valentine’s Day crafts with this simple recipe. With just flour, salt, and water, you can create hearts, keepsakes, and decorations that are perfect for kids, gifts, or classroom projects.
This easy salt dough recipe makes an adorable Valentine's Day idea — fun DIY decor to make with the kids. Making salt dough creations is not only simple but also easy! With a few pantry ingredients, you can mix, shape, bake, and decorate keepsakes that make perfect gifts, ornaments, or festive decorations.
Looking for something else to craft? See our Valentine's Day Crafts. You might also enjoy printing this sticker sheet I designed when you are done: Valentine's Day Stickers Print Then Cut
This craft is perfect for crafting with kids or making something special for someone you love. Using this easy salt dough recipe is a great place to start. Our second favorite way to make these is by getting Sculpey Clay.
Why You Will Love This Craft
- Easy to make!
- Fun for kids, teens, and adults.
- Budget-friendly supplies.
- Makes great gifts or decorations.
We made salt dough Valentine's. It was super fun, it's so easy, and perfect for crafting with kids. Sammie and I have done this project over the last few years.
I can't believe I'm only sharing it this year! Ya, I was looking through photo files from past projects and pulled this out of the vault. Perfect timing. Especially if you are snowed in! It takes no time at all to make the salt dough and do this kid crafting project.
Salt Dough Valentines
It's an inexpensive project. You probably have most of this on hand if you craft. Gather your supplies (list below) to make the salt dough, and start having fun! Let me show you how easy this DIY project is.

See the full supply list below! For salt dough, you can use your baking rolling pin, but not for Sculpey Clay.
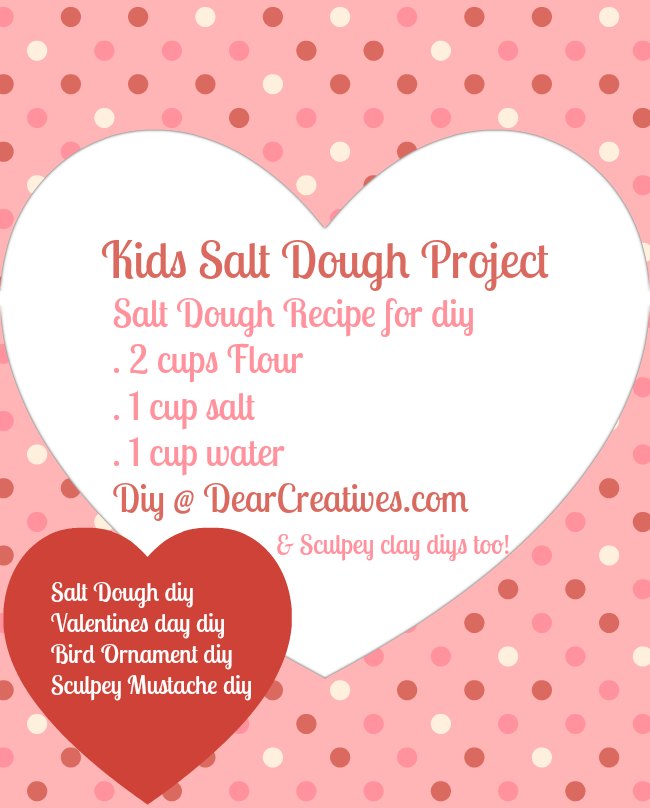
Salt Dough Recipe
Ingredients
- 2 cups flour
- 1 cup salt
- 1 cup water
Salt Dough vs. Sculpey Clay
Note: Salt dough is a budget-friendly option and safe for young kids. If you prefer, you can use clay (I like Sculpey Original Clay, which is Non-Toxic). If your kids are older, the Sculpey clay can be a great option, and the results are much better than salt dough. Sculpty is non-edible, so for smaller kids, it wouldn't be the best option.
Tips For Sculpey Clay:
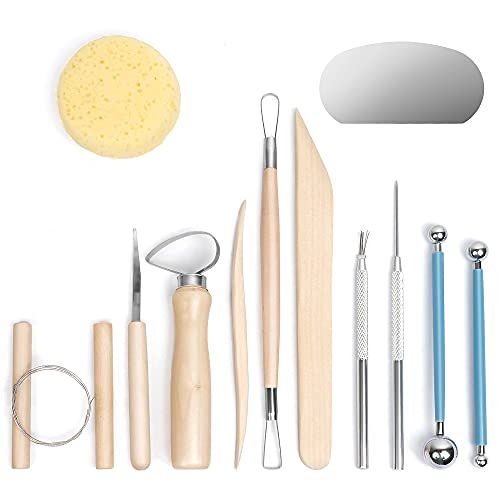
Follow the directions on the box for baking and cooling. DO NOT use your kitchenware with Sculpey Clay or any clay. (Rolling pins, cookie sheets, tools). You will have to set aside those items to become non-food/craft tools. Example: I have a specific rolling pin and cutters… I don't mix them with food uses. It is helpful to get a kid-friendly clay sculpting set like this.
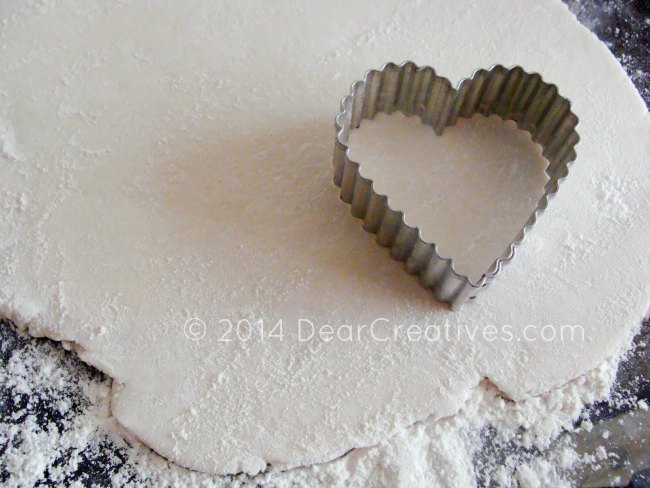
- Pro Tip: For the salt dough, I used flour when rolling so the dough wouldn't stick to the rolling pin, but you can use wax paper if you prefer. Dust off flour before stamping!
Salt Dough Craft Project Supplies and Tools
- Mixing Bowl and Spoon
- Measuring Cups
- Cookie Cutters
- Knife (or clay tool set)
- Rolling pin
- Stamps
- Dowel
- Cookie Sheet
- Wax paper or Parchment Paper for your table or for covering dough to roll out the dough (optional)
- Pot Holders
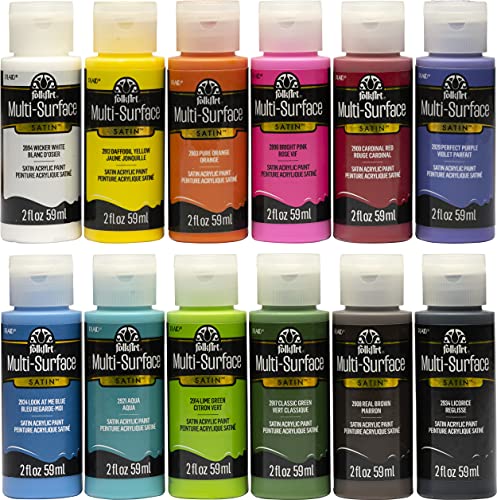
- Paints: Acrylics, or Tempera
- Paint Brushes
- Ink stamp pad (if you want to use ink vs. paint)
- Mod Podge Sealer
How To Make Salt Dough Ornaments
Instructions
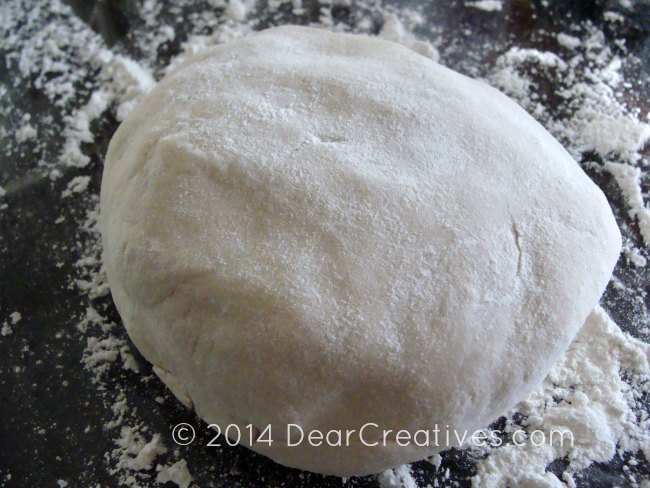
- Mix dry ingredients, then add water. Adjust flour /water mixture if needed. You don't want your dough sticky.
- Keep the dough at a similar consistency to that of Play-Doh.
- Next, make a ball. divide it into usable chunks. Help kids roll out the dough if smaller. About 1/4 inch layers. Keep the thickness to a minimum, as the salt dough can puff up when baked.
See note below if making a hole! - Bake at 250°F for 2 hours (checking towards the end of time). Pull out with oven mitts.
- Then, cool at room temperature, and you are ready to paint with acrylics or Tempera paints.
- Seal it if you like with something like Mod Podge or a Krylon sealer. This is optional; it is only salt dough and is not needed!
- Add your ribbon if stringing.
- Add a magnet to the back if making them for the fridge.
- Didn't use up all your dough? Save it in a plastic bag for a few days (up to one week) for other crafts.
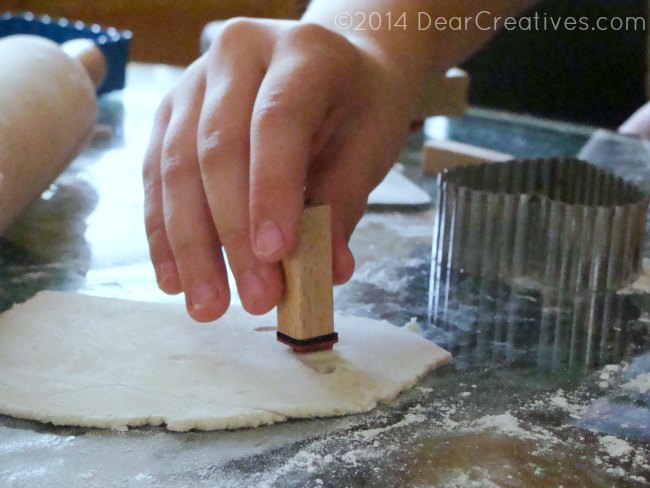
Project Tip and Note: If you are making a necklace or want to string the hearts, be sure to poke your hole into the dough before baking!
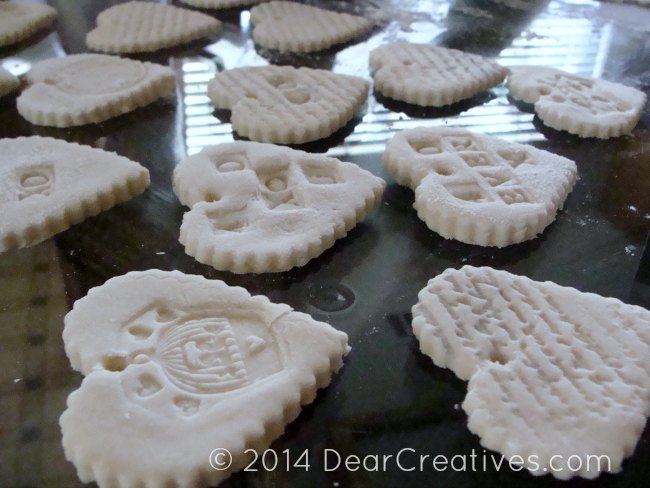
Stamp words and stamp designs make different shapes or sizes. Let kids do their own thing. Whatever you end up crafting with salt dough, have fun! I'll have to take more photos next time we make some and update the post with a few finished project images. We gave these out last year.
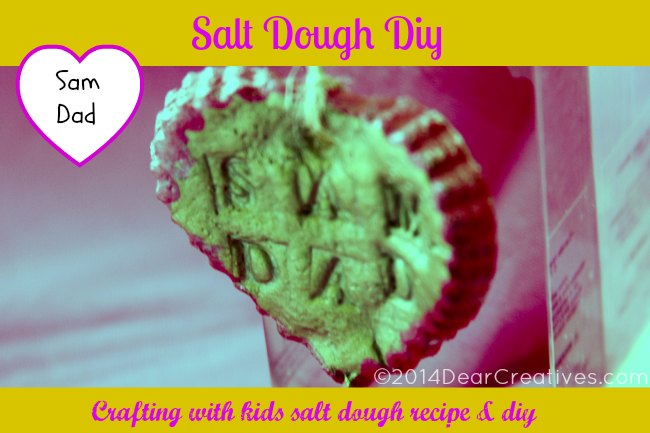
Here's one of Sammie's finished ones from a few years back. Her dad still has it. Perfect is not needed. It is the thought and love that count. As the kids get older, they can get more detailed. You can even sand the edges to make them smoother after they are baked and cooled.
Happy Crafting!
- New here? Be sure to Subscribe.
- Pin it for Later
- Follow us on Pinterest
- Shop our favorites on Amazon
Another project I spotted was this Valentine's Day DIY heart ornaments project. This is a fun, quick, and easy way to make Valentine's Hearts. For ages 3 and up!
Related Clay Posts
Looking for another easy Valentine's Day project? Or other crafts to make?
- Be Mine Valentine's Day Chalkboards Tutorial
- Need to check out a video to help you with the project? Salt Dough Ink Stamping Diy Video
- What crafting projects are your favorites to do with kids?


Hi. Great Valentine Post
Joanna
Hi Joanna, Thanks for dropping by glad you like the post.
Adorable! I haven’t used salt dough in a long time, thanks for sharing. 🙂
Hi Crystal, I hadn’t either until we did a few kids projects. Fun project for with the kids.
These are so cute…I love how creative you got with yours….great ideas. Thanks for sharing this on the Thursday blog hop…I know it will help many have some fun this weekend!
Hi Pam, Glad you enjoyed the post. I hope so, especially anyone stuck indoors.
I used to make something similar when I was little . Thank you for sparking a happy memory. Thank you for helping to make the Thursday Favorite Things Blog hop so much fun. Big Hugs ♥
Hi Katherine, Love dropping by when I can and thanks for stopping by.