How To Stencil a Burlap Banner: DIY Little Pumpkin Banner
Learn how to stencil a burlap banner with this easy DIY tutorial! I made a “Little Pumpkin” banner for a baby shower, but the same technique is perfect for creating fall decor. Or a personalized banner for any occasion. Follow the step-by-step instructions and stenciling tips to make your own.
DIY Burlap Pumpkin Banner
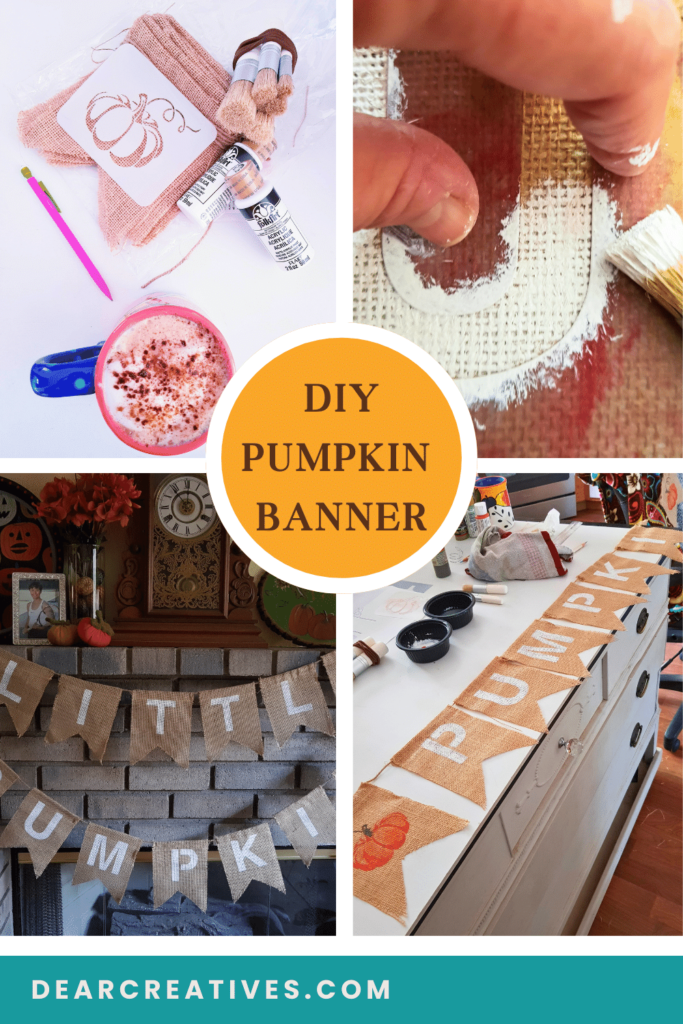
This is an easy project using a pre-cut burlap banner. With a few supplies, and in a few hours you can make a banner for hanging in the home or using for a baby shower.
Have you ever stenciled a banner before? If you haven't stenciled using paint, a stencil paintbrush, and a stencil set, it's way easier than you think. I'll share a few tips to help you to paint a stenciled banner.
The best part is you can use these techniques to make other pumpkin designs and stencil designs. Or make other seasonal banners (with this reusable 16 piece stencil designs).
How To Stencil a Banner on Burlap
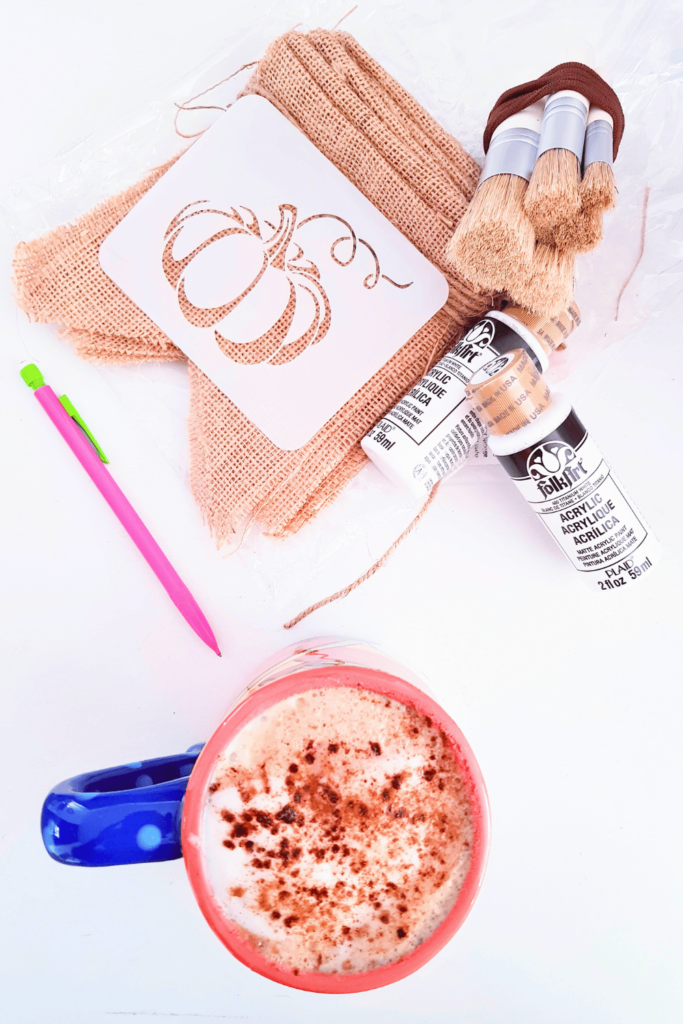
Supplies for a Stenciled Burlap Banner
- Blank Burlap Banner (I used the swallowtail design.) Or try another style of banner –triangle-design burlap banners.
- Pumpkin Stencil or these Pumpkin Stencils
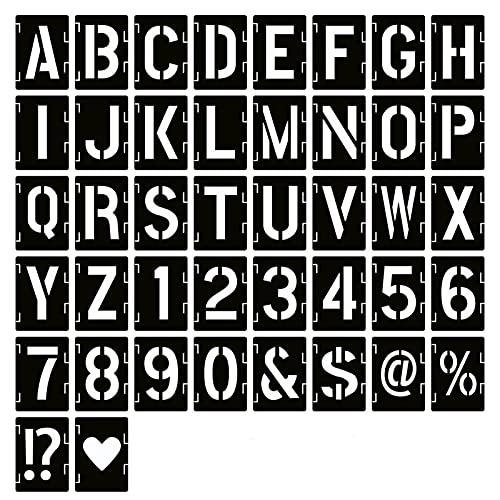
Make sure to get a size that fits well, centered on the burlap banner flag. - Alphabet Stencil Set
- Stencil Brushes
- Acrylic Paints or Multi-Surface Acrylic Paints
- Fabric pencil
How to Choose the Right Banner and Stencil Size
When purchasing the stencils, be sure to get the correct size stencils to fit your project (banner of choice). Read the tips below for determining size.
Where to Buy a Little Pumpkin Banner and Fall Pumpkin Banners and Garlands
(If you'd rather buy one than make one because you don't have time)



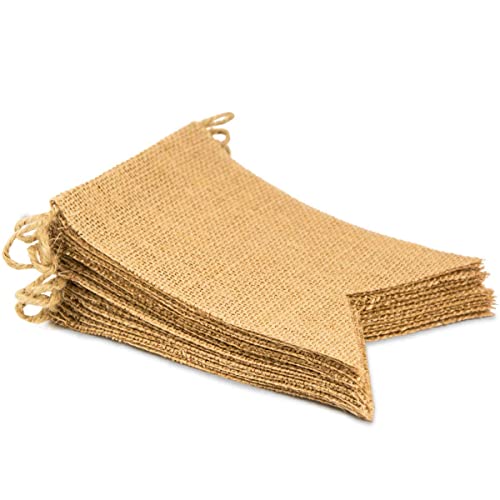
When purchasing the precut banners, get 1 or 2 burlap banners depending on the size design you are making! Count the letters, spaces, and images going on the banner flags. This will help you determine the size you need.
Have clear water in a cup or bowl. And have paper towels on hand for this project. Using painter's tape or repositionable stencil spray is optional. You can get banners that have the string in them; it makes it easy to use and hang up!
Dig through your craft stash to see if you have any of the supplies on hand. I keep my supplies organized in bins like this and label them. It makes it easy to find previously purchased supplies I still have on hand to use.
How To Stencil a Burlap Banner Step-by-Step
Instructions
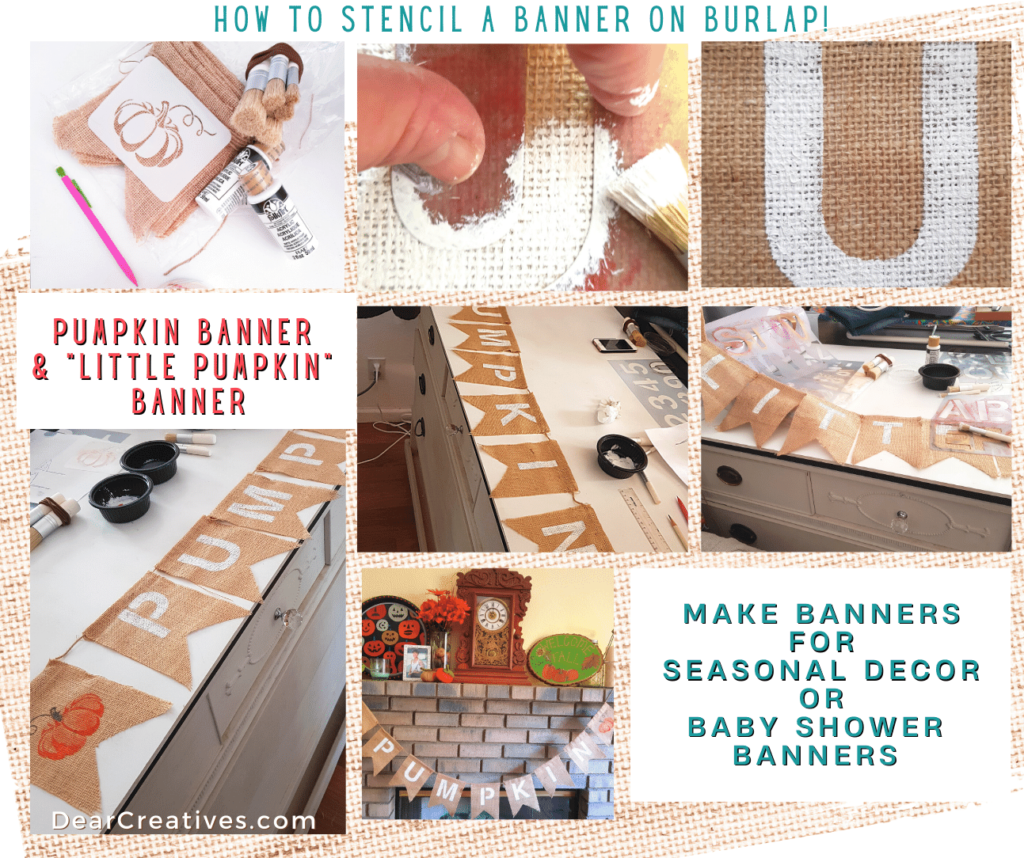
- Gather all your materials. Set up your workspace.
- Pour paint into a small container. Have water in a container and paper towels nearby.
- Next, lay out the burlap banner on a craft table or protected table.
- Take out the stencil letters you need for the word(s). Position them onto each burlap banner flag.
- You want them centered. I used a ruler and a white fabric marking pencil.
- Do the same for the pumpkin stencil.
- Put the stencils to the side. (Except for the (stencil) one you are working on first.
(see notes) - Use the paintbrush dry or slightly damp. But do not hold it really wet or have it holding any water at all. Dip it into the paint that was poured into a container (adding a minimum amount of paint). Use a paper towel to dab off any excess paint.
- Begin by laying the stencil where you marked it to be in the center of the flag/banner section.
- Hold, secure, or tape the stencil down. Dab on the paint. Do this by making an up-and-down motion with the paintbrush. Refill the paint as needed, repeating the same process until the letter is fully covered in paint.
NOTE: Do not overload the paintbrush with too much paint. - Once the letter or design is filled in. Carefully lift the stencil off the project (straight up off the painted surface). Move it to the side away from your work.
I typically wait until my project is finished to wash my plastic stencils (they are reusable). - Move on to the next letter in the design, repeating the process. Continue the steps until the project is done.
Note: You can use the same techniques on other fabric banners or banners using cardstock. The key is using the right amount of paint on the stencil brush and testing the surface on a scrap fabric or paper. (See the video tutorial recommendations below).
How To Paint a Pumpkin Using a Pumpkin Stencil
- Use a clean, dry, or lightly damp stencil brush (holding no water in the brush).
- Add orange paint to it sparingly. First, apply paint to the bottom of the brush.
- Dab-test on a paper towel or plate.
- Then begin adding the paint over the pumpkin stencil by dabbing in an up- and-down motion using the stencil paintbrush. Move across the open spaces of the pumpkin.
- Do this until the pumpkin is covered with orange (or another color you pick).
- If you want highlights, add a little white paint to the orange paint (or other color paint) and repeat the process on the areas you want to highlight. Typically near the top as the pumpkin starts to curve.
- For the stem, use a clean stencil paintbrush that is smaller. Take green paint and use the same steps to cover the stem.
If you are looking for other ideas to make, try this easy boo pumpkin craft for real or fake pumpkins (it's a 30-minute craft). Use it for a Halloween or fall craft by just swapping out paint colors. Scroll down to the bottom of this page for other projects to do! New to stenciling? Keep reading and get more project tips.
Tips for Stenciling on Burlap Without Paint Bleeding
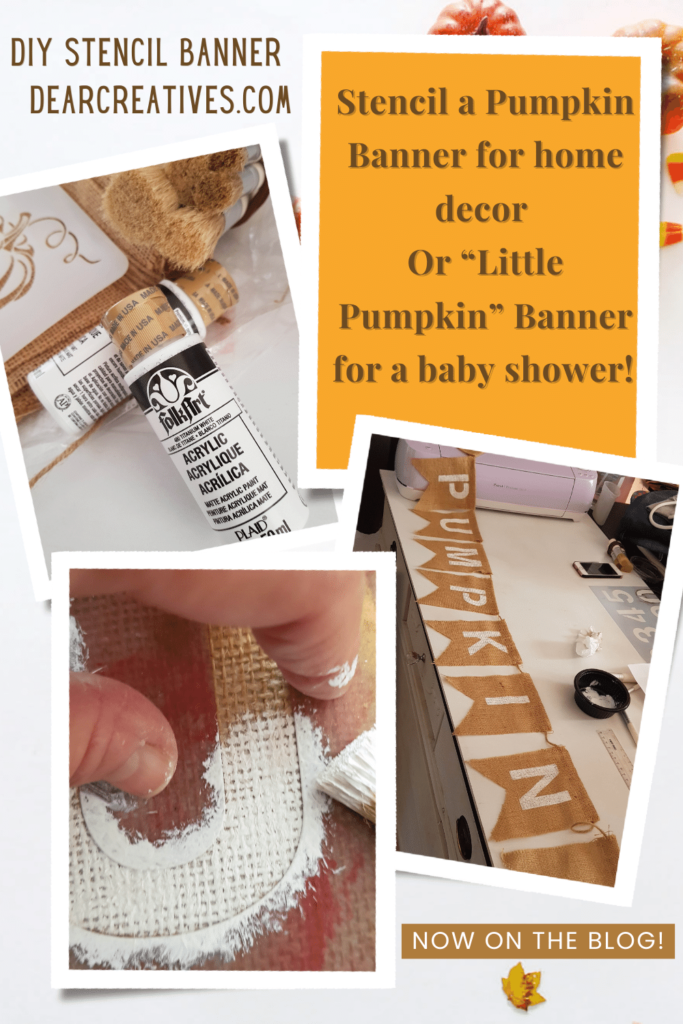
- NOTE: Are you right-handed or left-handed? I am right-handed, so I worked left to right. You want to work so you don't cross over the previously painted/stenciled letter or image.
- NOTE: Be sure to check your lettering layout before you paint. Just in case the letter or image stencil got moved around!
- Don't load the stencil paintbrush with too much paint!
- Lift the stencil straight up off the project after stenciling! This reduces paint smearing.
- Always test the amount of paint on a separate fabric piece or paper towel before applying the paint on the paintbrush to the stencil.
How to Fix Stencil Painting Mistakes
- Use a clean, wet brush with excess water squeezed out.
- A clean, damp Q-tip.
- Or a tiny edge of a damp cloth.
But be careful not to smudge other painted areas.
Remember, practice makes perfect! If you make a mistake, try to clean up areas before they dry!
Should a Stencil Brush Be Dry or Damp?
Stencil brushes are typically used dry or slightly damp, depending on the effect you want to achieve and the type of paint you're using. Here's a general guideline that includes tips:
- Dry Brushing: This technique involves using a dry stencil brush with very little paint on it. This technique is often used for a subtle, faded, or distressed look. Dry brushing creates a soft, textured effect with less defined edges. To do this, load the brush with a small amount of paint and then remove excess paint on a paper towel or palette until the brush feels almost dry. Then, apply the paint to the stencil in a light, stippling, or swirling motion.
- Slightly Damp Brushing: If you want a crisper, more solid stencil design, you can use a slightly damp stencil brush. Moisten the brush with a tiny amount of water (just damp, not soaking wet) and then dip it in your paint. This can help prevent paint bleed under the stencil edges and provide a cleaner, more defined result. Make sure not to make the brush too wet, as excessive moisture can also cause smudging or bleeding.
The choice between dry or slightly damp brushing depends on your project's specific requirements and the effect you desire. Experimenting with both techniques on a scrap piece of material can help determine the best method for your project.
I also like to use a slightly damp brush when the stencil brushes have a lot of loose or misaligned bristles. It helps contain them. I also remove loose bristles that are about to fall off the paintbrush by gently pulling them off the stencil paintbrush. VS. them from falling off while doing the project.
Frequently Asked Questions
What kind of paint works best on burlap?
Acrylic craft paint, multi-surface acrylic paint, or fabric paint. Acrylic paint gives you good covereage and is ideal for decorative banners (that aren't washed). Fabric paint is a better choice if the finished product needs to be flexible or washable. Note: You can mix acrylic paint with a fabric medium to acheive those same results.
How do you keep paint rom bleeding under a stencil?
Use a dry or barely damp stencil brush and apply only a small amount of paint. Dab excess paint onto a paper towel before stenciling. Secure the stencil (with your hand or taped) and apply the paint with a gentle up-and-down motion, and lift the stencil straight up when finished. Practice and test the technique on scrap fabric first to help prevent mistakes.
Can you use regular acrylic paint on burlap?
Yes! Regular acarylic craft paint can be used on burlap. Its thicker consistency will adhere well to the coarse fibers and provides good coverage. Apply light coats rather than one heavy coat to reduce bleeding. For a banner that will be washed or used outdoors, choose fabric or outdoor rated paint instead.
How long should the paint dry before hanging the banner?
Allow the banner to dry falt for at least one to two hours, or follow the directions on the paint container. Drying times can vary depending on how much paint was applied, room temerature and humidity. For best results, let the banner dry overnight (before stacking, folding, or storing it).
Can this technique be used on fabric or cardstock banners?
Yes. You can use the same stenciling technique on other fabric and cardstock banners. Test the paint on scrap pieces first and adjust the amount applied to the brush. Note: Use fabric paints for washable fabric projects. Apply light coats on carstock to prevent the paper from curling or becoming overly saturated.
Here are two videos to help you learn how to stencil:
How to Work With Burlap and Stenciling for Beginners.
We hope this inspires you to make a banner. And stencil a burlap banner! We'd love to see what banners you make! Be sure to tag us on social media @DearCreatives
- New here? Be sure to Subscribe.
- Pin it for Later
- Follow us on Pinterest
- Shop our favorites on Amazon
Little Pumpkin Banner Ideas and Variations
You can use banners for baby showers, fall decor, Halloween, Thanksgiving, and seasonal parties and celebrations.



Pin This For Later
Do you like DIY crafts? Or DIY home decor projects like this? View our Home Decor Ideas (and Home Decor DIYs). I've linked to other craft projects you might enjoy too! Looking for more ideas for fall? Fall Crafts and Fall Craft Ideas.
More DIY Fall Banner Ideas
Find more things to make below!
- DIY Wedding Banner Love is Sweet & DIY Tips
- Mr. and Mrs. Chalkboard Paint Burlap Banner DIY
- Simple Fall Banner
- Fall Banner With Wood Letters
DIY Craft Projects and DIY Home Decor