DIY Crafts Project: Christmas Crafts Holiday Canvas With LED Lights
Do you love Christmas lights, colors, and stories? I have always been in love with holiday lights! I remember when my mom used to take me to Macy's in San Francisco as a child, and we'd go through their holiday floor! The trees are all designed and decorated with themes. They would be all lit up and sparkle with ornaments. Other holiday décor was always there on tables set up here or there. Today I'm sharing a Christmas DIY Crafts project that is really easy, using all things sparkly and bright that come with the holidays.
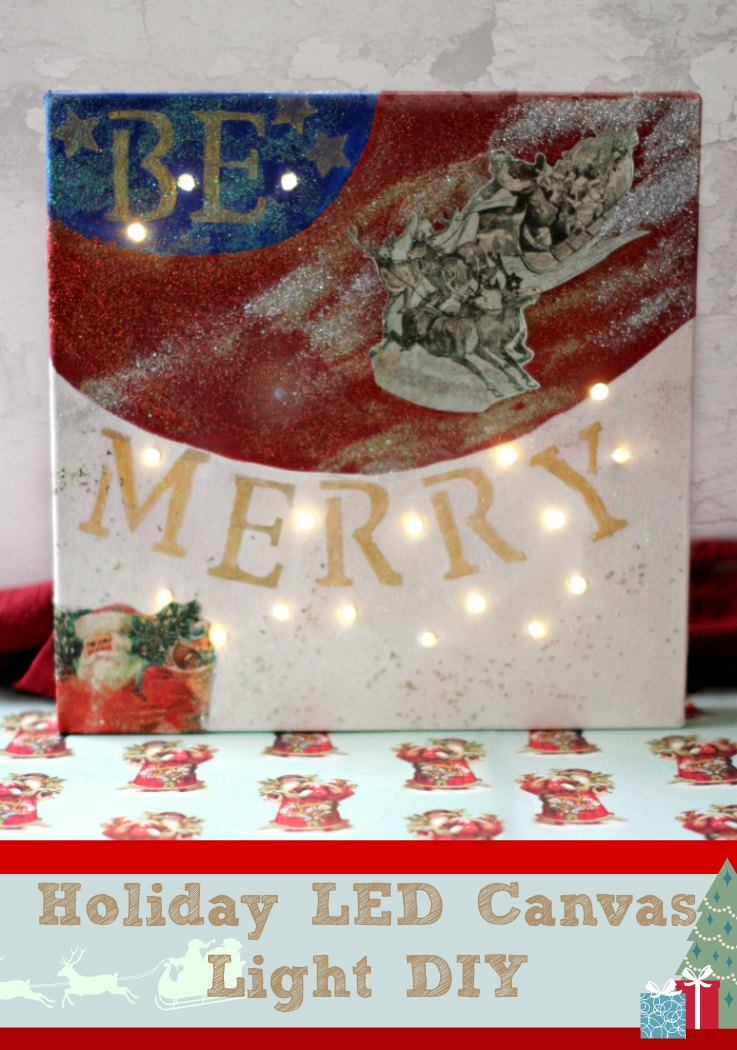
This DIY Christmas Fairy Light Canvas project is totally adaptable to suit your personal taste or style. You can keep the color scheme simple, as I did, or get creative by using Decoupage (Mod Podge) to add beautiful holiday or Christmas scenes to the canvas! After the paint dries, you simply pop holes in the canvas and insert battery-operated LED lights for a gorgeous, sparkling effect.
For this project, you'll need a paint canvas, LED battery-operated lights, acrylic paints, paint brushes, Mod Podge, and glitter.
The first thing I always do is gather all my supplies (full supply list is below). I must admit, when I get creative, sometimes my space gets messy in the process. Does that happen for you?
Christmas Fairy Canvas Supply List
Main Materials
- Paint Canvas size of your choice.
- Acrylic Paints (holiday or Christmas colors, or colors of your choice).
- Paint Brushes
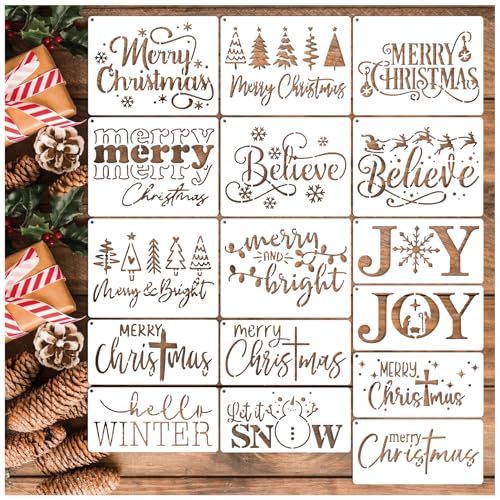
- Stencil brushes (for if you stencil a saying.)
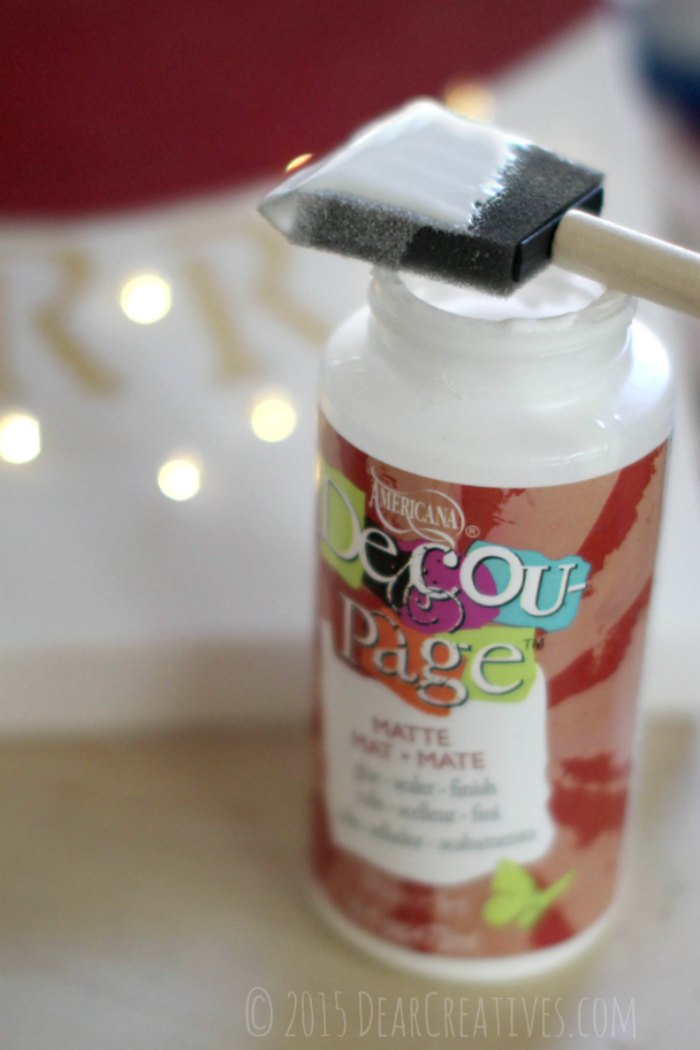
- Foam Brush (for Mod Podge/glue)
- Small paper plates or cups (for the paint container)
- Water container (can be a clean, recycled bowl or container to hold water).
- Paper Towels
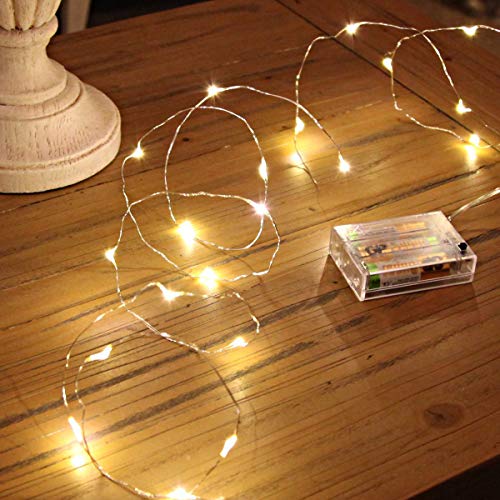
- Fairy Lights (battery-operated).
Tools and Adhesives
- Scissors (with a fine point, my favorite for crafting, detailed cutting) or a Craft Awl, Push pin or thumbtack, or Needle tool.
- Mod Podge
- Masking Tape (Only for the back of the canvas to hold the fairy battery pack in place.)
- Painters Tape
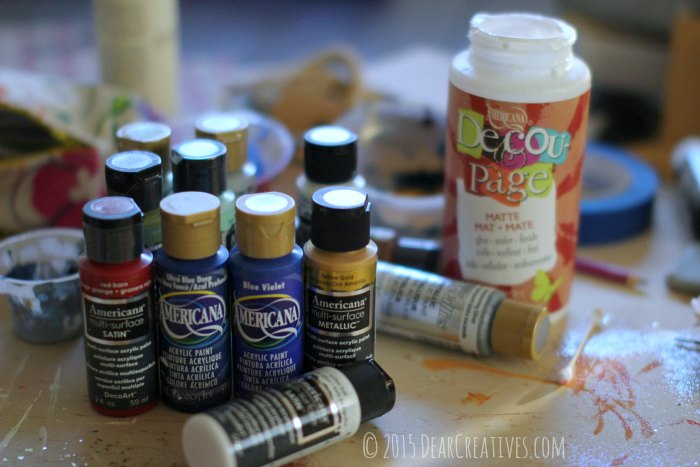
Exact Materials and Colors I Used for my Project
In case you want to make it similar or the same for your home
- Americana Acrylic Paints White
- Americana Acrylic Paints Blue Violet and Ultra Deep Blue
- Americana Satin Barn Red
- Americana Metallic Yellow Gold
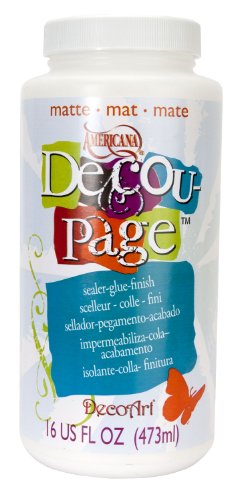
- Americana Decou-Page
- 12 x 12 1-1/2″ cotton canvas
- Led battery-operated lights
- Holiday scrapbook paper
- Scissors Cutter Bee Precision Scissors (The best for detailed paper cutting)
- Assorted Paint Brushes of Different Sizes
- Foam Brush
- Fine Glitter
- Leaf Glitter (the flaky glitter at the bottom of the canvas)
- Mod Podge
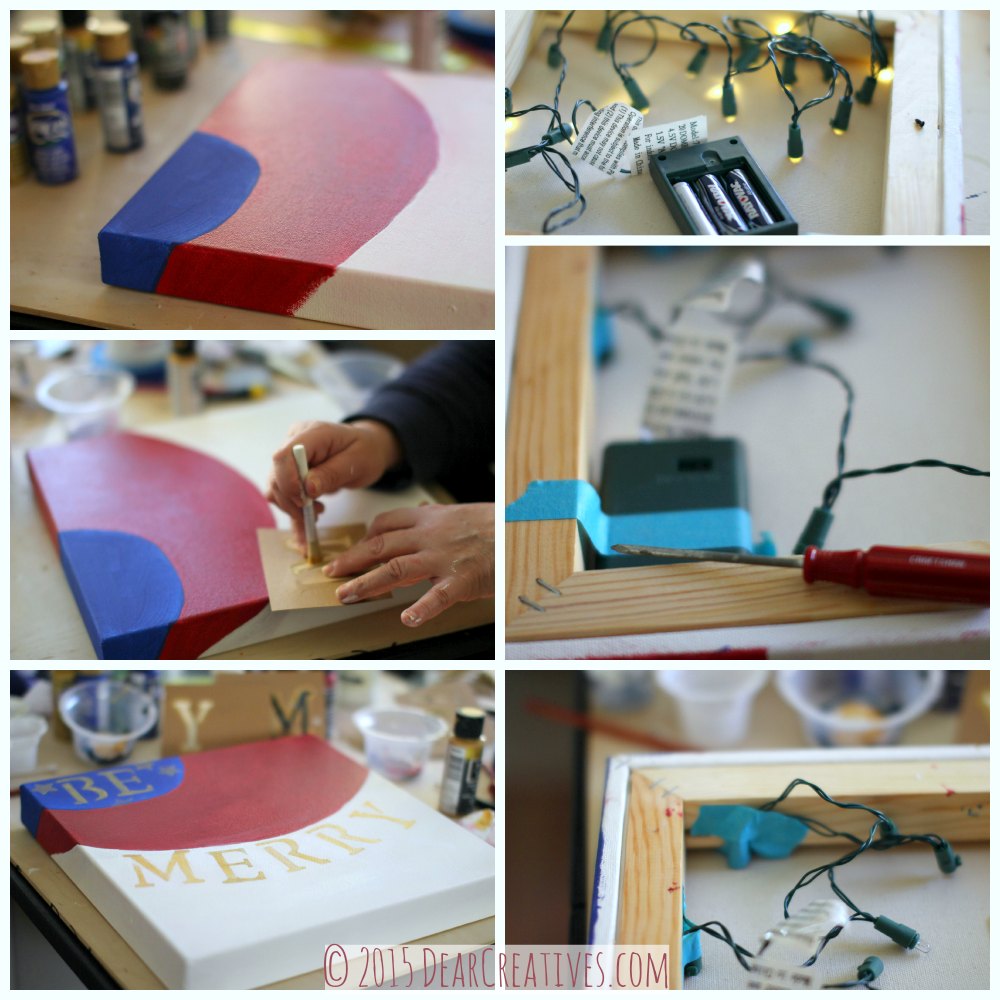
For this project, the craft paint and glitter were flying after I decided on my paint project design. You can click to enlarge the image for the steps.
Step-by-Step Instructions: Creating the Light Up Canvas
Tip: Be sure to place the lights away from the frame when punching a hole for lights to pop through
- Paint the basic design, let it dry, and flip to the back
- I knew I wanted a holiday saying, so I picked “Be Merry.” I stenciled it onto my canvas.
- Next, decide on the placement of lights for proceeding to any detail painting or deou-page
- Add your batteries, test your lights put the cover on.
- Tape the battery case out of your way
Close-Up Photos and Detailed Steps
I started at the top of my canvas, stretching out lights with the idea of having a few at the top. Then I stretched the lights out on the back side of the canvas and worked my way over the canvas.
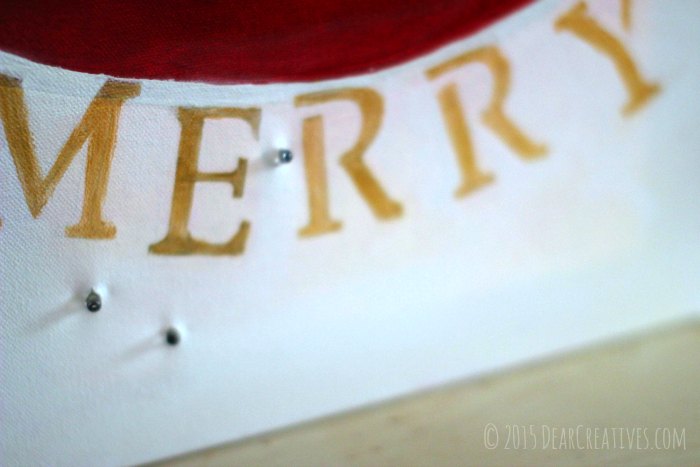
Flipping back to front to see where I would put the hole, then punching a small hole. I worked one by one until the area had a balanced feel. Once my holes were punched, I used the thin end of sharp scissors and cut the canvas slightly to be able to insert the light from the back to the front.

Be careful and make small holes. Canvas is pliable, so you don't need to cut very large holes. Only big enough to push them through.
This is the finished product after the glitter process, close up. (Adding the image and glitter process is the next step once the lights are pushed through.)
Get out your glitter and Deou-Page for these next steps! I love using paints and glitter on a lot of Christmas craft projects. Don't you?
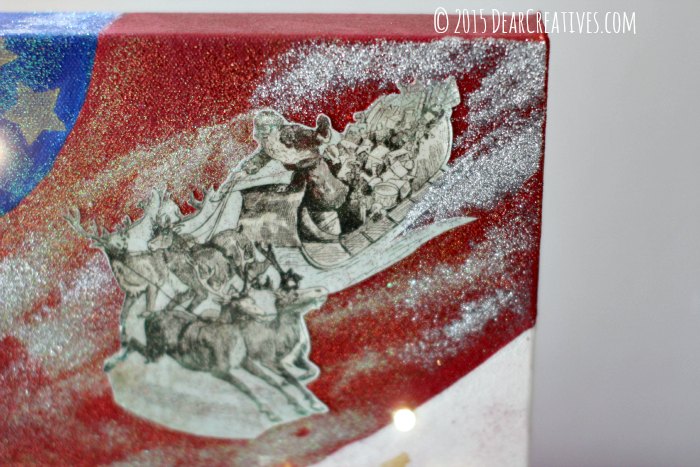
Next, I added my scrapbook paper images. I cut them out with my favorite detail-cutting scissors. I glued them to the canvas and then started adding glitter to help tell the story and make the canvas sparkle.
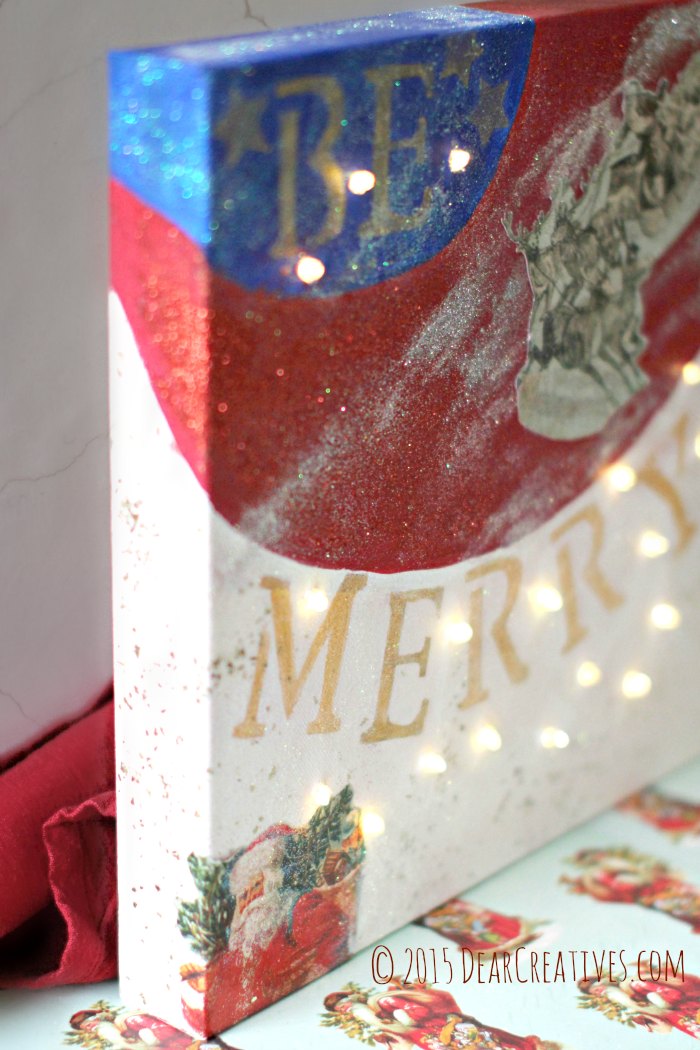
Create your own story on canvas for the holidays or anytime.
We set ours on our piano. It looks so pretty lit up for the holidays with other Christmas decorations around it!
Here's a behind-the-scenes shot. I always protect my table surface by using a thin plywood sheet of wood.
- New here? Be sure to Subscribe.
- Pin it for Later
- Follow us on Pinterest
- Shop our favorites on Amazon
Today's Christmas DIY Crafts Project was previously brought to you by DecoArts.com. As one of their core bloggers, they asked me to create an LED Holiday Canvas project to share with you.
What ideas would you like to try on your LED canvas craft project?