This post contains links to affiliate websites, such as Amazon, and other affiliates. We receive an affiliate commission for any qualifying purchases made by you using these links. This is at no additional cost to you. We appreciate your support!
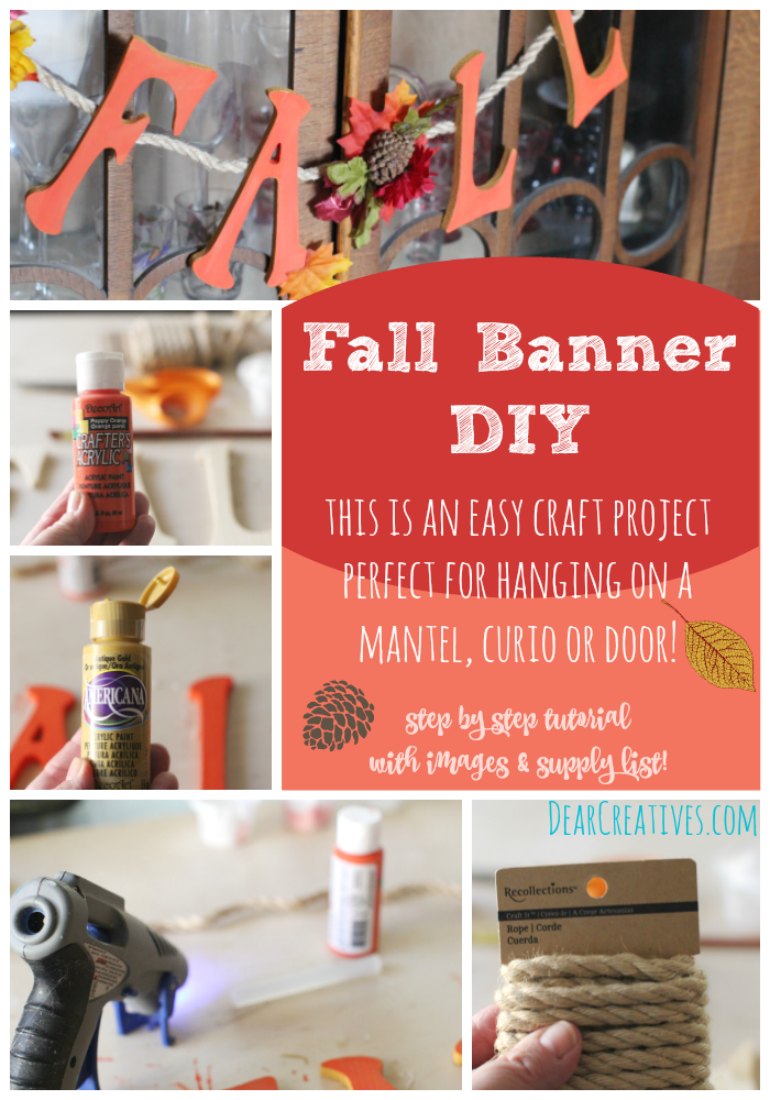
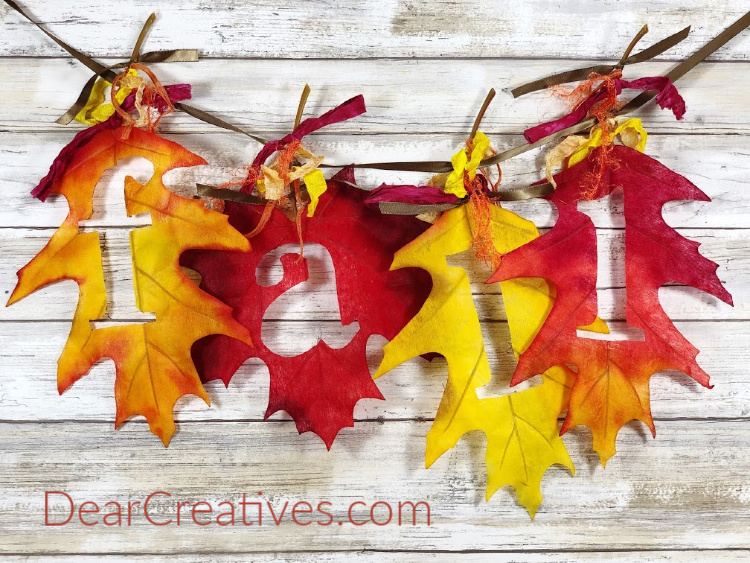
You know how much I love the fall season! I enjoy a good DIY craft project, but like you, I don't always have time to finish everything I start. That's why I designed this DIY Fall Wood Banner—it’s a quick project that delivers high impact.
This rustic banner uses simple materials like wood letters, jute rope, and faux fall leaves/pine cones to create a beautiful, personalized piece of autumn home decor. I truly believe anyone can make this! I hope you enjoy making this seasonal project as much as I enjoyed designing it. Grab your supplies and let's get started!
Are you looking for something else to make? See all our fall craft ideas.
I'm into making quick and easy fall projects that I can hang up right away. I hope that you enjoy making this seasonal fall project.
You don't need a lot of supplies. Some you may have around your craft room or stash. Which makes this a budget-friendly fall craft. You can make this or put your own spin on today's project. Below, I have had a full tutorial to show you how to make this fall banner to hang in your home. Use the supply list if there is anything you need, and follow the directions. Let's get started on this craft!
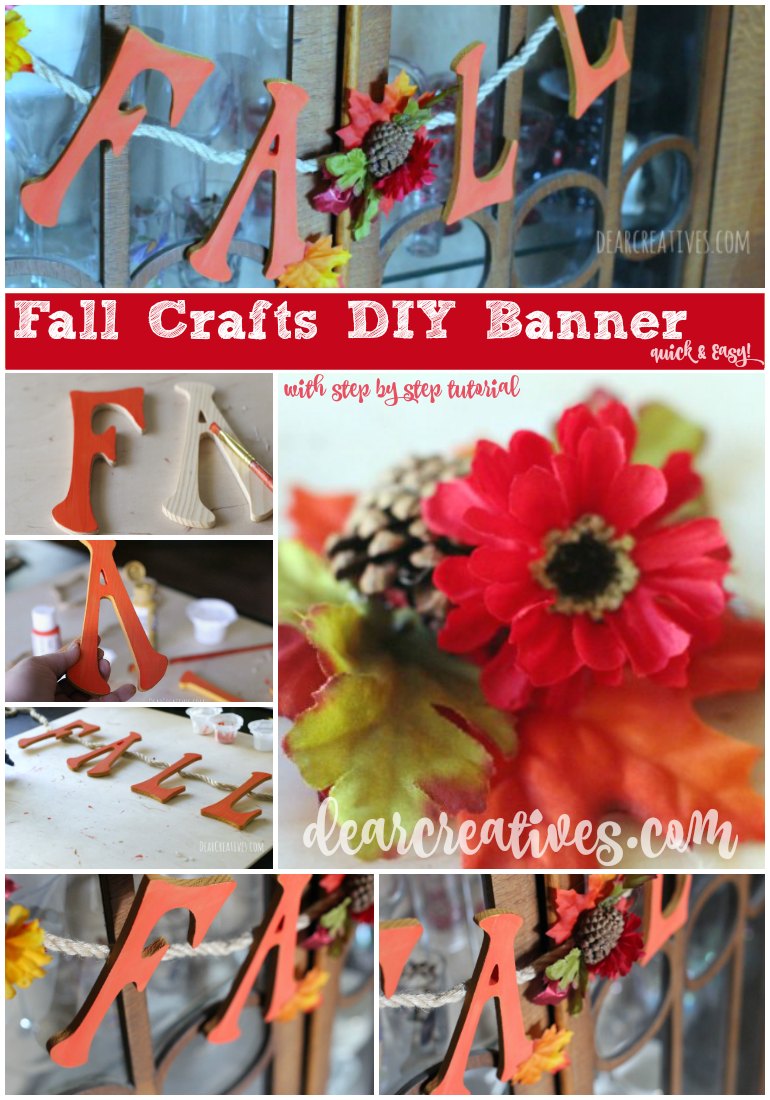
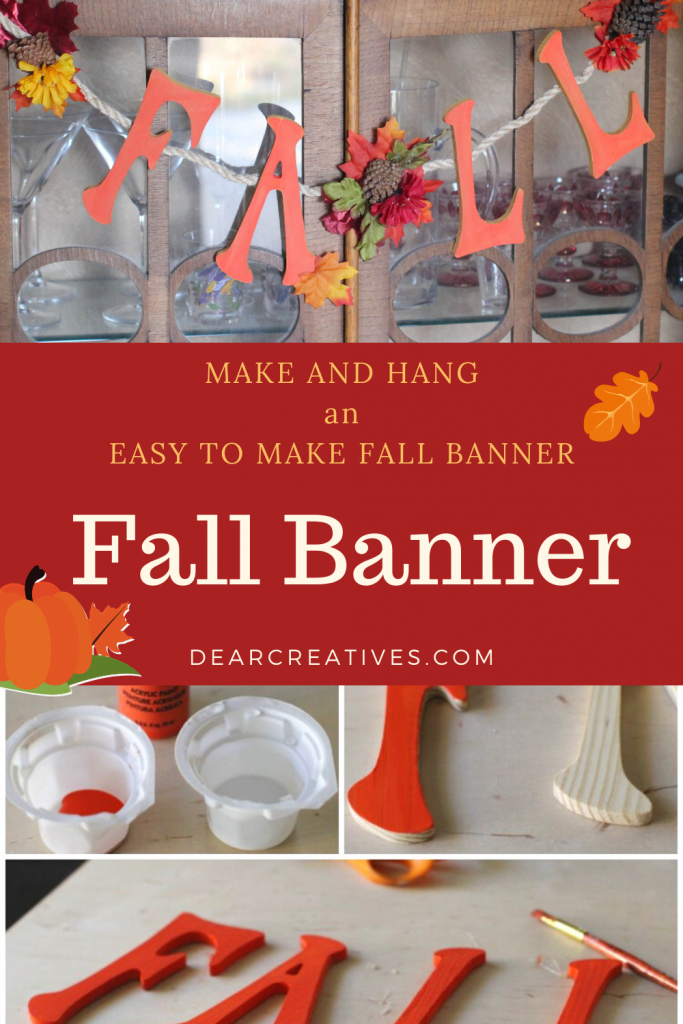
DIY Fall Wood Banner
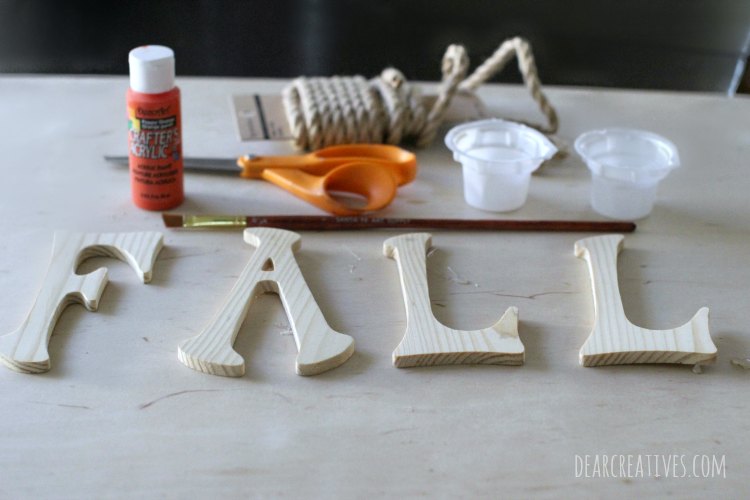
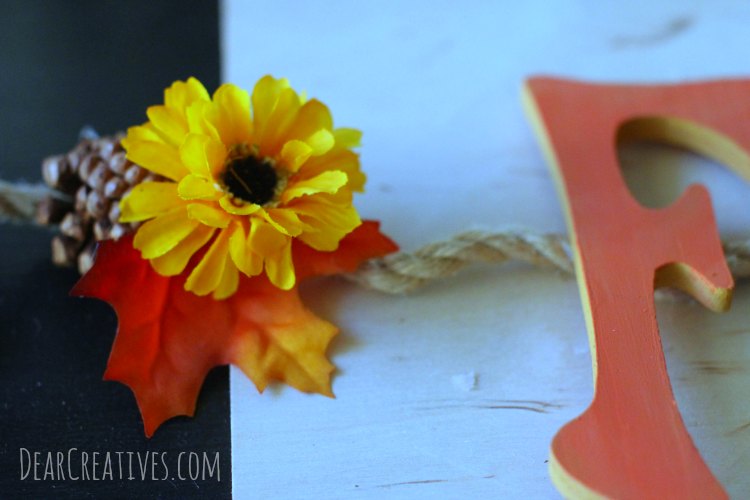
To make this fall banner you just need two colors of paint, large twine/rope, wood letters, flower pack pine cones, and a glue gun along with glue sticks… See the full supply list and instructions below.
Craft Supplies Checklist
I purchased some of my supplies on Amazon and at Michaels Crafts. With Prime, you can't beat free shipping.
water and paint containers or a paper plate. (I use something from the recycle for this.)
An optional piece of scrap wood or tarp to protect your work surface or use a work surface or outdoor table…
Other helpful tools:tweezers (to use when hot gluing) and straight pins (for pinning the faux leaves or flowers in place to hot glue.)
Instructions For How To Make a Wood Fall Banner
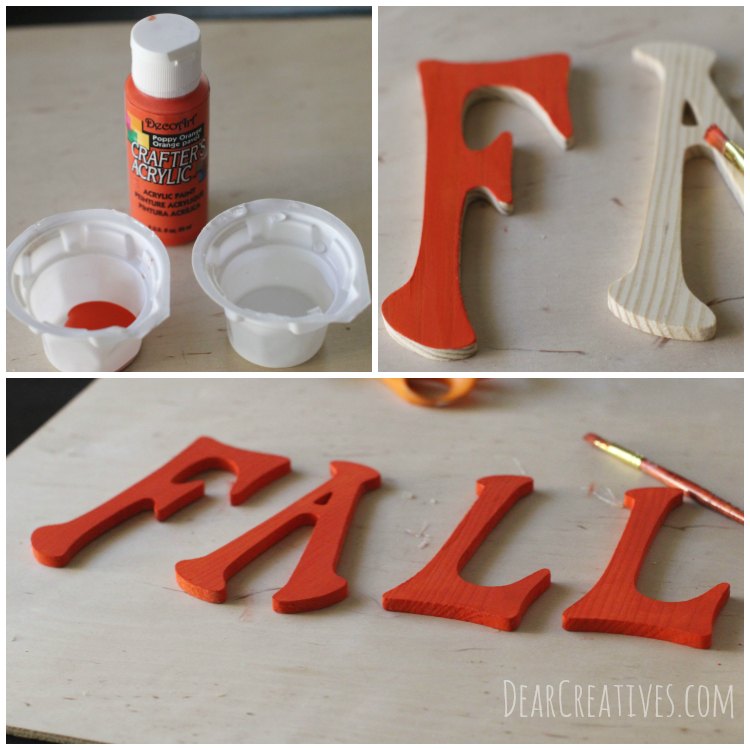
Paint the wood Letters
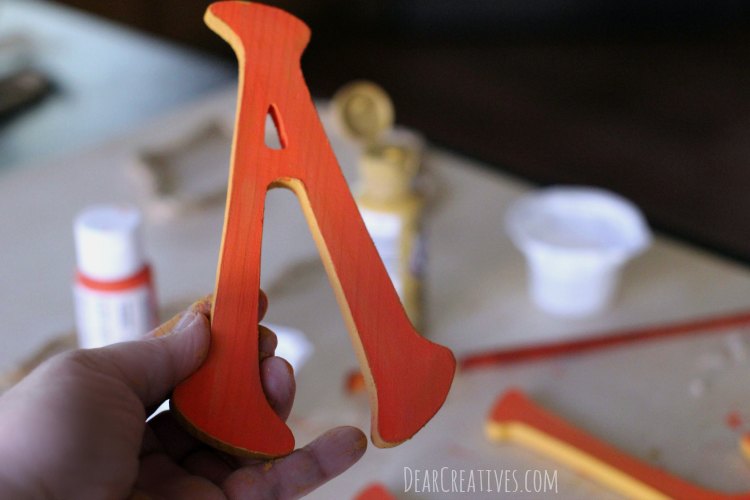
Most wood letters come almost ready to paint. If needed, sand and wipe clean before painting. Dampen your brush, squeezing out excess water. Dip in paint and paint all your letters the color you picked. I picked a deep orange color.
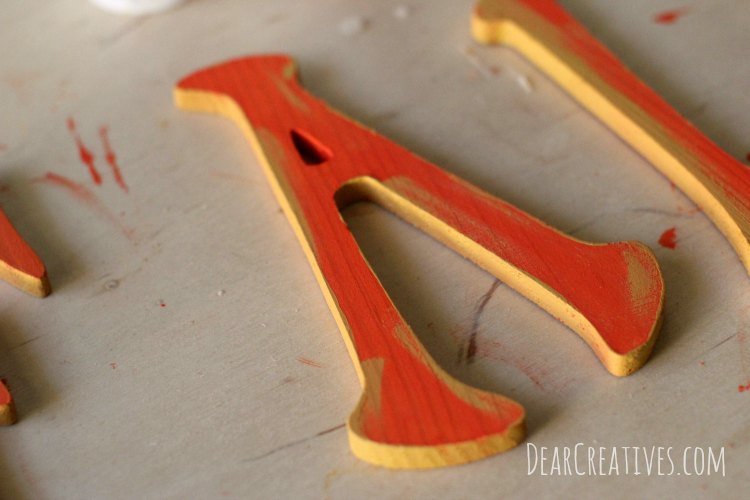
Add the accent paint
Next, while your paint is semi-wet. Take your gold and paint the sides and the over parts of the top. This will give you two tones and hints of occasional streaks of gold.
You will cover this up with the orange again, so it's just peeking through. If you look closely at the front of the letter, you can see the gold that has been covered. Then wait for it to dry before touching up any on the inside edges.
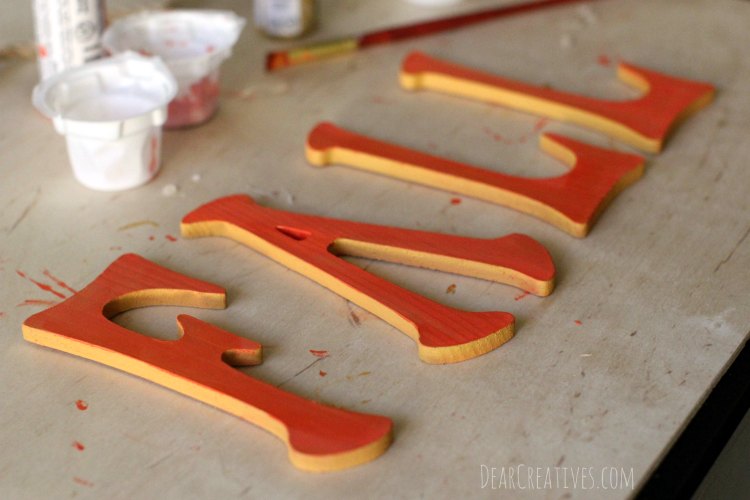
Touch up the main paint color
Do this to each letter one by one. Remember to let it dry and touch up as needed. Using an angled brush for this part is helpful. It allows you to get close to edges while not getting onto other surface areas.
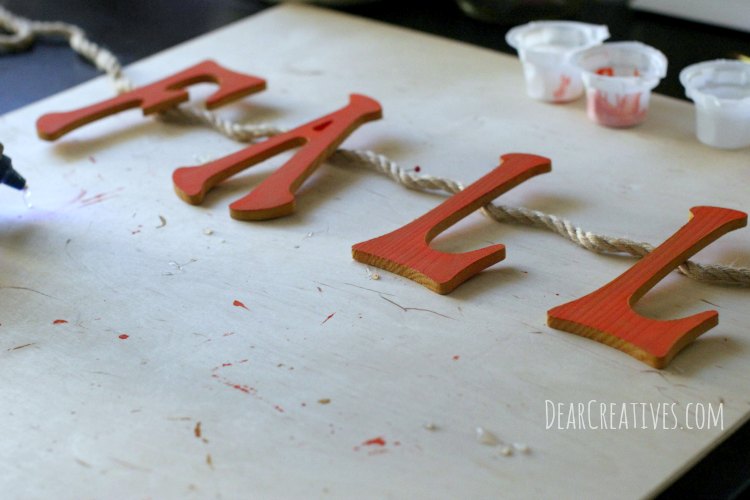
Let it dry, and prepare the jute rope or twine
When completely dried, measure your rope to where you want to hang it. Give yourself at least a few inches extra on each side (3 to 4 inches extra for each side). Measure from the middle and place letters down equally spaced. Set them into place, then hot glue them down one by one. Use a good amount of hot glue; be careful when gluing. You can see the pin that I marked the middle with on the rope in the image above.
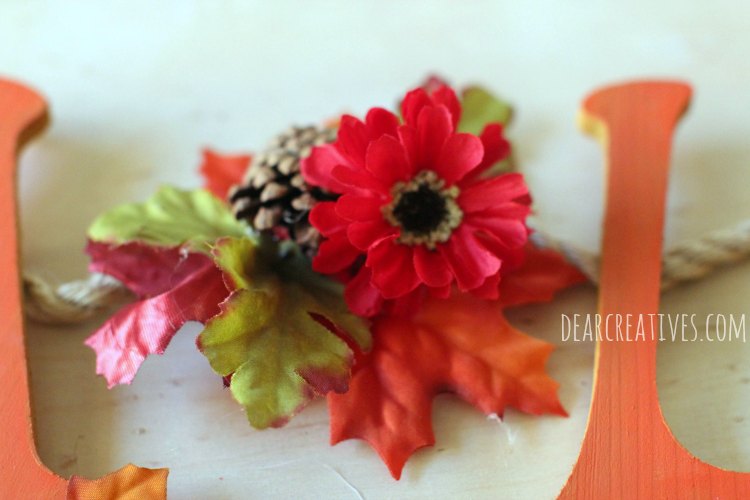
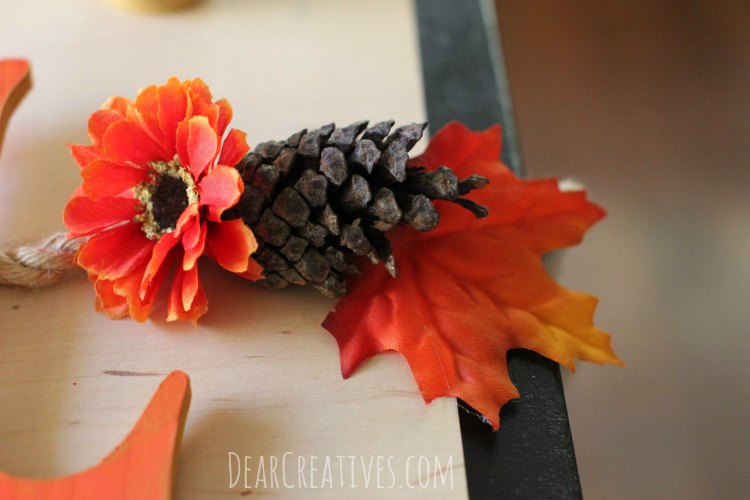
Embellish with faux flowers, leaves, and pinecones in between the letters.
Now, take leaves and pine cones, making mini arrangements in between your letters. Then glue them into place. I use tweezers so as not to burn my fingers! You can easily pull the glue off your tweezers when dry, but dedicate that pair to crafting.
Tips for adding the floral embellishments and arrangements to your fall banner
Arrange flowers, leaves, and pine cones off the rope.
Groupings of odd numbers help balance and create interest.
Make adjustments prior to the glue drying onto the rope.
Then add pieces one by one to the rope, creating your pre-arranged idea.
Use tweezers when gluing down to protect your fingers.
Adjust as needed as you work along.
Let the glue harden all the way before lifting.
Finishing off the banner
On each end, I create one leaf, flower, and pine cone for an arrangement to embellish the rope. I didn't keep the flowers in the same colors. You can create yours any way you like!
It's all about creating interest and balance. You can't go wrong with fall colors!
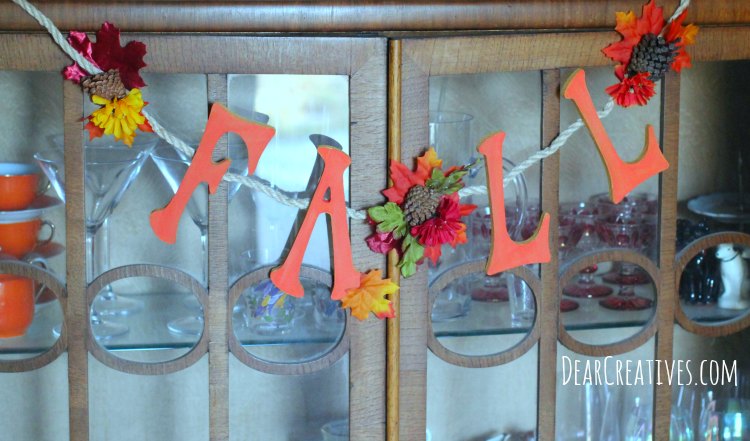
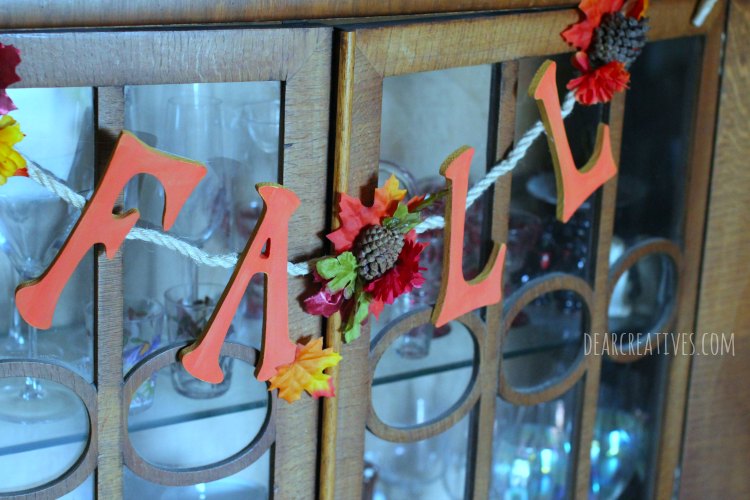
Tada, the Fall Banner is done!
Find a place to hang the banner in the home!
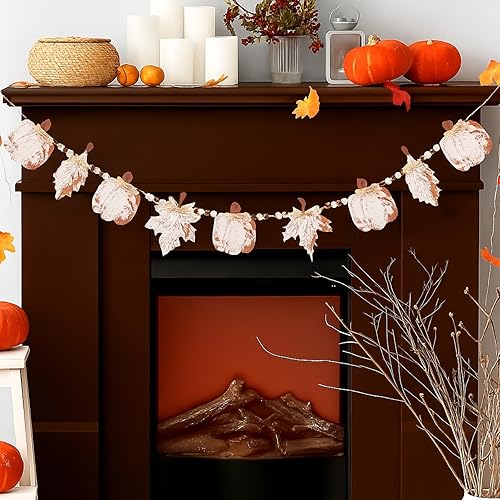
Then hang yours anywhere you like! I hung it on my curio in my entry area for the photo. But, I just might hang it on my mantel with my fall home decor.
What a pretty banner! Something like this would look great hanging from my mantle. I will have to see if I can find wood letters at my local craft shop. Pinned.
Hi Jen, Thanks for the compliment and pin! Share it with me when you make one. I look forward to seeing yours!!
This is cute for Fall and really looks easy enough to do with my gbaby. I think Fall is one of her favorite times of year.
Be sure to share yours with us if you make a fall banner!
Oh my word, how cute is this?!? I need to take a trip to Hobby Lobby to make this happen!
Hi Julie, If you do I hope you share it with us! Thanks for stopping by.
pine cones, and a glue gun along with glue sticks… See the full supply list and instructions below.
paintbrush angle


What a pretty banner! Something like this would look great hanging from my mantle. I will have to see if I can find wood letters at my local craft shop. Pinned.
Hi Jen, Thanks for the compliment and pin! Share it with me when you make one. I look forward to seeing yours!!
This is cute for Fall and really looks easy enough to do with my gbaby. I think Fall is one of her favorite times of year.
Be sure to share yours with us if you make a fall banner!
Oh my word, how cute is this?!? I need to take a trip to Hobby Lobby to make this happen!
Hi Julie, If you do I hope you share it with us! Thanks for stopping by.