Pioneer Dress DIY- Little House on the Prairie Costume Part 1
Ready to make a Prairie Dress, Pioneer Dress, or Little House on the Prairie Costume? About the time I was working on my youngest daughter's costume and Halloween Ideas, my second youngest daughter, Krissy, asked if I could make a prairie costume for my granddaughter Audrey.
Prairie Dress DIY
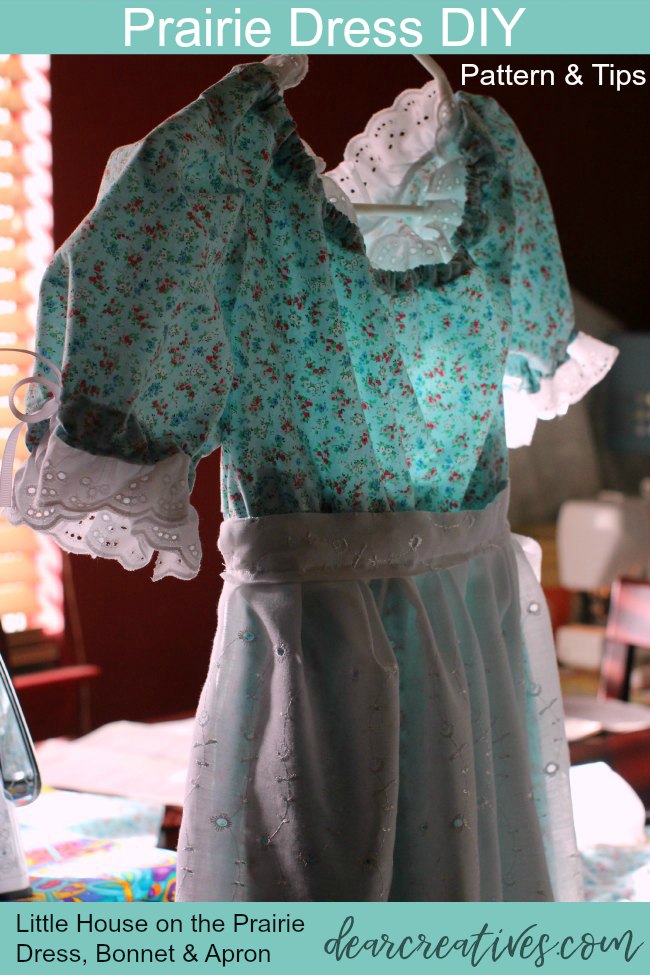
They are reading through the Laura Ingalls Wilder books
I hope these prairie dress costume diy and sewing tips help you when you are ready to make a pioneer dress costume. You can use this prairie girl costume
for Halloween, Old Fashion Days and Pioneer Days…
Although this dress is for a girl, the tips will help you when sewing any size prairie dress.
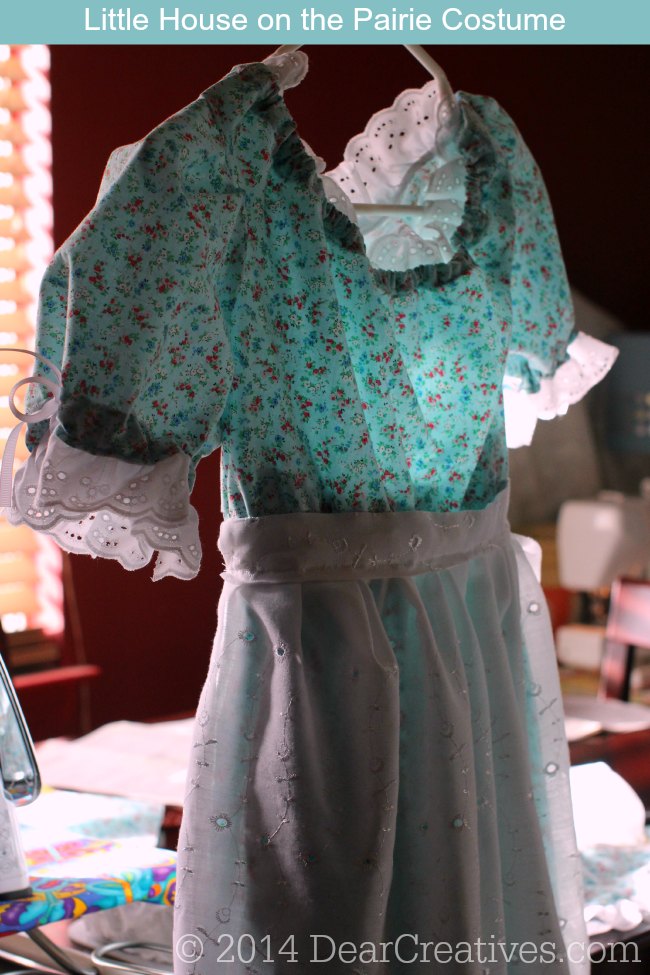
How to Make a Prairie Dress
It took one day for the prairie dress construction (layout, cutting, and sewing) and one day for the bonnet hat and prairie apron. Then time to finish the hem on the dress. I had everything I needed prior to starting the prairie dress, and had read through the pattern before ordering what I needed to start. See Part Two for more tips. (link at bottom of post)
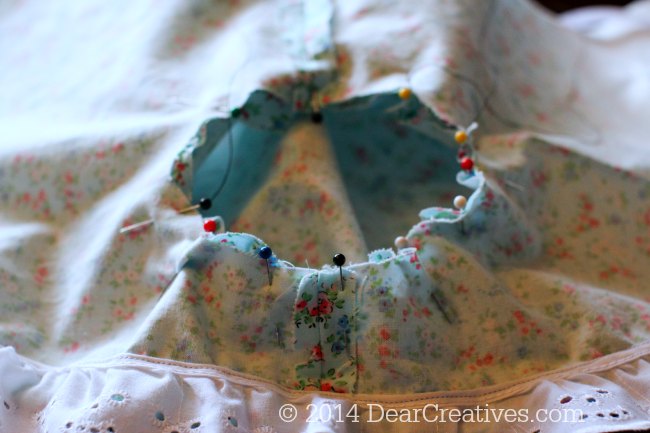
This pattern has quite a few places where you'll want to pin and baste to make sure your placement is good prior to sewing! This video may be helpful to you- Making the sleeves
It's not hard with practice. Just follow the directions on the pattern, view the video, and go slower when sewing. When sewing, move and adjust the fabric while you are sewing around the sleeve. Above is the sleeve pinned.
Laura Ingalls Wilder Costume
- I did make a few alterations to the Little House on the Prairie pattern.
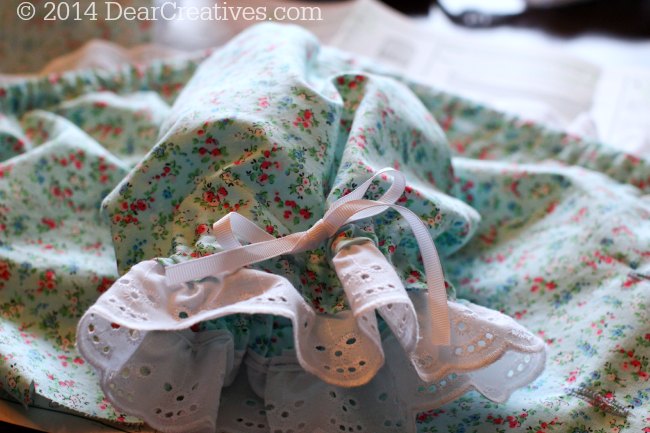
For the Sleeve construction and ribbons
- Looking back at the bottom of the sleeve's construction, as cute as the ribbon is for the sleeve, read the notes below.
- On the sleeves, I changed this to elastic and tacked on a bow vs. creating button holes and stringing lace to create the gather.
- NOTE: Be sure to sew (tack) your ribbon in place so it doesn't come undone during wearing the costume or gentle washing.
Tips for adding the ribbon to the sleeves
I am recommending this because: Even with the extra ribbon length, when Audrey was playing in the dress, the sleeve ribbon came untied, and she lost it. Luckily, I had brought the extra up with me, re-cut, laced through the sleeve, and tied. This time, I used a safety pin to hold it in place under the ribbon tie until I had time to tack it in place. But, then it can't be altered for loosening if someone with a larger arm width uses the costume. Pick what works best for your needs.
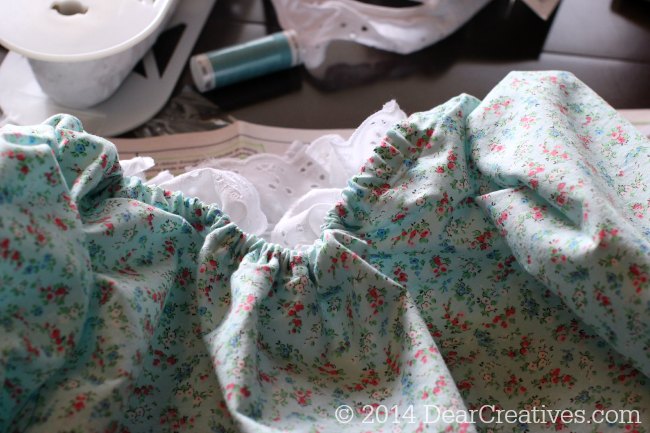
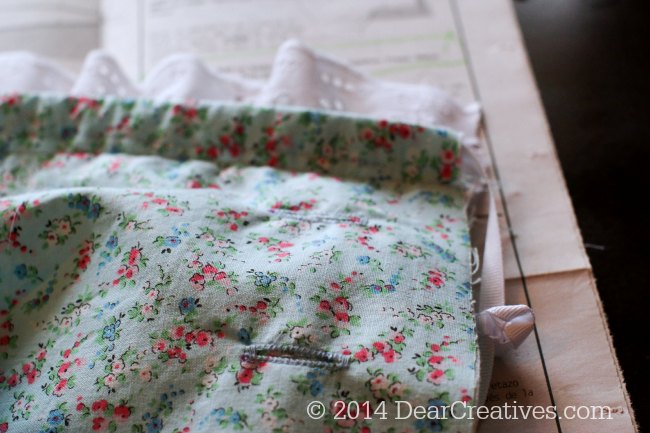
For this pattern, you create a casing and thread ribbon to use around the neckline as well as the sleeves, as shown above.
I used more than ample ribbon, so this area wasn't a problem. Tomorrow I'll show the back view, where you can see what I'm talking about. When adding the eyelet lace at the neckline and sleeves, I used a larger width than called for. It's what I had on hand and ended up working really well.
And I pinned it in place before sewing. New to making dress casing? See this video tutorial: making casing and threading elastic. But, follow your pattern directions for making it on your dress.
Button Holes!
I hadn't made button holes in years! I almost avoid patterns with them. Call me chicken. lol They always seemed so complicated. But I didn't realize this pattern had them. Game on! I pulled out my buttonhole foot
Are you new to adding buttonholes? See these video tutorials for how to make a buttonhole
Both of these have great tips.
Remember, you will need a seam ripper

Guess what, it wasn't as hard as I thought! And they came out pretty! Can you hear the Mario Brothers music as I level up?!!
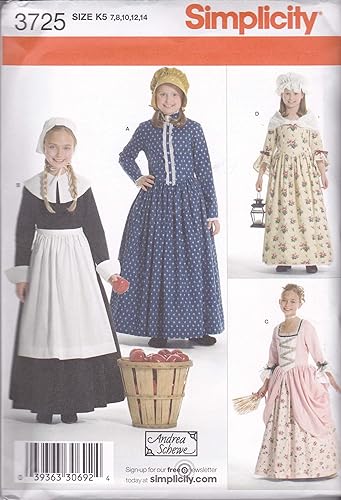
- The pattern listed below comes in several sizes. We used sizes 7-14for girls.
Prairie Dress Pattern, Fabrics and Notions List
- Sweet Shoppe Petite Nosegay
- Eyelet Fabric
- Notions and Interfacings
- Little House on the Prairie Pattern
- Pin it for Later
- New here? Be sure to Subscribe.
- Pin it for Later
- Follow us on Pinterest
- Shop our favorites on Amazon
See part 2 of the making of the prairie dress, bonnet, and apron.
Part 2 Prairie Dress Costume DIY
- How to sew a bonnet
- Apron for the prairie dress
- More prairie dress sewing tips
Want to sew more costumes? Visit here: Sewing Costumes.
Is this the first time you are sewing a prairie dress?


Can’t wait to see how it turns out
Hi Cajun, Thanks for dropping by!
I love the fabric Theresa, and waiting to see the result
Here we don’t celebrate Halloween but have another holiday (in a few months) in which we all wear costumes. My Mom used to make me a different one each year 🙂
Hi Winnie, Thanks me too. Oh, I’d love to know what your holiday is called. It’s fun to see the traditions of other places. Halloween actually started in Ireland.
I am so impressed by anyone who can sew clothes! The most complicated thing I sewed was a bedskirt, and that was actually pretty simple. Granted, I don’t remember how to use my sewing machine any more, but maybe one day. Looking forward to seeing the final product!
Hi Bev, It just takes a little time to get used to reading the patterns and at least somewhat following the directions. Sometimes I have to veer off a bit to get it done but, try to get the finished look as much as possible. If you get back to trying just start with simple projects and keep going. I try not to pick things too complicated. lol You should pick it back up.