How to Sew Sassy Slippers with Foam Inserts (Easy DIY Tutorial)
This sewing tutorial was originally published in 2012 and has been updated with additional resources to help you make your own sassy slippers. While some of the original guest images are no longer available, the step-by-step instructions remain below.
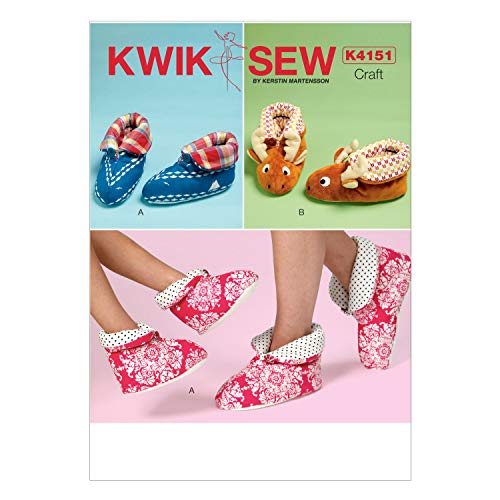
Looking for more options? I’ve included updated slipper patterns and helpful video tutorials to guide you.
Today I have Sarah here, guest posting with a great tutorial which is perfect for making your own DIY slippers! She includes easy step-by-step instructions and a template. You might end up making more than one pair after this guest post! Now onto Sarah's tutorial!
Updated 2026: Sassy Slippers Sewing Tutorial
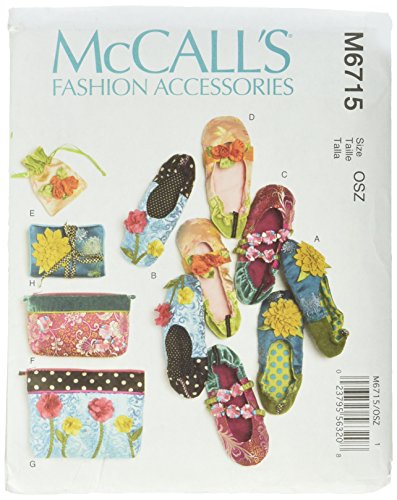
D.I.Y. slippers! Oh yeah! Can you really ever go wrong with a pair of fabulous slippers? Don’t your feet deserve some awesome foo-foo feathers and bling? Yes! These are surprisingly easy to make and so much fun! I rarely get the opportunity to go so over-the-top with design because trims and plush fabrics are really expensive. But with slippers, you don’t need that much fabric, and it gives you the opportunity to experiment with materials (like foam) that you may not have otherwise used. The template provided below is for oversize slippers, but feel free to take the pattern in for smaller feet. Don’t be afraid to embellish the heck out of your slippers. The crazier, the better!
Sassy Slippers with Foam Inserts
Supplies For Sewing Slippers
- ¼ yard of Terry
- ¼ yard of plush type material (Minky great)
- ¼ yard of slip-resistant material
- ¼ yard of batting (or a Fat Quarter-sized scrap is fine)
- Walking Foot/ Even Feed Foot (need it to sew the slip-resistant fabric, but can be hand sewn)
- ¼ yard of Foam (1 inch thick)
- ¾ yard of trim (feathers/faux fur/whatever you like)
- A package of sequence and matching beads
- 2 Moon buttons
- Clear thread (for sewing the beads and sequence)
- Hand sewing needle
- All-purpose thread
- Universal needle 80/12
- Scissors or rotary blade and mat
- Utility razor
- Note: All seams are ¼ inch.
How to Sew Sassy Slippers with Foam Inserts
Instructions
Step 1
Print out the provided template. Each template should take up the whole length of the computer paper when printed. If you're having trouble, make sure “full-size photo” is selected in your print settings. This pattern can be reduced to fit children, as well. Simply take the printed templates to Kinko's and have them reduced.
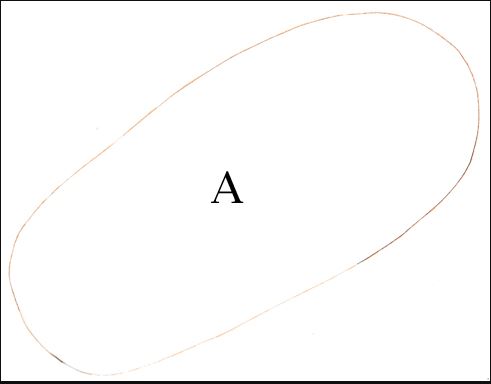
Cutting The Pattern Pieces
- Cut 4 from terry fabric and 2 from foam. Using a utility razor was the easiest way to cut the foam.
- Cut 4 from plush fabric and 2 from batting.
- Cut 2 from slip-resistant fabric (remember to flip over).
- Cut 2: 1 ½ inch by 20-inch strips from terry fabric. This strip will be referred to as template D.
Step 2
- Layer your plush fabric (template B) right sides together, then place quilt batting on the bottom.
- Sew along the inside ‘U' shape. Flip right sides out. You just made the slipper tongue!
Step 3
- Place slipper tongue and one of the terry cut-outs (template A) right sides together. Sew the outside ‘U' (where your toes would go).
- Push the ends of the tongue a little out to the side. This is just for a smoother transition. You can trim down the ‘dog ears'.
Step 4
Using a walking foot (or by hand sewing), sew down the slip-resistant fabric (template C) to the other terry cut out (template A). This is going to be the slipper sole.
Step 5
Attach 1 terry strip (template D) around the sole of the slipper, right sides together. Sew the ends together and cut off any excess material.
Step 6
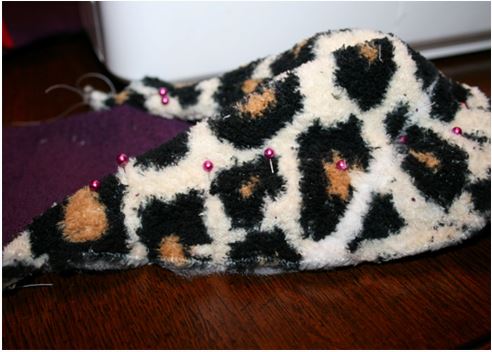
- Attach the top of the slipper (one with the tongue) to the strip you just sewed, right sides together. Leave an opening at the heel so you can turn the slipper right sides out. It is helpful to pin the pieces together with the foam in the middle for support. Simply slip the foam piece out through the opening when you're ready to sew on the machine.
- Turn Rights sides out. It will look like this:
- Flip the tongue to the other side.
Step 7
Insert foam. Fold in the raw edges and sew the opening closed by hand. I did a simple whip stitch.
Finishing The Slippers
Step 8
Hand-sew any sequence, beads, and/or button embellishments using clear thread. Slip the needle between the layers of the tongue to keep the thread hidden. Hand-sew the trim along the edge of the tongue the same way with a simple straight stitch.
Tada! You Made The Fabric Slippers.
Congratulations! You just made some awesome, one-of-a-kind slippers! Don't be surprised if your friends and family start begging you to make them some cool slippers. If you really dig making slippers, you can get professional, supportive soles sewn into the slipper bottoms for around $30 at a shoe repair shop.
I hope you enjoyed this tutorial, and Happy Sewing!
Free Slipper Sewing Patterns and Tutorials
Free Slipper Sewing Patterns
- Free Quilted Slippers Tutorial: In this tutorial, you will see how to make the pattern for the top of the slippers!
- How To Make Cozy Slippers: Elastic in the heel and a cross-front slipper.
- How to Make Fabric Slippers (Tutorial and Pattern)
- National Quilters Association: Sassy Slippers Video and Free Pattern. Free pattern and video tutorial.
- Free Slipper Sewing Pattern and Instructions that go with the first YouTube Video Tutorial below.
Video Tutorials for Sewing Slippers
Video for How to Make Women's Slippers
DIY Slippers Video
Tips for Sewing Slippers That Fit Well
- Trace your foot on paper and then add 1/8th inch around the slipper perimeter. And then also add a 1/4 inch to 1/2 inch seam allowance.
- If you have high arches, add extra height to the pattern piece.
- Test mockups with less expensive fabric.
Frequently Asked Questions
What fabric works best for sewing slippers?
Medium-weight cotton, canvas, flannel, or fleece works well. For more structure, add fusible interfacing or a foam insert.
Can beginners sew slippers?
Yes. If you can sew straight seams and turn corners, you can make simple slippers using this tutorial.
What can I use for slipper soles?
Foam inserts, fleece layers, batting, or non-slip fabric can be used depending on comfort and durability needs.
- New here? Be sure to Subscribe.
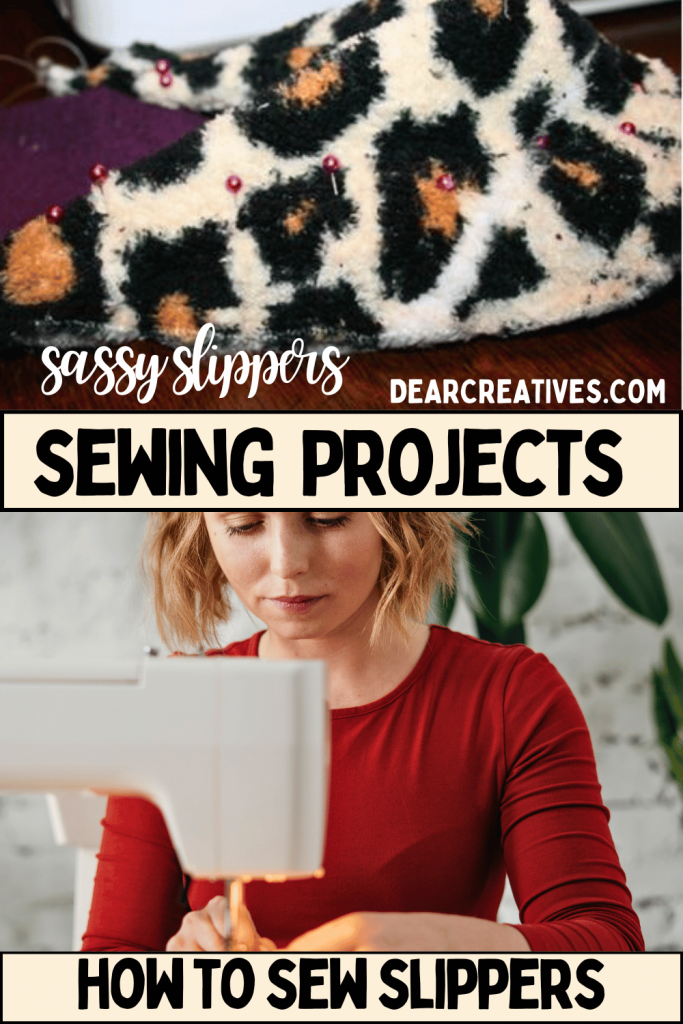
- Pin it for Later
- Follow us on Pinterest
- Shop our favorites on Amazon
More Sewing Projects To Make
Any of these projects makes great handmade gifts!
- Baby Booties Sewing Pattern and Review: How to sew baby booties.
- 10 Zipper Pouch & Non-Zipper Pouch Tutorials
- Zipper Pouch Tutorial
- Wide Mouth Zipper Pouch Tutorials
- How to Sew Placemats
- Sew a Kids Tote Bag
- Cow Doll Sewing Pattern and Review
- Sew a Babydoll Tank Top
- Sewing category


Wow!! So impressive!!! Why can’t I sew!!????
My cat Vera would LOVE all those feathers running around on my feet 🙂
I will have to get the courage to try Sarah’s tutorial I have never sewn with foam. She makes it look easy! I love how sassy they are.
Great Tutorial, I Love lots of pictures 🙂 Now maybe I’ll be able to make my own for this winter! I’m pinning this for later. Thanks!
Hi Anna, I hope you share when you make your slippers! Thanks for stopping in!