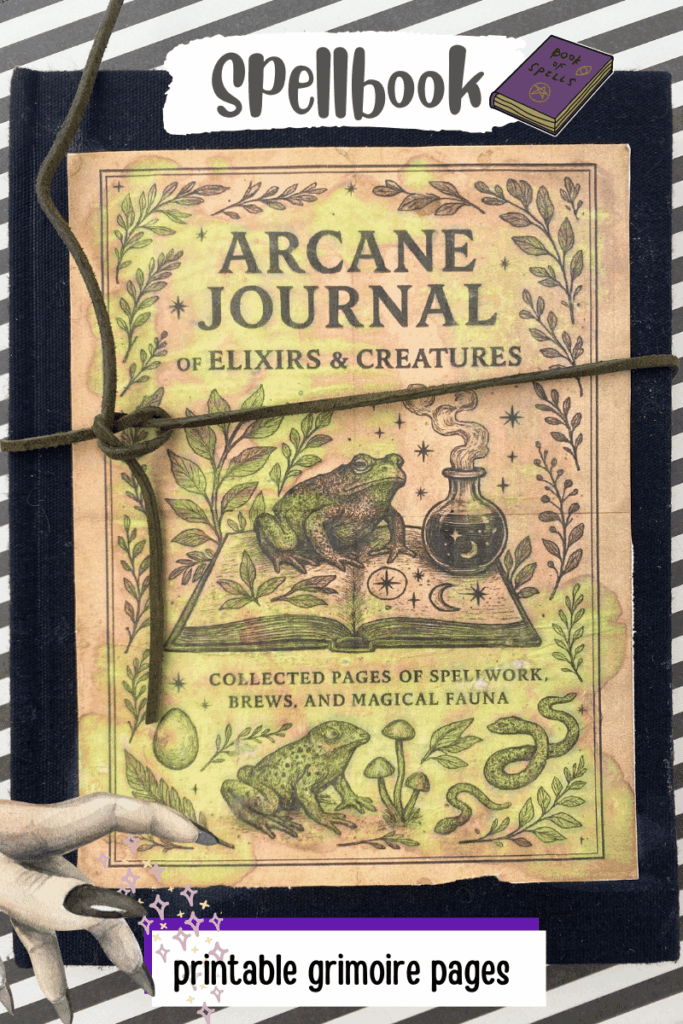
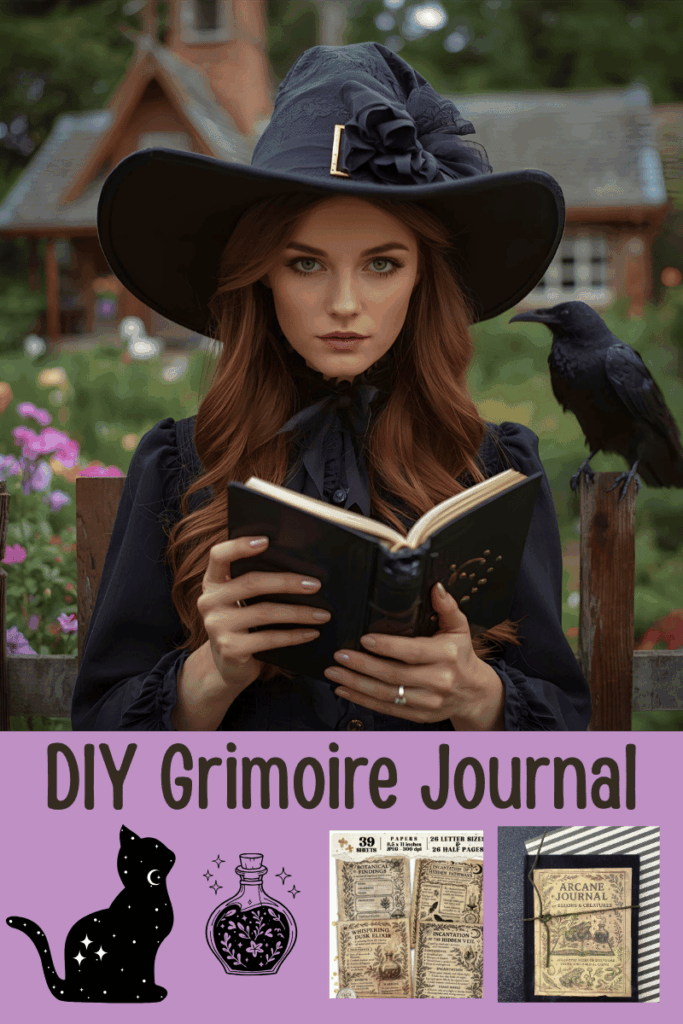
How to Make a Spellbook Journal: A Grimoire Printable from Etsy
Are you a lover of all things vintage, magical, and handcrafted? If you're looking for a fun and easy project to express your creativity, then you're going to love this. Today, I'm going to show you how to make a beautiful grimoire journal using a stunning printable from Etsy. This project is perfect for anyone interested in witchy vibes, the dark academia aesthetic, or simply creating a unique spellbook or diary. Ready to start your next creative endeavor? Let’s get crafting!
Whether you're a seasoned crafter or just looking for a fun and unique project, this DIY grimoire journal is for you. With Halloween right around the corner, this can be a great finished witch decoration to add to your witchy vibes and witch decor. We'll show you how easy it is to make your very own spellbook and add a touch of magic to your home.

What is a Grimoire Journal?
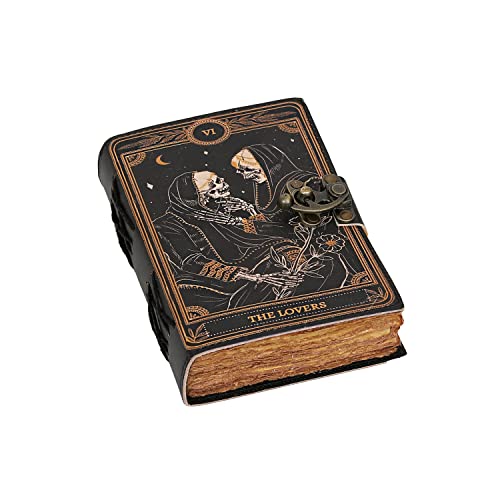
A grimoire journal is a beautiful, vintage-inspired notebook that falls under the Dark Academia aesthetic. It's a place to collect your favorite notes, sketches, quotes, and thoughts in a way that feels intentional and magical. Think of it as a personal collection filled with old-world charm, aged paper, and unique ephemera.
Why This Grimoire is a Perfect All-Year Craft.
- Witchcraft or mystical practices.
- Junk journaling or paper crafting.
- Dark academia or vintage aesthetics.
- Creating a unique, personalized book for spells, notes, or memories.
- DIY a spellbook journal with a witch aesthetic
- Green witch, good witch… discover and journal journey.
How To Make a Spellbook
Supplies You'll Need
Materials:
The Best Grimoire Journal Printable from Etsy
- The Etsy Printable: Grimoire Journal & Spellbook
- Paper (white)
- Old book pages (and ephemera)
- Glue: YES, all-purpose stick flat glue.
- Scissors
- Journal Sizes: 4×6 journal, 4×6 pocket notebook, 4.5×7 moleskin, or 5×7 journal or 8.5×11 journal. Or repurpose an old journal like I did.
- Wax Paper
Tools: (The items you use to assemble the project)
- A computer or iPad, and a Printer to download and print the files.
- Bone Folder or Rolling Brayer
- Foam brushes
- Paper cutter
- (Optional) Stapler
- The Etsy Printable: GRIMOIRE JOURNAL • 26 Printable Spellbook
Additional supplies if you are making a booklet: Black Cardstock Paper for the cover and back cover. You can print and make your journal full-page or half-page. Add the pages to white paper or cardstock paper. Staple it together.
Step-by-Step Guide: Making Your Own Grimoire Journal
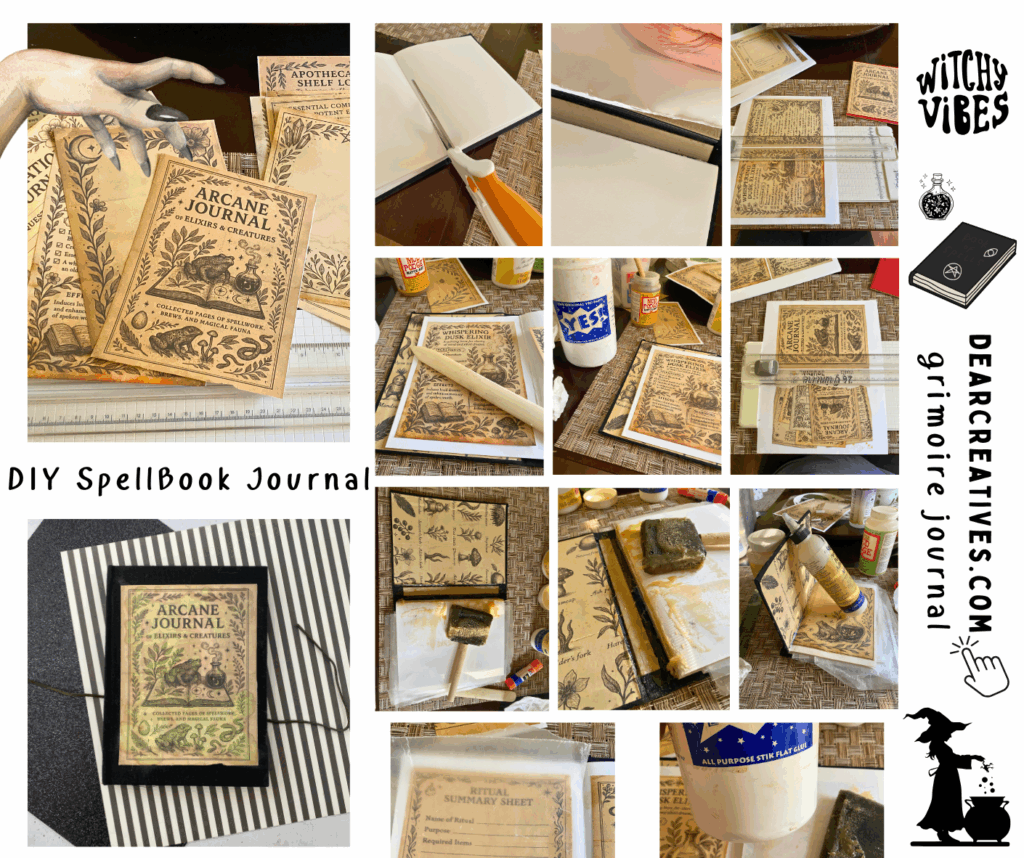
- Print the 26-page printable: GRIMOIRE JOURNAL • 26 Pages Printable Spellbook.
I used the letter-sized option, 2 per page at 200%. See notes. - If using a new journal or making a booklet, skip to the next step. Using an old journal: Remove used pages from the old journal and pages you won't use. Leave a few extra pages. Keep the book spine intact, but separated.
- Use the paper-cutter to cut the pages apart. Then, trim any edges with scissors if needed.
- Glue the pages to the journal book. Use a boning stick or a brayer/roller to smooth the glued page. Wipe off any excess glue. Add a layer of wax paper between pages.
- Add and glue a large inside cover image and the opposite inside cover page.
- Reassemble the cover and secure the binding with glue. Let it dry completely!
- Once the journal dries, you can use it, display it, add stickers to it, or use it for your seasonal decorations and decor.
Watch The Video Tutorial
Tips for Making Your Journal
- Download and print the files. I printed 2 pages together, using 8.5×11. The settings are 200%, on one sheet, pick the pages you want to print, or print the entire set. Or print them full-page for 8.5×11. Or half page. I recommend using print preview for the best results.
- Don't rush the process. Rushing can lead to ripping or tearing, as well as glue mistakes.
- Make sure the grooves of the paper cutter are clean. This helps pages not tear or bunch up.
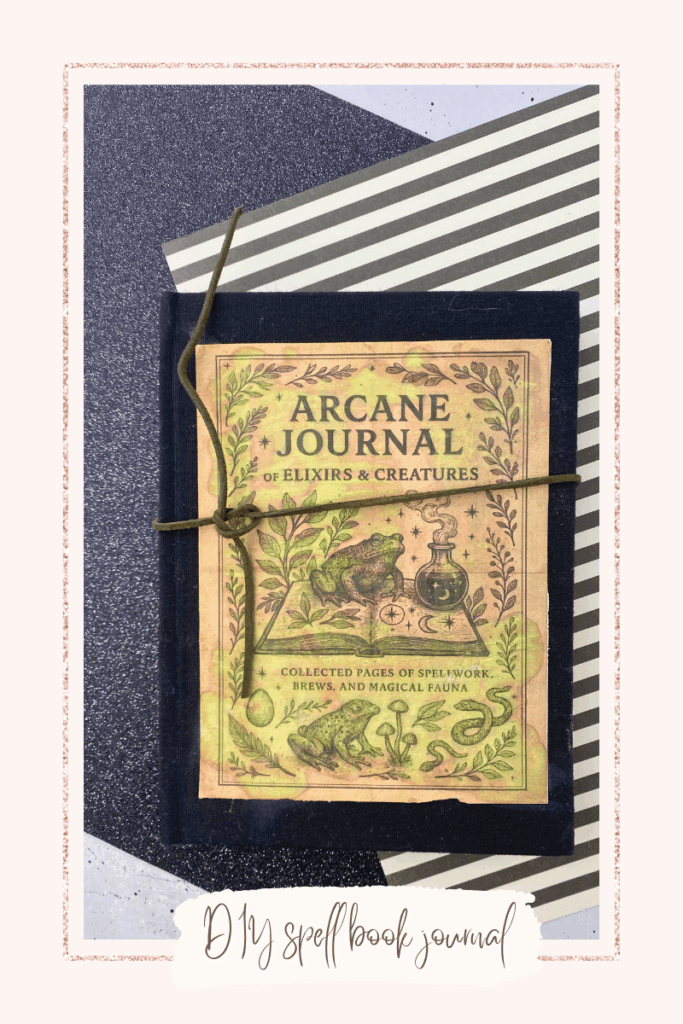
- Use a journal that has stronger or thicker paper pages. Using a black journal or journal cover will give it the classic witchy look. I did link to black notebooks that would work for this project, but the journals are better.
- You can make your own journal by using the cardstock paper for the cover and white paper (or cardstock) to glue the printed spell book journal pages onto.
- Or repurpose a journal book like I did for this project.
- Wax paper is a must; it will help keep pages from sticking. You also need to lift the wax paper from the paper during the drying process.
- Having a boning tool or brayer tool will keep the glue even and spread it in-between the pages. It also helps smooth out any bumps.
- Mistakes happen. Just like Bob Ross said, “Happy Accidents“. I used a Mod Podge glue (that was old) for the cover, and it turned it greenish. I'm not mad, it gave it an even more vintage-Halloween, witchy vibe. After I found the Yes glue in my supplies bin, I used that on the entire project.
Best Glue for Journal Crafts
- We used Yes! Paste because it’s a favorite among paper crafters. This non-liquid adhesive is completely acid-free, which makes it perfect for preserving your pages without yellowing over time. It won't cause your paper to wrinkle or warp, and its smooth consistency is perfect for adhering intricate ephemera and full pages cleanly and easily. Using a paste/glue like Yes will allow you to adjust the printable on the journal page for a minute or two. And it dries quickly and is great for adhering. Pop over to see the list of benefits to using this glue! It's my favorite for projects like this.
- PVA Glue is the gold standard for its archival quality and strong, clear finish. It's the most reliable choice for a project you want to last. Find one labeled as “acid-free” or “archival.” It's great for paper, dries clear, and is very strong.
- Tacky Glue is fantastic because it has a thicker consistency and a stronger initial hold, which prevents your pages and ephemera from shifting while the glue dries.
Glues Not Recommended for This Project
- Mod Podge: If you're creating a collage look or want a sealer, Mod Podge is a perfect choice. It's a glue and a sealant in one, so it can be used to both adhere the paper and provide a protective top coat. But, not my top pick for this project.
- While glue sticks are quick and easy to use, they are not the best choice for this project. They often have a weak bond that can cause pages to come loose over time, especially with a journal that will be handled frequently. Additionally, they are typically not acid-free, which means they can cause your paper to yellow or become brittle over the years. For a keepsake project like this, a strong, archival glue is the best option to ensure it lasts. Glue sticks will not work if you are gluing the book spine or cover.
This craft project can be done in an afternoon. Or over a few days, or even a week. I did mine in one afternoon.
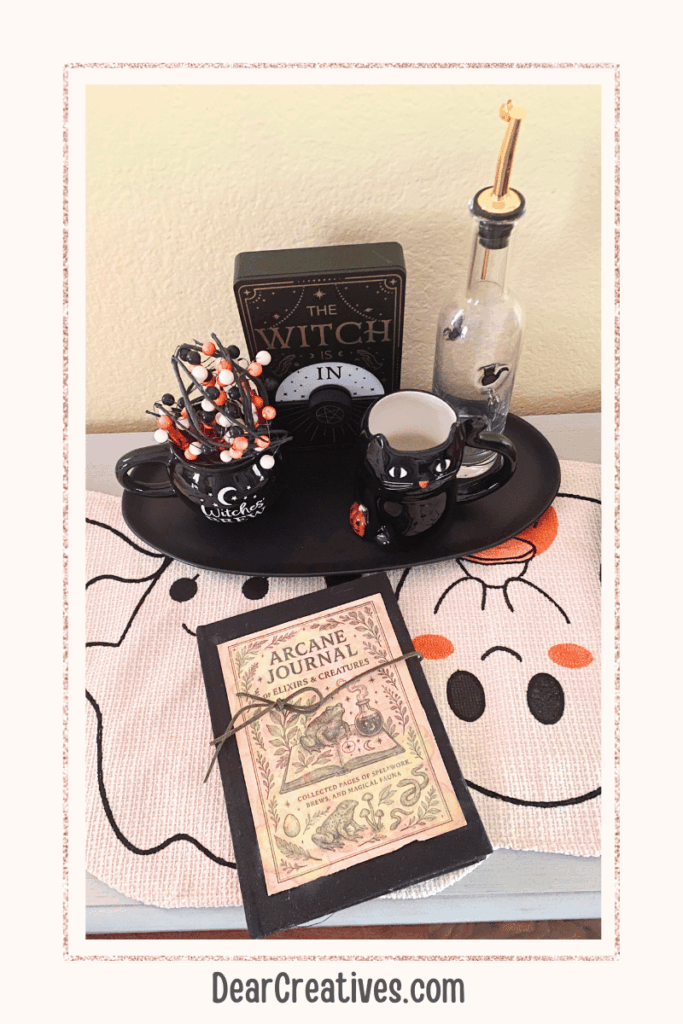
Why a DIY Grimoire Journal is the Perfect Halloween Craft
With Halloween coming up, this DIY Grimoire Journal is the perfect spooky craft to add to your collection. Unlike some decorations you can only use once, this finished witch journal can be displayed on your mantel, coffee table, console, or bookshelf as a unique piece of witch decor. It's a great way to add some authentic witchy vibes to your Halloween decorations and will definitely be a conversation starter!
This DIY grimoire journal is a fun and easy project that allows anyone to create something truly magical. Whether you simply print and staple the pages into a booklet or add them to an old journal, the process is incredibly rewarding. With all the beautiful witchy ephemera in the Etsy printable, you'll have everything you need to start your own unique spellbook journal today.
Happy Crafting & Journaling!
- New here? Be sure to Subscribe.
- Pin it for Later
- Follow us on Pinterest
- Shop our favorites on Amazon
Share Your Finished Project!
We'd love to see what you create with this kit. Be sure to tag us with your finished projects! @DearCreatives on Instagram and Threads or on our Facebook page.
Shop The Printable
Ready to create your own unique grimoire journal? Get the 26-page spellbook printable and start creating today!