DIY Felt Leaf Coasters + Free Maple Leaf Template
Are you looking for felt coasters to make? Make a set of DIY felt leaf coasters for your fall table or give them as a handmade hostess gift. This easy felt craft uses simple hand-sewing and embroidery stitches. This makes it a fun project for beginners.
Download the free maple leaf and circle templates, choose your favorite fall-colored felt, and follow the step-by-step instructions below. You can also use the leaf pattern for other fall sewing and craft projects.
Looking for more ideas? Browse our other [felt crafts] and [DIY coaster projects] to make.
DIY Felt Leaf Coasters
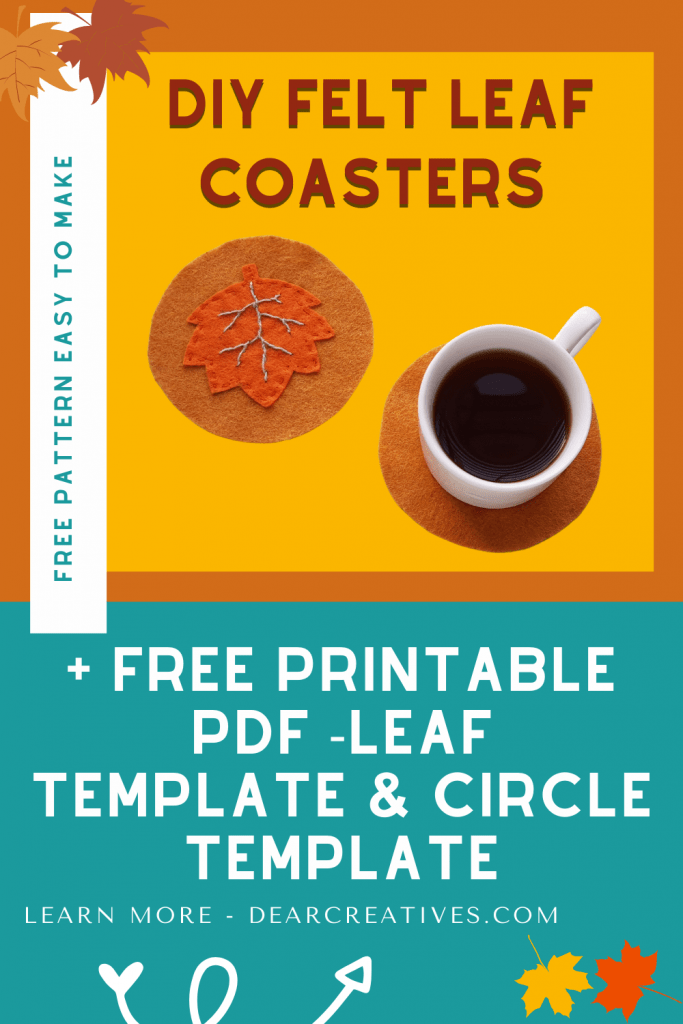
Use the maple leaf and circle templates to make these felt coasters—or adapt the patterns for another fall craft. You only need colored felt, embroidery thread, a needle, and scissors. This beginner-friendly project uses simple hand-sewing and embroidery stitches. Let’s get started!
This is a fun and easy fall craft project using felt! Be sure to tag me on social media @DearCreatives with your finished felt craft project!
- New here? Be sure to Subscribe.
- Pin it for Later
- Follow us on Pinterest
- Shop our favorites on Amazon
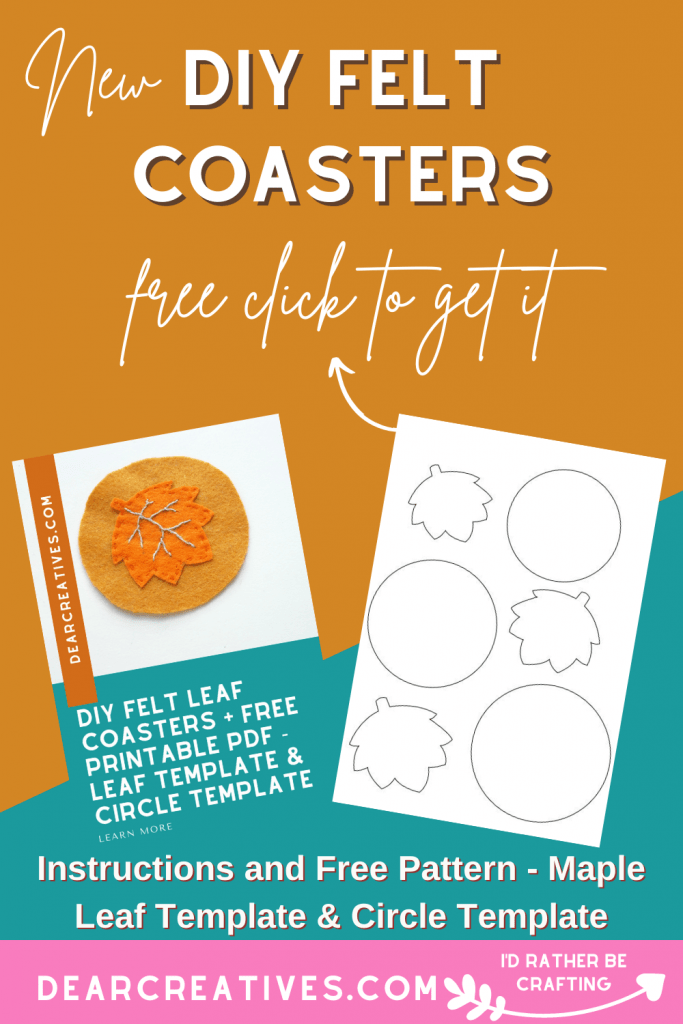
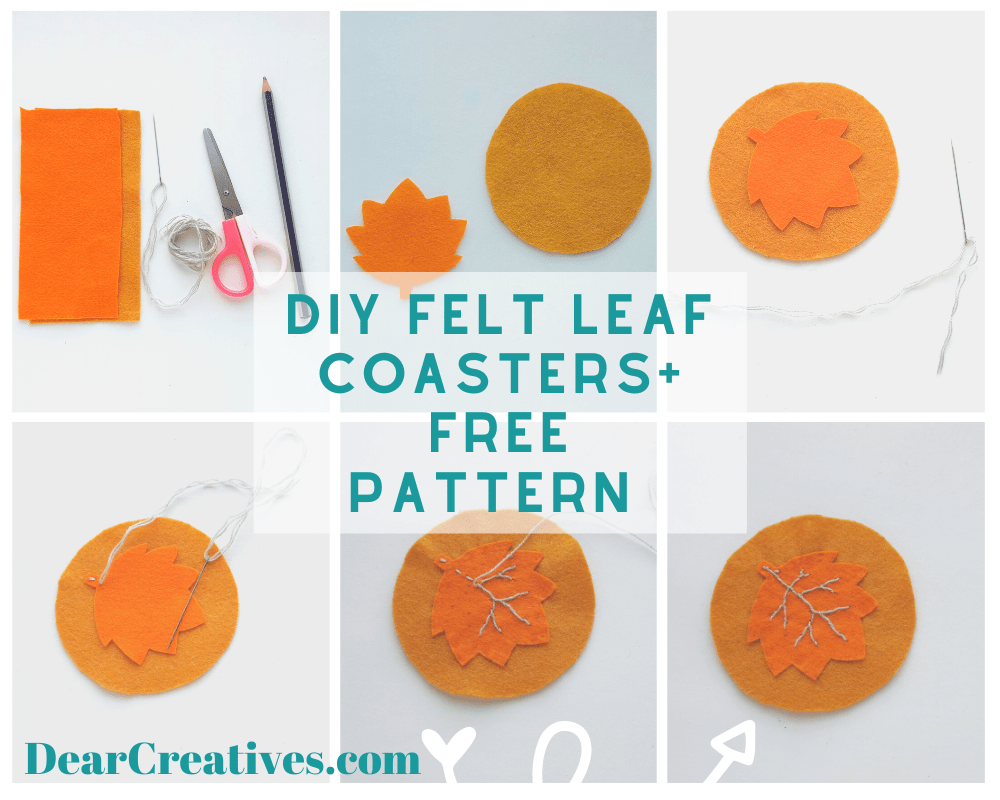
Felt Leaf Coaster Supplies
- Download and Print the Leaf Template Pattern (Leaf Template and Circle Template)
- Download and print the pattern template for the Felt Leaf Pattern – Print it here: [Leaf Template and Circle Template]
- Wool Blend Felt in Fall Colors (This is my favorite for quality felt on Etsy in fall/autumn colors. Note that other colors and sets of felt are available. They also carry skeins of floss). You can purchase it on Amazon too (with free shipping) Colored Felt. Or grab this 6 x12 Marino Blend Wool Felt 21 sheets of fall colors.
- Sewing Needle
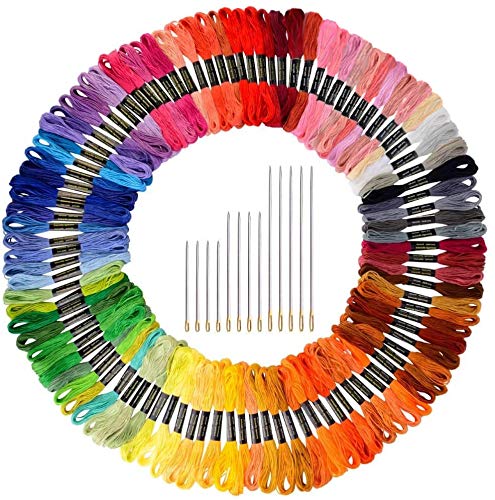
- Embroidery Thread
- Pencil
- Sewing Scissors (for detail work, I like these craft scissors)
- Fabric Tracing Pen (with disappearing ink) or Sewing Chalk
How To Make Felt Leaf Coasters
These resources may help you! Especially if you are a beginner. Use this video to learn the top 12 stitches in hand embroidery. And here is a book I have owned since I was a teen. You will love it! Embroidery Step-by-Step Guide To More Than 200 Stitches. (On Kindle too!)
Step 1. Trace and Cut the Felt Pieces
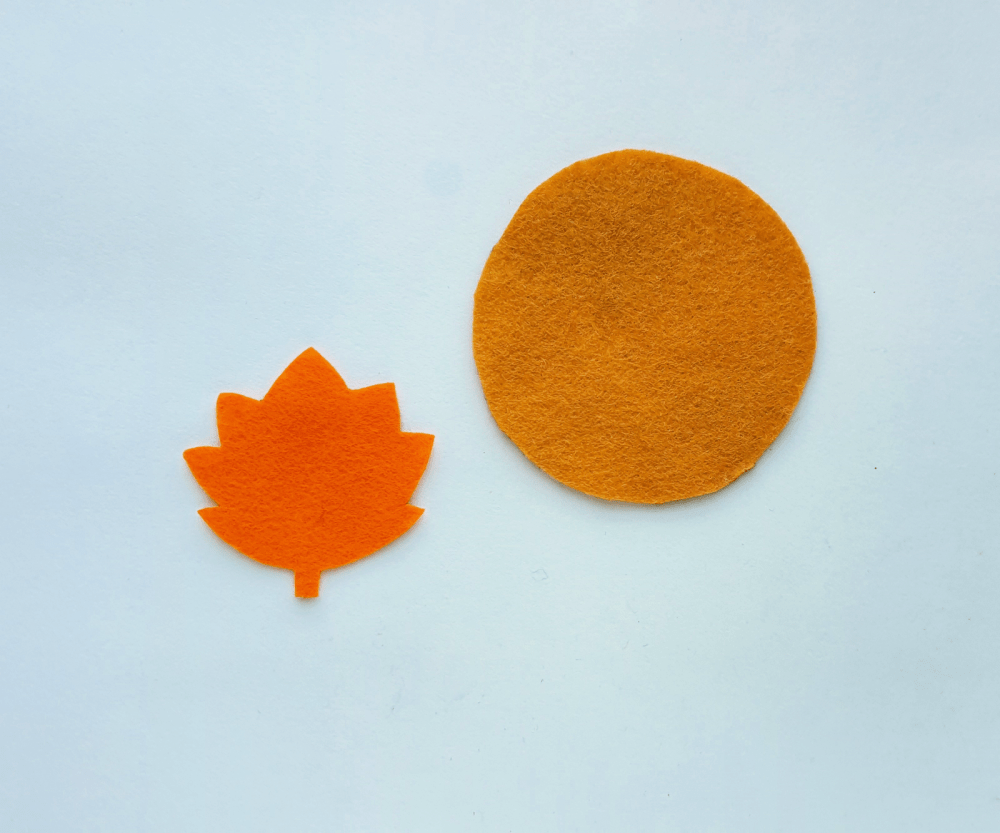
Select 2 different colored felt fabrics for the maple leaf coaster. Trace the round base on any colored felt fabric you like, and trace the maple leaf pattern on a Fall-inspired colored felt fabric. Trace the patterns using a fabric tracing pen or chalk, and use scissors to cut them out nicely.
Step 2. Position the Maple Leaf
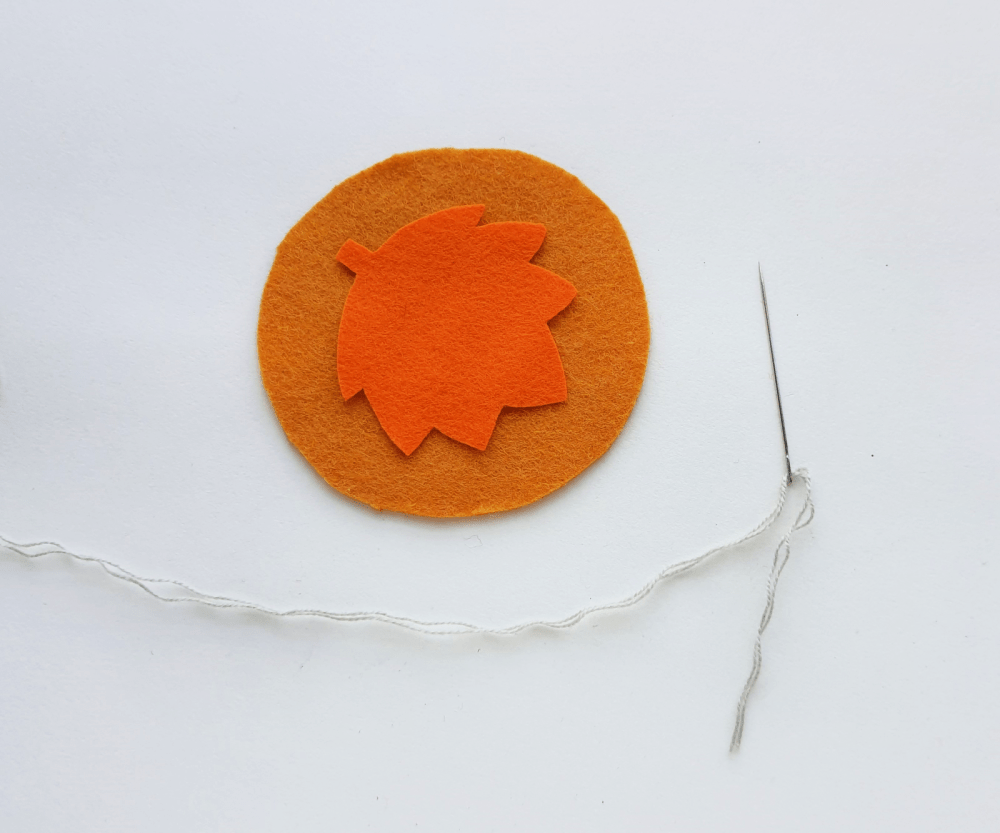
Prepare a needle. Use different colored embroidery thread. (By using a thread other than the felt selected for the maple leaf pattern.) Place the maple leaf felt cut-out in the middle of the round base cut-out.
Step 3. Begin Stitching the Leaf
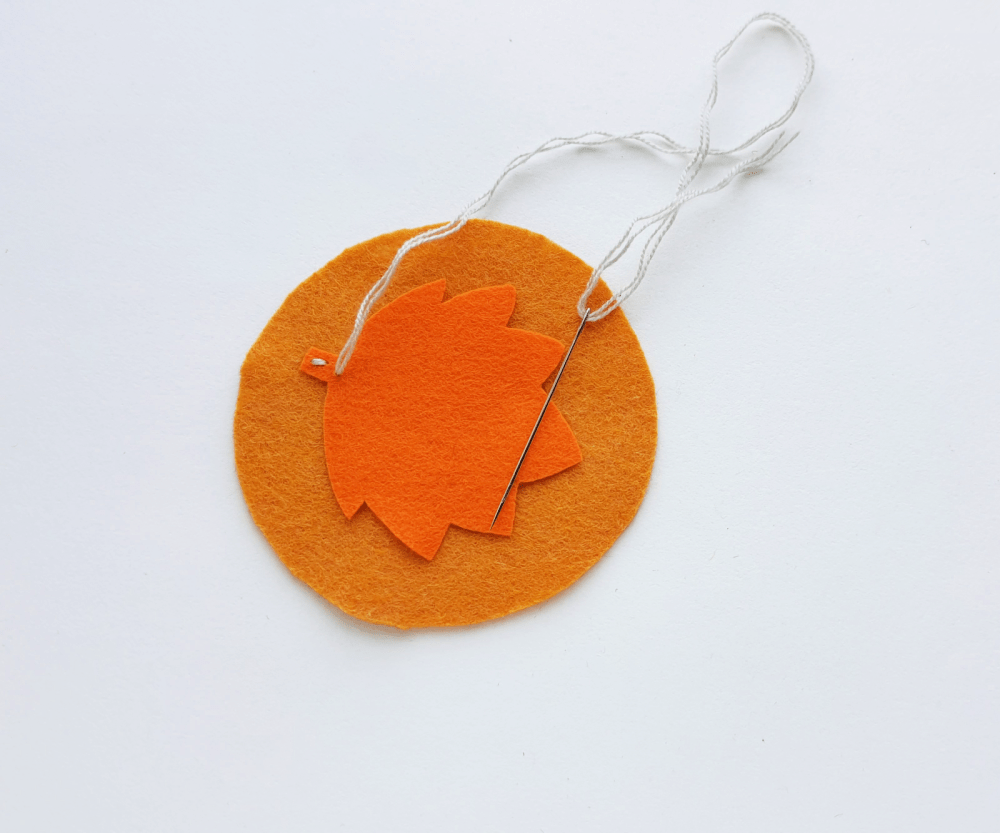
Start stitching from the bottom side of the maple leaf. Tie a knot on the open end of the attached thread and draw the needle from the backside of the base and draw it out to the bottom side of the maple leaf pattern.
Step 4. Trace and Stitch the Leaf Veins
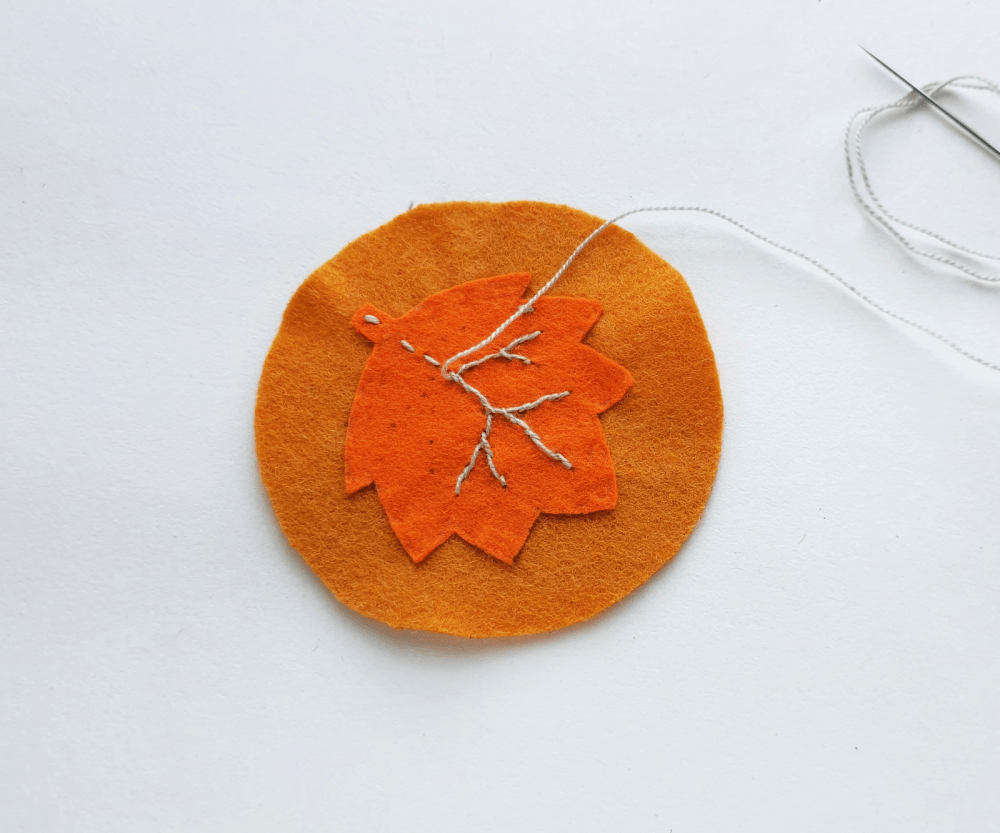
Use a fabric tracing pen (or chalk) to trace the veins of the maple leaf. Next, stitch over the traced vein patterns.
Step 5. Finish the Embroidery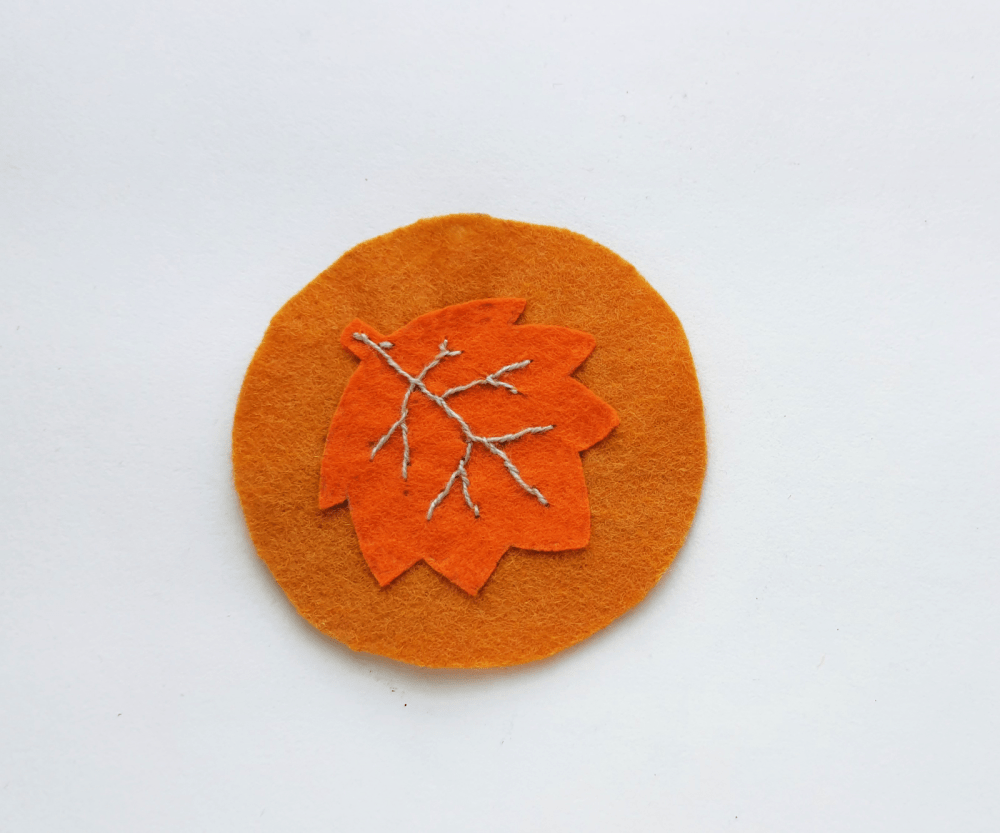
Fill the vein lines with solid stitches (not a running stitch or any sort of dashed stitches).
Step 6. Sew the Leaf to the Coaster

Done stitching the vein patterns of the maple leaf? Now, prepare a needle with matching thread (the same color as the maple leaf pattern). Stitch the maple leaf around the side.
Make sure to stitch the base with the maple leaf pattern as well when stitching the side.
After you’re done stitching, draw the needle to the backside of the coaster pattern. Then tie 2 or 3 tight knots. And cut off extra thread if necessary. The coaster is ready.
Tip: If you're concerned about the coaster edges fraying, sew a blanket stitch around the outer edge or apply a small amount of [Liquid Stitch fabric glue] to help seal the felt.
Be sure to tag us on Twitter and Instagram @DearCreatives with your finished crafts! We'd love to see how your projects turned out.
Repeat The Steps To Make A Set Of Felt Coasters With Maple Leaves
Repeat these steps to create a complete set of felt leaf coasters. Use them as fall decor, give them as a handmade hostess or Thanksgiving gift, or tuck them into a gift basket with coffee or tea. Not ready to make them yet? Pin this project for later!
Tips for Making a Set of Felt Coasters
- Choose wool-blend felt for cleaner edges. Wool-blend felt is sturdier than thin craft felt, cuts more cleanly, and helps the finished coasters hold their shape.
- Use contrasting embroidery thread. Pick thread that stands out against the leaf so the stitched veins become part of the design. For a subtler look, use a slightly lighter or darker shade of the felt.
- Secure the layers before stitching. Hold the leaf in place with a pin, fabric clip, or a tiny amount of [fabric glue]. This keeps it centered and prevents it from shifting while you sew.
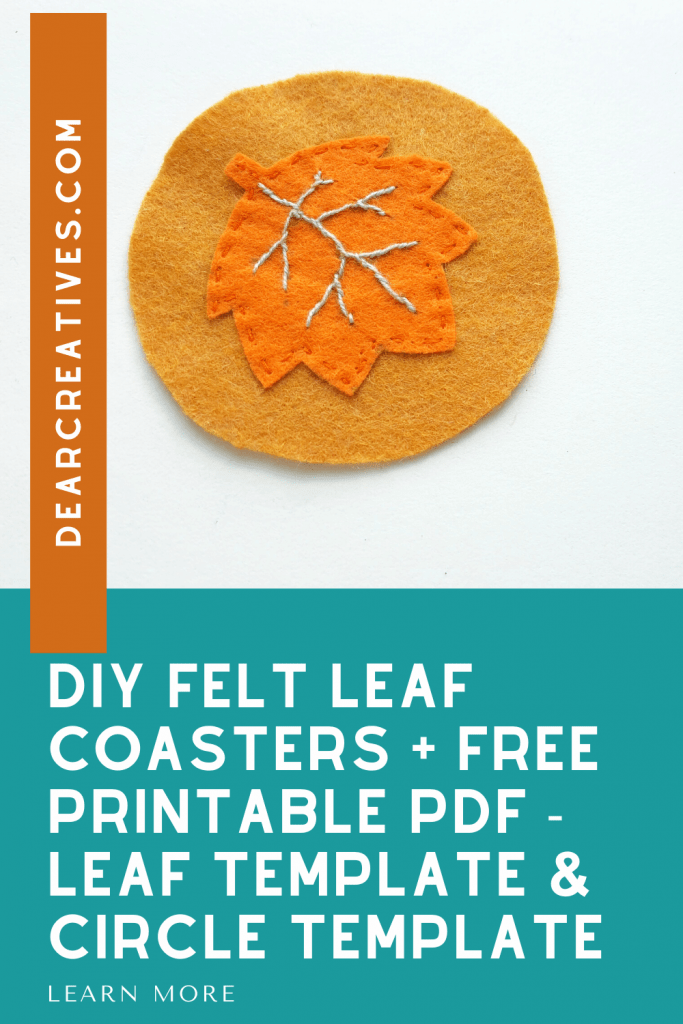
My favorite place to buy quality felt for projects is on Etsy at this shop.
I hope you enjoy making this easy sewing project with felt! Happy Crafting and Making!
- New here? Be sure to Subscribe.
- Pin it for Later
- Follow us on Pinterest
- Shop our favorites on Amazon
More DIY Coasters To Make
- Do you sew? We spotted these fall leaves coasters (from felt) to make.
- These coasters are the perfect spring/summer design. DIY Coasters – How to make felt coasters.
- If you love boho designs, you probably will like these DIY Coasters- Twine Sunflower Design
- And these DIY Coasters – Rope Flower Design